Believe it or not, the typical design of a guitar saddle (bridge) on an acoustic guitar is pretty complicated and usually the domain of someone called a luthier (someone who specializes in maintaining and building guitars, for example).
Since the cheap plastic saddle on my (relatively) cheap Ventura acoustic guitar was worn, I decided to replace it. A trip to three guitar stores and Internet searches taught me that this task of replacing the part is usually outside of my own hands; it's best to give your guitar over to someone who knows what they're doing.
But you know me, I'd rather learn all this.
- The original saddle doesn't seem to be wide enough for the slot in the hardwood that's on the guitar face. So it wants to lean toward the other end of the guitar neck (the "nut").
- The cheap replacement saddle purchased at Guitar Center is also slightly too narrow. A second purchased saddle at a better store seems much wider than either of the first two. It won't—in fact—fit into the slot due to its width.
- From what I understand within this consumer space, you're expected to buy the nearly one-oversized-fits-all option and then laboriously sand it down to something you need.
- Furthermore, the height of each of the purchased products was grossly too high; again, you're expected to sand away 10% or more of the bottom of it to suit your guitar.
Here's a complicated example of what would be called a "compensated acoustic guitar saddle" as found in a websearch:
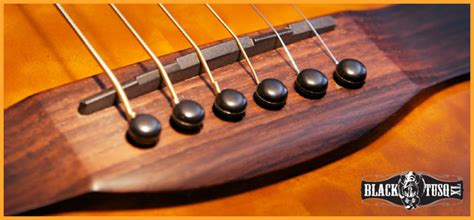
You might be wondering why it's not just the same pointy surface along the top. From what I've learned, this is to compensate each of the string lengths so that, for example, adding a capo higher up the neck still results in a guitar which is in tune. You'd think that this would have worked out otherwise but there's a fair amount of subtlety going on with individual string widths, the amount they're expected to bend during a note and such.
So I tuned my guitar with the original saddle, placed a capo on the 5th fret and then measured how far each resulting note was from being true-to-tone. I measured again and created a chart of values. In theory, by adjusting the original compensation with my findings, I could make the capo'd guitar sound better with a custom saddle design.
Next, I measured each string height at the 22nd fret from the neck. If you play guitar then you'll know that the neck is rounded if you saw a cross-section of it. But since typical guitar saddles are sold in bulk for all sorts of guitars, this curvature of course would be expected to be off on a mass-produced part. In theory, by compensating for the original saddle's inconsistent placement of the strings, a more consistent arrangement of string heights down the entire length of the neck could be achieved by carefully controlling the Z height of each string along the custom-designed saddle.
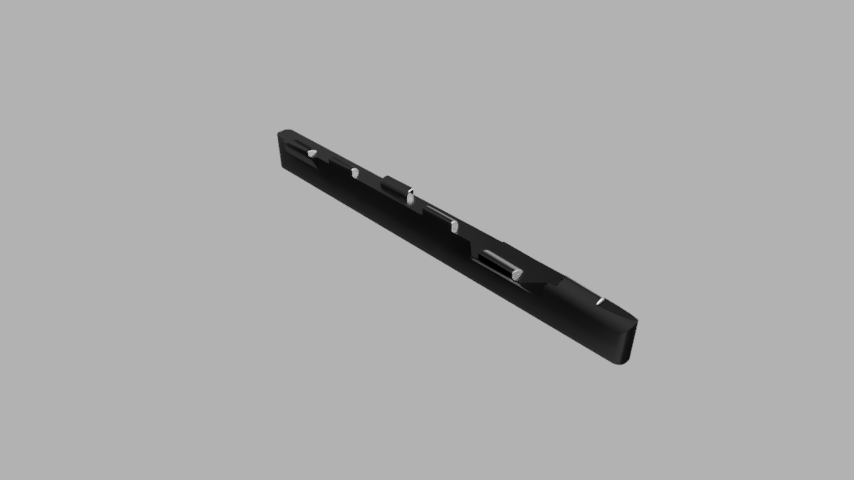
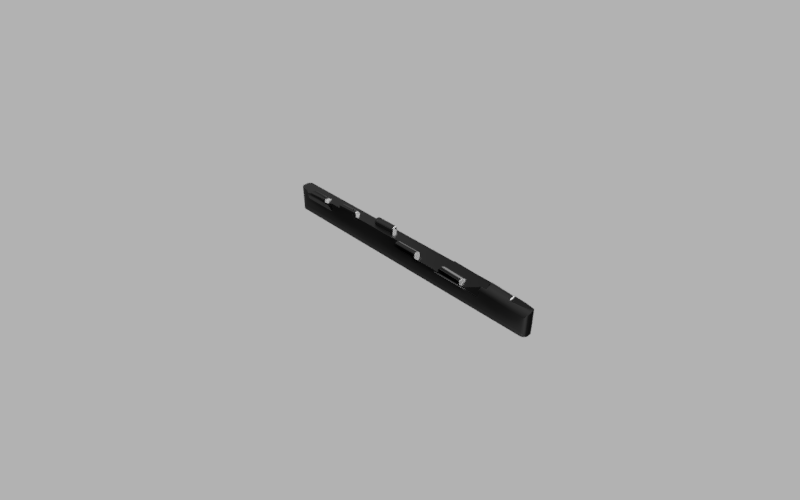
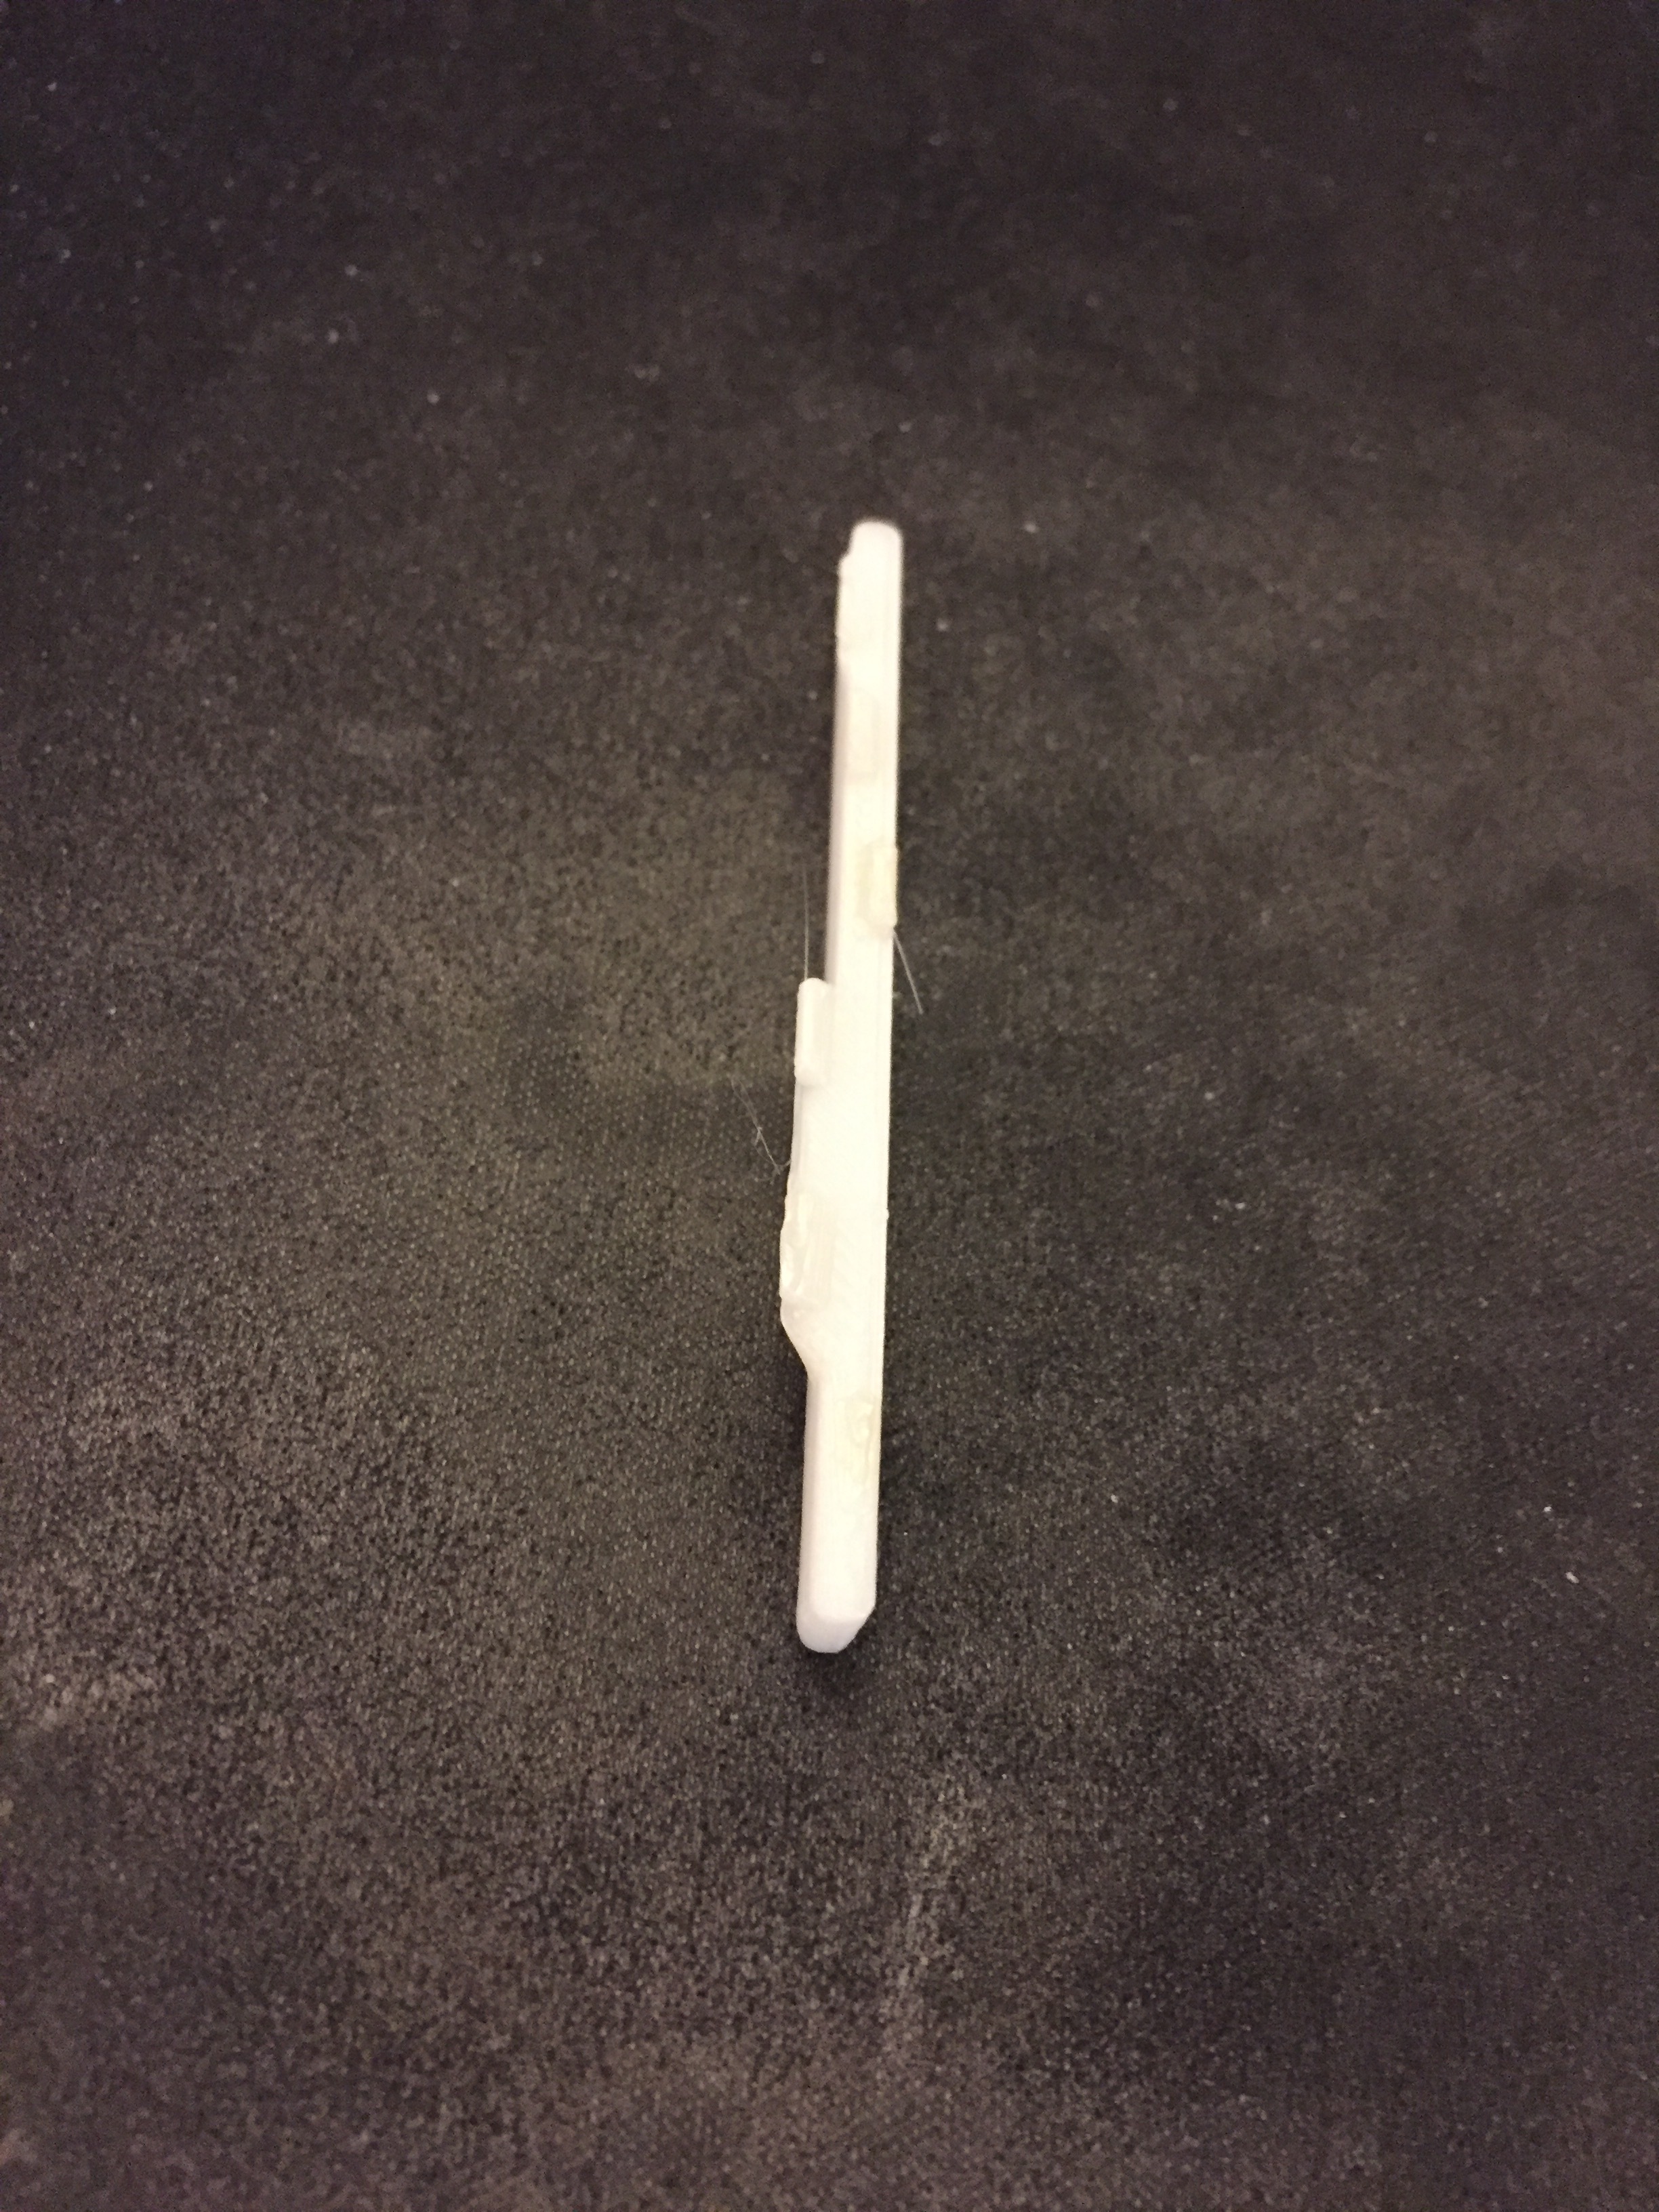
So I took this into Autodesk Fusion 360 and started from scratch, designing what in theory would be a perfect saddle for this guitar with this set of "light" strings. It's now finished (23 minutes) on the printer so I'll install it, tune the guitar and repeat the tuning measurements from before to see how well I did on this first try. Rather than sanding it or otherwise "working" it with the Dremel tool, I'd like to see how it performs without any post-processing.

I don't believe anyone else is designing and 3D printing guitar saddles (yet), for what it's worth. Another approach would be to test this for fit and suitability and then take the mesh file into a slicer for a CNC session and carving a bone or TUSQ stock piece.