Printer: Robo C2, single extruder, PLA, no heated bed
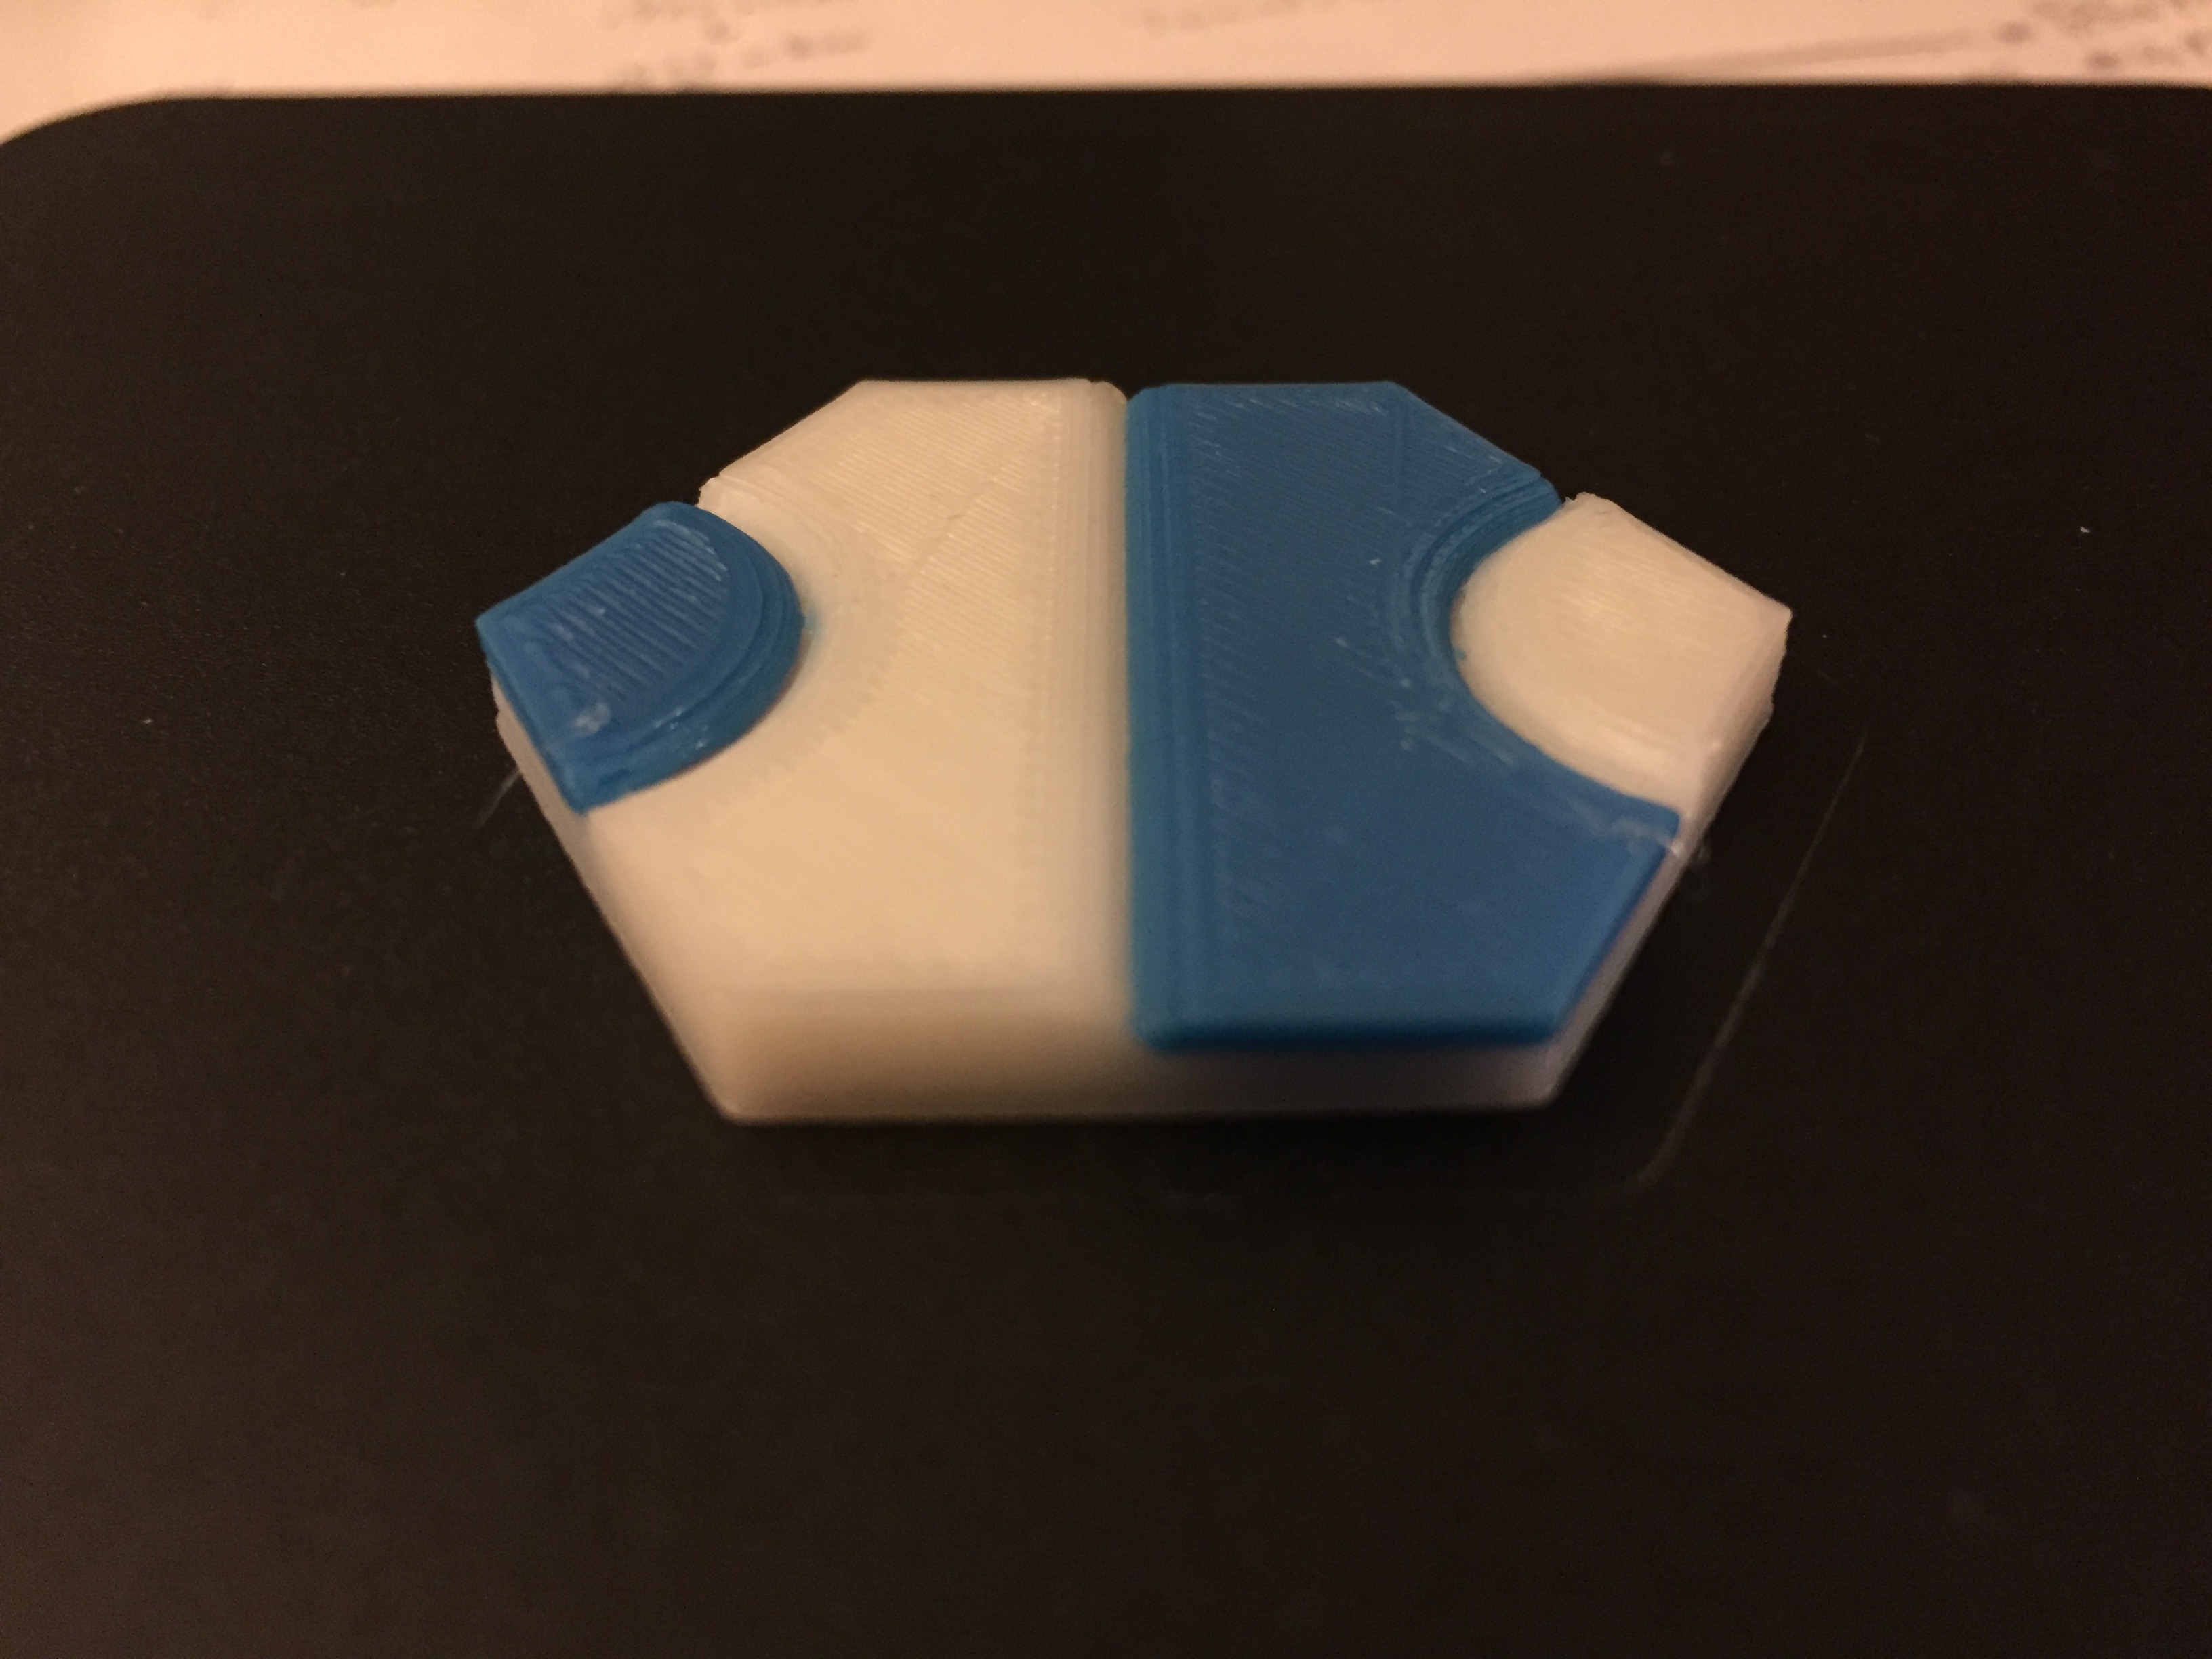

I wanted both white/blue tops to be at the same level so I measured the bevel on my nozzle and filleted the edge seams with a 1.5mm radius. I printed this in three files: white, bluespot, bluehalf. I had to turn off autoleveling and to laboriously level my bed first. I had to manually edit the 2nd/3rd print files to compensate for the hovering-above-the-bed; Cura didn't honor my wishes with respect to floating the blue parts 2.4mm off the bed. (grrr) I also added some manual G0 commands to bring the head safety down/in so as not to crash into the existing part.
Technically, I could remove the similar fillet on all blue edges and it would work just fine but this version is symmetric and I think I prefer that.
38.34mm across, 4.2mm thick (as printed)
For whatever reasons, I decided to adjust the flow rate to 104%. It just seemed to throw down a good first layer that way so I went with it.
