Note
This guide assumes that you are running OctoPi 0.16.0 or later.
If your local network requires you to use a proxy server to connect to sites on the internet, you'll have to do some manual configuration in OctoPi in order to make that work.
First of all SSH into your Pi (username pi, default password raspberry but you really should have changed that...) and follow this guide to tell your Linux system to use the proxy.
That's not all though, next you'll need to tell systemd to also run OctoPrint in a way that it'll know about your proxy server. Run sudo nano /etc/systemd/system/octoprint.service (the file doesn't exist yet, you are going to create it). You are now editing the file. Make it look like this (with the correct proxy settings for your site of course):
[Unit]
Description=The snappy web interface for your 3D printer
After=network-online.target
Wants=network-online.target

[Service]
Type=simple
User=pi
Environment=http_proxy=http://127.0.0.1:3128
Environment=https_proxy=http://127.0.0.1:3128
Environment=no_proxy=localhost,127.0.0.1
ExecStart=/home/pi/oprint/bin/octoprint --host 127.0.0.1 --port 5000

[Install]
WantedBy=multi-user.target
Save, exit the editor. Register for startup:
sudo systemctl enable octoprint.service
Then reload the unit: sudo systemctl daemon-reload. And finally restart OctoPrint: sudo service octoprint restart. It should now be using the proxy for all connections.
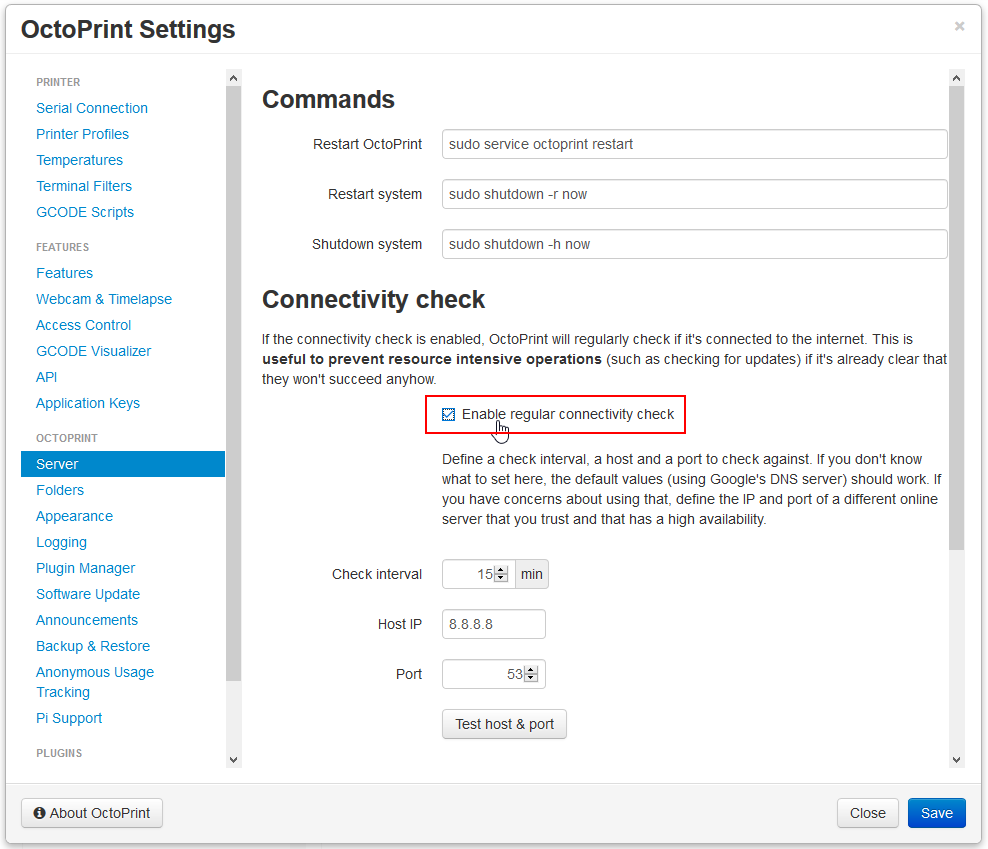
However, the connectivity check will still fail since it requires an actual direct connection. Simply disable it by unchecking Settings > Server > Connectivity check > Enable regular connectivity check:

 so the startup routine is broken somehow I guess