Ok....There is a lot of good advice on here and around the web that can help you figure this out, but it can be a daunting task too! So, after MUCH trial and error, research and some luck, I got it figured out and wanted to share a concise tutorial on how to do it.
First...why would you want to do this? So that you can share the spool data across multiple instances of Octoprint and they all access and update the remaining amount of filament, no matter which instance or machine you're printing from.
So...here we go and it's really not that hard! 
First...disable any THEMES or UI changes you may have! Why? because they may possible disable the TEST connection button from changing colors and you'll never get the feedback (green is good, red is bad) you need to know if you've successfully connected or not. Trust me on this one...this one kept me thinking it wasn't connecting for a LONG while, and it was my damn theme! I only figured this one out because I started all over on a fresh install of Octoprint and ONLY installed this mod and I noticed the RED (failed to connect) before due to my theme. This also means, that if I was previously successful, I never saw the GREEN (successful) one either!
Now, with that out of the way. Here we go...for real this time 
- Download and install Putty terminal application to SSL into your Pi. You may use other tools, but I am most comfortable with this one, and it works great.
-
sudo apt-get updateLets make sure we have all the latest updates! -
sudo apt-get upgradeInstall them! -
sudo reboot nowReboot the Pi. -
~/oprint/bin/pip install --upgrade pipLet's just upgrade pip while we're at it. -
sudo reboot nowNot sure if it's necessary, but can't hurt! -
sudo apt-get install libpq-dev python-devInstall these dependencies first! -
~/oprint/bin/pip install psycopg2Now install psycopg2 (required as well) -
sudo reboot nowyeah, yea....again...just to be safe. -
sudo apt-get install postgresqlInstall postgresql -
sudo -u postgres -ibecome postgres user so we can create the octoprint user and database! - Now...your prompt will have changed, so next lets create the user via the interactive feature:
createuser --interactive -P
Enter the username: "octoprint", and answer "n" to all the next questions about this user. - Now we create the database itself:
createdb -O octoprint octoprint_filamentmanager
14 Now exit the user and back to the main prompt by typing:exit
15 Now we have to edit two files, the first one is here
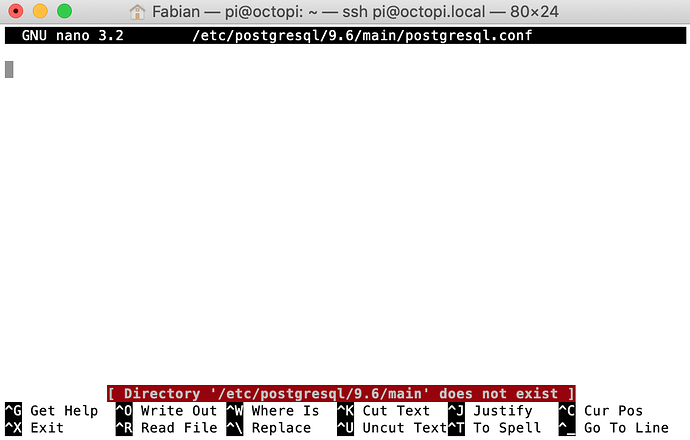
sudo nano /etc/postgresql/9.6/main/postgresql.conf
In this file, find the line "listen_addresses = " and change it to
listen_address = '*'
save your changes, then onto the next using:
sudo nano /etc/postgresql/9.6/main/pg_hba.conf
The Wiki says it best here, so you do this:
Then append the following line to /var/lib/postgres/data/pg_hba.conf
host octoprint_filamentmanager octoprint 192.168.178.0/24 md5
Adapt the IP address to your network, e.g. if your server has the IP 192.168.0.25 use 192.168.0.0/24 instead. This allows all clients in your network to access the database.
- Last step...is to restart the service using:
sudo systemctl restart postgresql.service
Now just enter the information into the database settings in Filament manager plugin, just like you set it up, and like the Wiki explains:
Picture shown at the bottom of this wiki page. Of course, enter in the IP address of YOUR Raspberry Pi that's running the database (it can be the same one you're running your octoprint on)
Once you click Test Connection button...if everything has gone correctly, the button will turn green, and you'll need to restart Octoprint to save the settings.
Good Luck!!!
