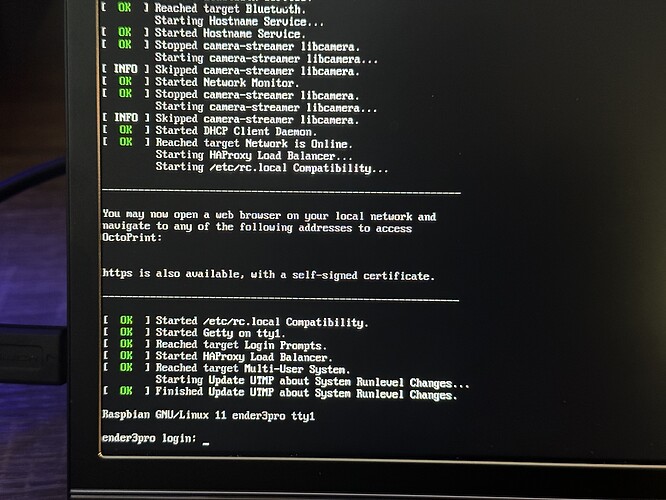
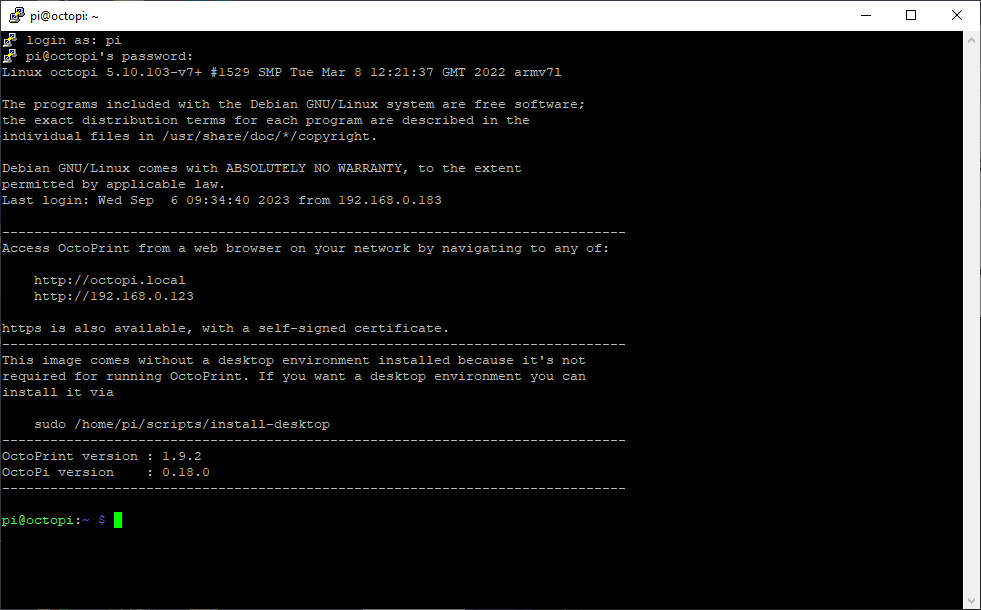
Camera model
Raspberry Pi Camera Module 3
What is the problem?
I am trying to set up my Module 3 camera and is not detecting the camera. I have verified that the connector is connected properly and in the right direction and not in the display connector.
What did you already try to solve it?
I have configured octopi.txt to be "camera=raspi" and restarted octopi with no luck and don't know what else to do (see octopi.txt below).
### Windows users: To edit this file use Notepad++, VSCode, Atom or SublimeText.
### Do not use Notepad or WordPad.

### MacOSX users: If you use Textedit to edit this file make sure to use
### "plain text format" and "disable smart quotes" in "Textedit > Preferences"

### Configure which camera to use
#
# Available options are:
# - auto: tries first usb webcam, if that's not available tries raspi cam
# - usb: only tries usb webcam
# - raspi: only tries raspi cam
#
# Defaults to auto
#
camera="raspi"

### Additional options to supply to MJPG Streamer for the USB camera
#
# See https://faq.octoprint.org/mjpg-streamer-config for available options
#
# Defaults to a resolution of 640x480 px and a framerate of 10 fps
#
#camera_usb_options="-r 1440x1080 -f 30"

### Additional webcam devices known to cause problems with -f
#
# Apparently there a some devices out there that with the current
# mjpg_streamer release do not support the -f parameter (for specifying
# the capturing framerate) and will just refuse to output an image if it
# is supplied.
#
# The webcam daemon will detect those devices by their USB Vendor and Product
# ID and remove the -f parameter from the options provided to mjpg_streamer.
#
# By default, this is done for the following devices:
#   Logitech C170 (046d:082b)
#   GEMBIRD (1908:2310)
#   Genius F100 (0458:708c)
#   Cubeternet GL-UPC822 UVC WebCam (1e4e:0102)
#
# Using the following option it is possible to add additional devices. If
# your webcam happens to show above symptoms, try determining your cam's
# vendor and product id via lsusb, activating the line below by removing # and
# adding it, e.g. for two broken cameras "aabb:ccdd" and "aabb:eeff"
#
#   additional_brokenfps_usb_devices=("aabb:ccdd" "aabb:eeff")
#
# If this fixes your problem, please report it back so we can include the device
# out of the box: https://github.com/guysoft/OctoPi/issues
#
#additional_brokenfps_usb_devices=()

### Additional options to supply to MJPG Streamer for the RasPi Cam
#
# See https://faq.octoprint.org/mjpg-streamer-config for available options.
#
# NOTE: Newer raspi cam modules are reporting as usb devices causing these
#       options to be ignored. Set `camera="raspi"` to avoid these issues.
#
# Defaults to 10fps
#
# camera_raspi_options="-x 1920 -y 1080 -fps 50"

### Configuration of camera HTTP output
#
# Usually you should NOT need to change this at all! Only touch if you
# know what you are doing and what the parameters mean.
#
# Below settings are used in the mjpg-streamer call like this:
#
#   -o "output_http.so -w $camera_http_webroot $camera_http_options"
#
# Current working directory is the mjpg-streamer base directory.
#
#camera_http_webroot="./www-octopi"
#camera_http_options="-n"

### EXPERIMENTAL
# Support for different streamer types.
#
# Available options:
#   mjpeg [default] - stable MJPG-streamer
#   hls - experimental FFMPEG HLS streamer
#camera_streamer=mjpeg
Systeminfo Bundle
octoprint-systeminfo-20230904100703.zip (378.4 KB)
Additional information about your setup
Raspberry Pi 3B+, OctoPrint version: 1.9.2, OctoPi version: Build 2022.09.27.151125, based on OctoPi 0.18.0, Ender 3 Pro
If the best option would be just to reinstall OctoPi since I had it installed before the new camera backend, I can do that but would prefer to avoid that option.
Any help is appreciated!
Thank you.

