What did you already try to solve it?
Adjusted number of top layers
Logs (octoprint.log, serial.log or output on terminal tab, ... no logs, no support)
Example GCODE file
Additional information about your setup (OctoPrint version, OctoPi version, printer, firmware...)
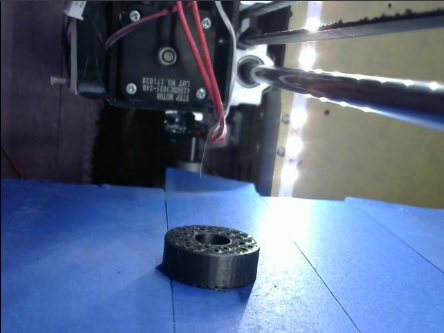
It's not octo-print. I'm pretty sure of that. The problem started when I was trying to create business cards, and trying to make them thinner. Unfortunately, I made the cards worse, and everything I sliced after that came out not covering the infill when printing the top layers
I even increased the top layers to 10, which is what I thought the problem was, but it didn't help
I never worked with IdeaMaker so I can't tell you for sure how to reset the profile.
I'm a happy cura user
In cura I would just delete my custom profil and start over with a default profile for my printer.
It also shows you all settings you changed when you switch between profiles which is pretty handy when you aren't sure what you changed .
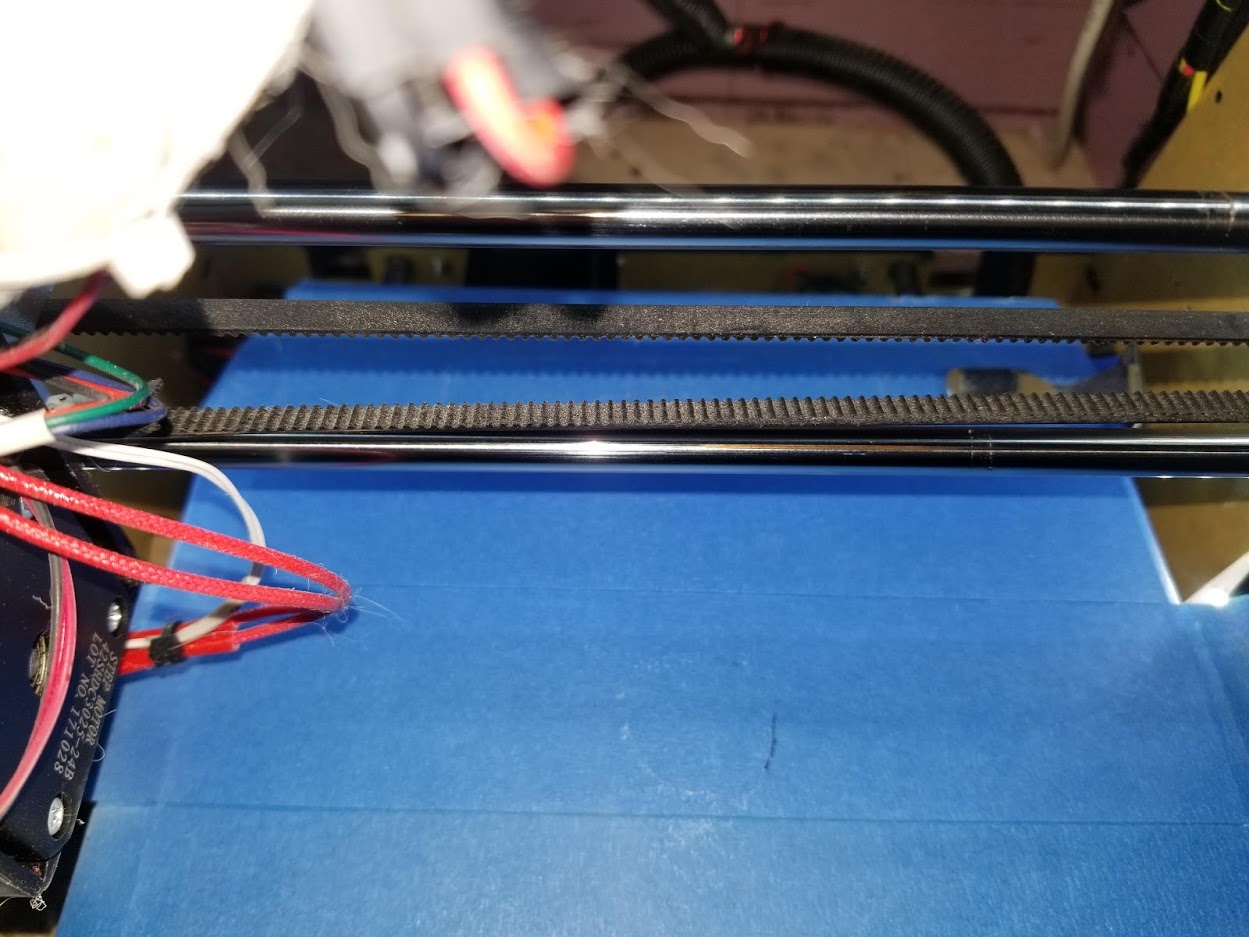
And yeah that belt looks much better from this angle
I started with Cura,(the one that works with Octo) then I screwed it up, so I got the upgraded Cura, and that was too complicated, so I went to IdeaMaker, which worked nicely, until I screwed it up
Ya know what would be nice ?
A computer with no buttons so there's nothing for me to screw up
I did build a robot, and I was very careful not to put any buttons on it
So now it doesn't do anything
I'll try uninstalling it and reinstalling it and see if that helps. Thanks
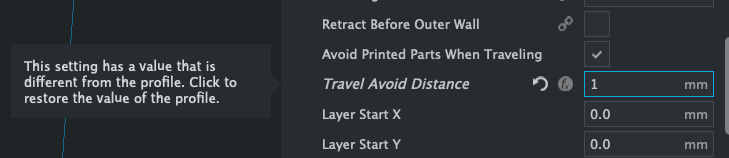
It sounds like you changed a setting from the default in Cura and now it's gonzo. Look for that arrow-in-a-circle icon next to a setting which means that it's changed from the original. Try to remember what you changed before, revisit those settings and hit that icon.
Odd in that I didn't get an email announcing OutsourcedGuru's response to me, but I did for Electron, and embarrassing because it turned out that there were 2 issues.
One being that somehow, the "flow" was set to 90%, which I didn't do, and the other, well...
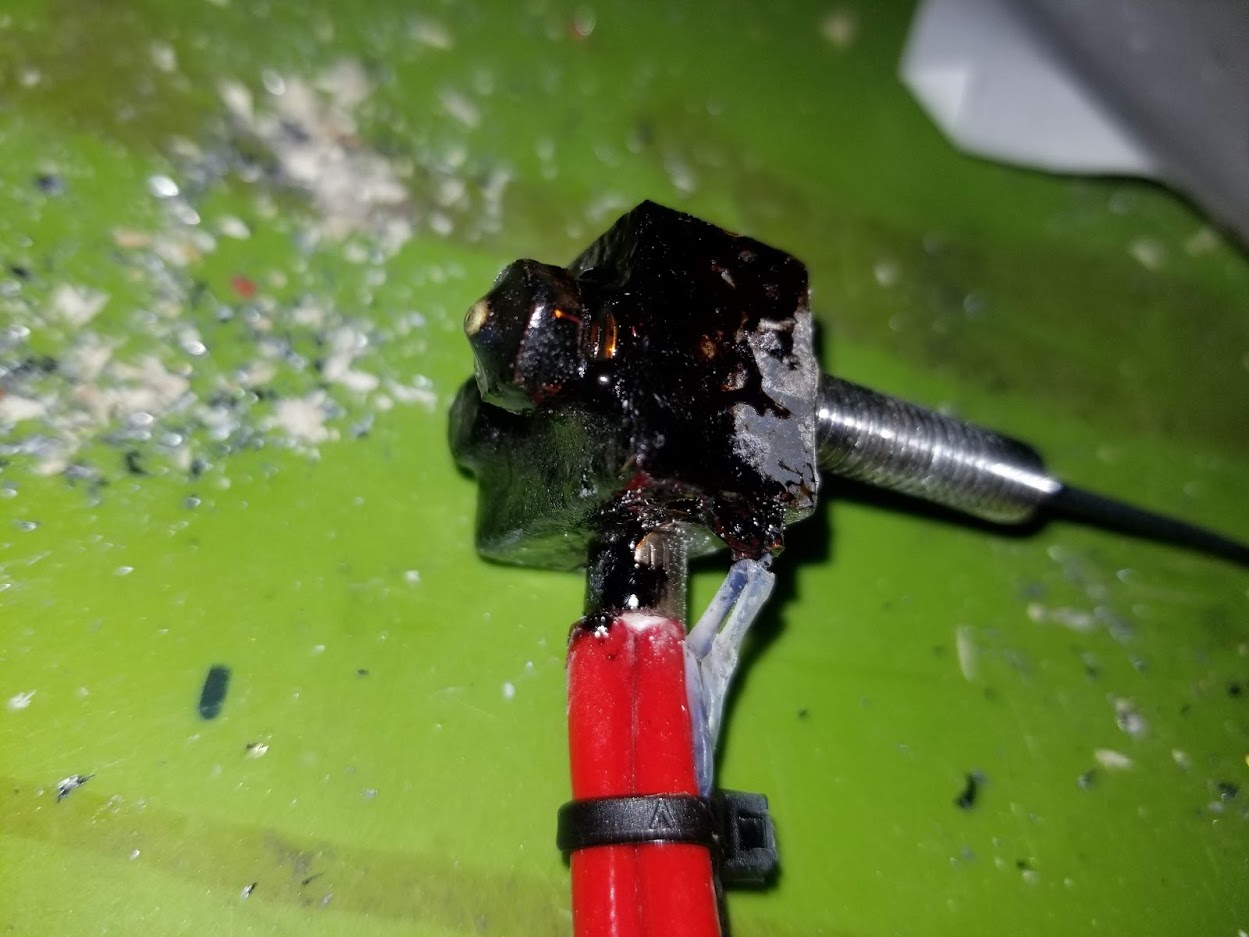
That's a month of printing carbon fiber, and I have no idea how it got that bad. I just pulled the whole she-bang out and replaced everything
I can't believe I didn't notice this while removing prints or replacing tape or releveling. I mean, in order to level it I've got to be staring directly at the nozzle
I will suggest that I had to bump the temperature up to 205 for the carbon fiber—infused filament until it would behave. Secondly, I will note that printing a mere one and a half kilos of that is enough to carve the throat out of a typical 0.4mm nozzle. So it's not just about socking the nozzle, it's also about judging the feed rate about once every two weeks, watching for internal wear that you can't see.
This particular filament was being printed at 217, and I thought I had a steel nozzle in there, but, apparently not from the color. And even if it was steel, it ate the inside of the throat anyway
I still don't understand about the feed rate tho. I thought I had it set for 100%
I guess it turned out okay tho, cuz I took the opportunity when I swapped everything out to install better split loom, and plugs and sockets for the heater and thermister to make it easier to change out the next time, which is stuff I should've done months ago anyway
(I can't wait to see what the other printer looks like)