I have been using my Ender 5 and OctoPi set up for about two weeks now and love it. I have added a few plugins and am amazed by the community and support around this great tool. OctoPrint has really made running my 3d printer a joy.
Ok, on to my question. I am using the PSU plugin to control a relay for my printer but I would also like to be able to control a lamp from a second relay. Does anyone have any recommendations on how to do this? Looking at the enclosure plugin leads me to think it will work for my needs but since my knowledge base is limited some help from the community would be great.
Currently my first PSU relay is on BCM14 and the second is on BCM15.
I do realize that my lamp could be run from the same relay as the power supply but during the day saving energy / lighting my printer with natural light would be nice.
No worries I’m happy to help in any way I can. Can you help me understand your question better? When you say set up do you mean print settings, hardware, ect?
I guess first off.. What is your hardware setup? I need to know what parts 2 order then. Info on the software and setup you did 2 make everything work.. Thanks
So, I am still pretty new at 3D printing others will have better info for you. My decision to get the Ender 5 was largely based on the popularity of the Ender 3. While I am happy with the quality of the set up it the one thing I am not to happy about is the lack of info on the unit due to it being so new. My main issue being the lack of apparent thermal runaway protection. From my understanding (I could be wrong) it is turned off from the factory. Due to the printer being so new firmware is not available anywhere so I am unable (with my skills) to download and flash the mainboard with new firmware to enable thermal runaway. So now that I got my issue out of the way here is my current set up.
I have a Ender 5 (from Comgrow on amazon) and Raspberry Pi 3B+ (from amazon)
The pi is running OctoPI of course and this is by far the best thing about the whole experience for me. It is worth the effort to have the added functionality. The OctoPi website has all the info you need to get it running.
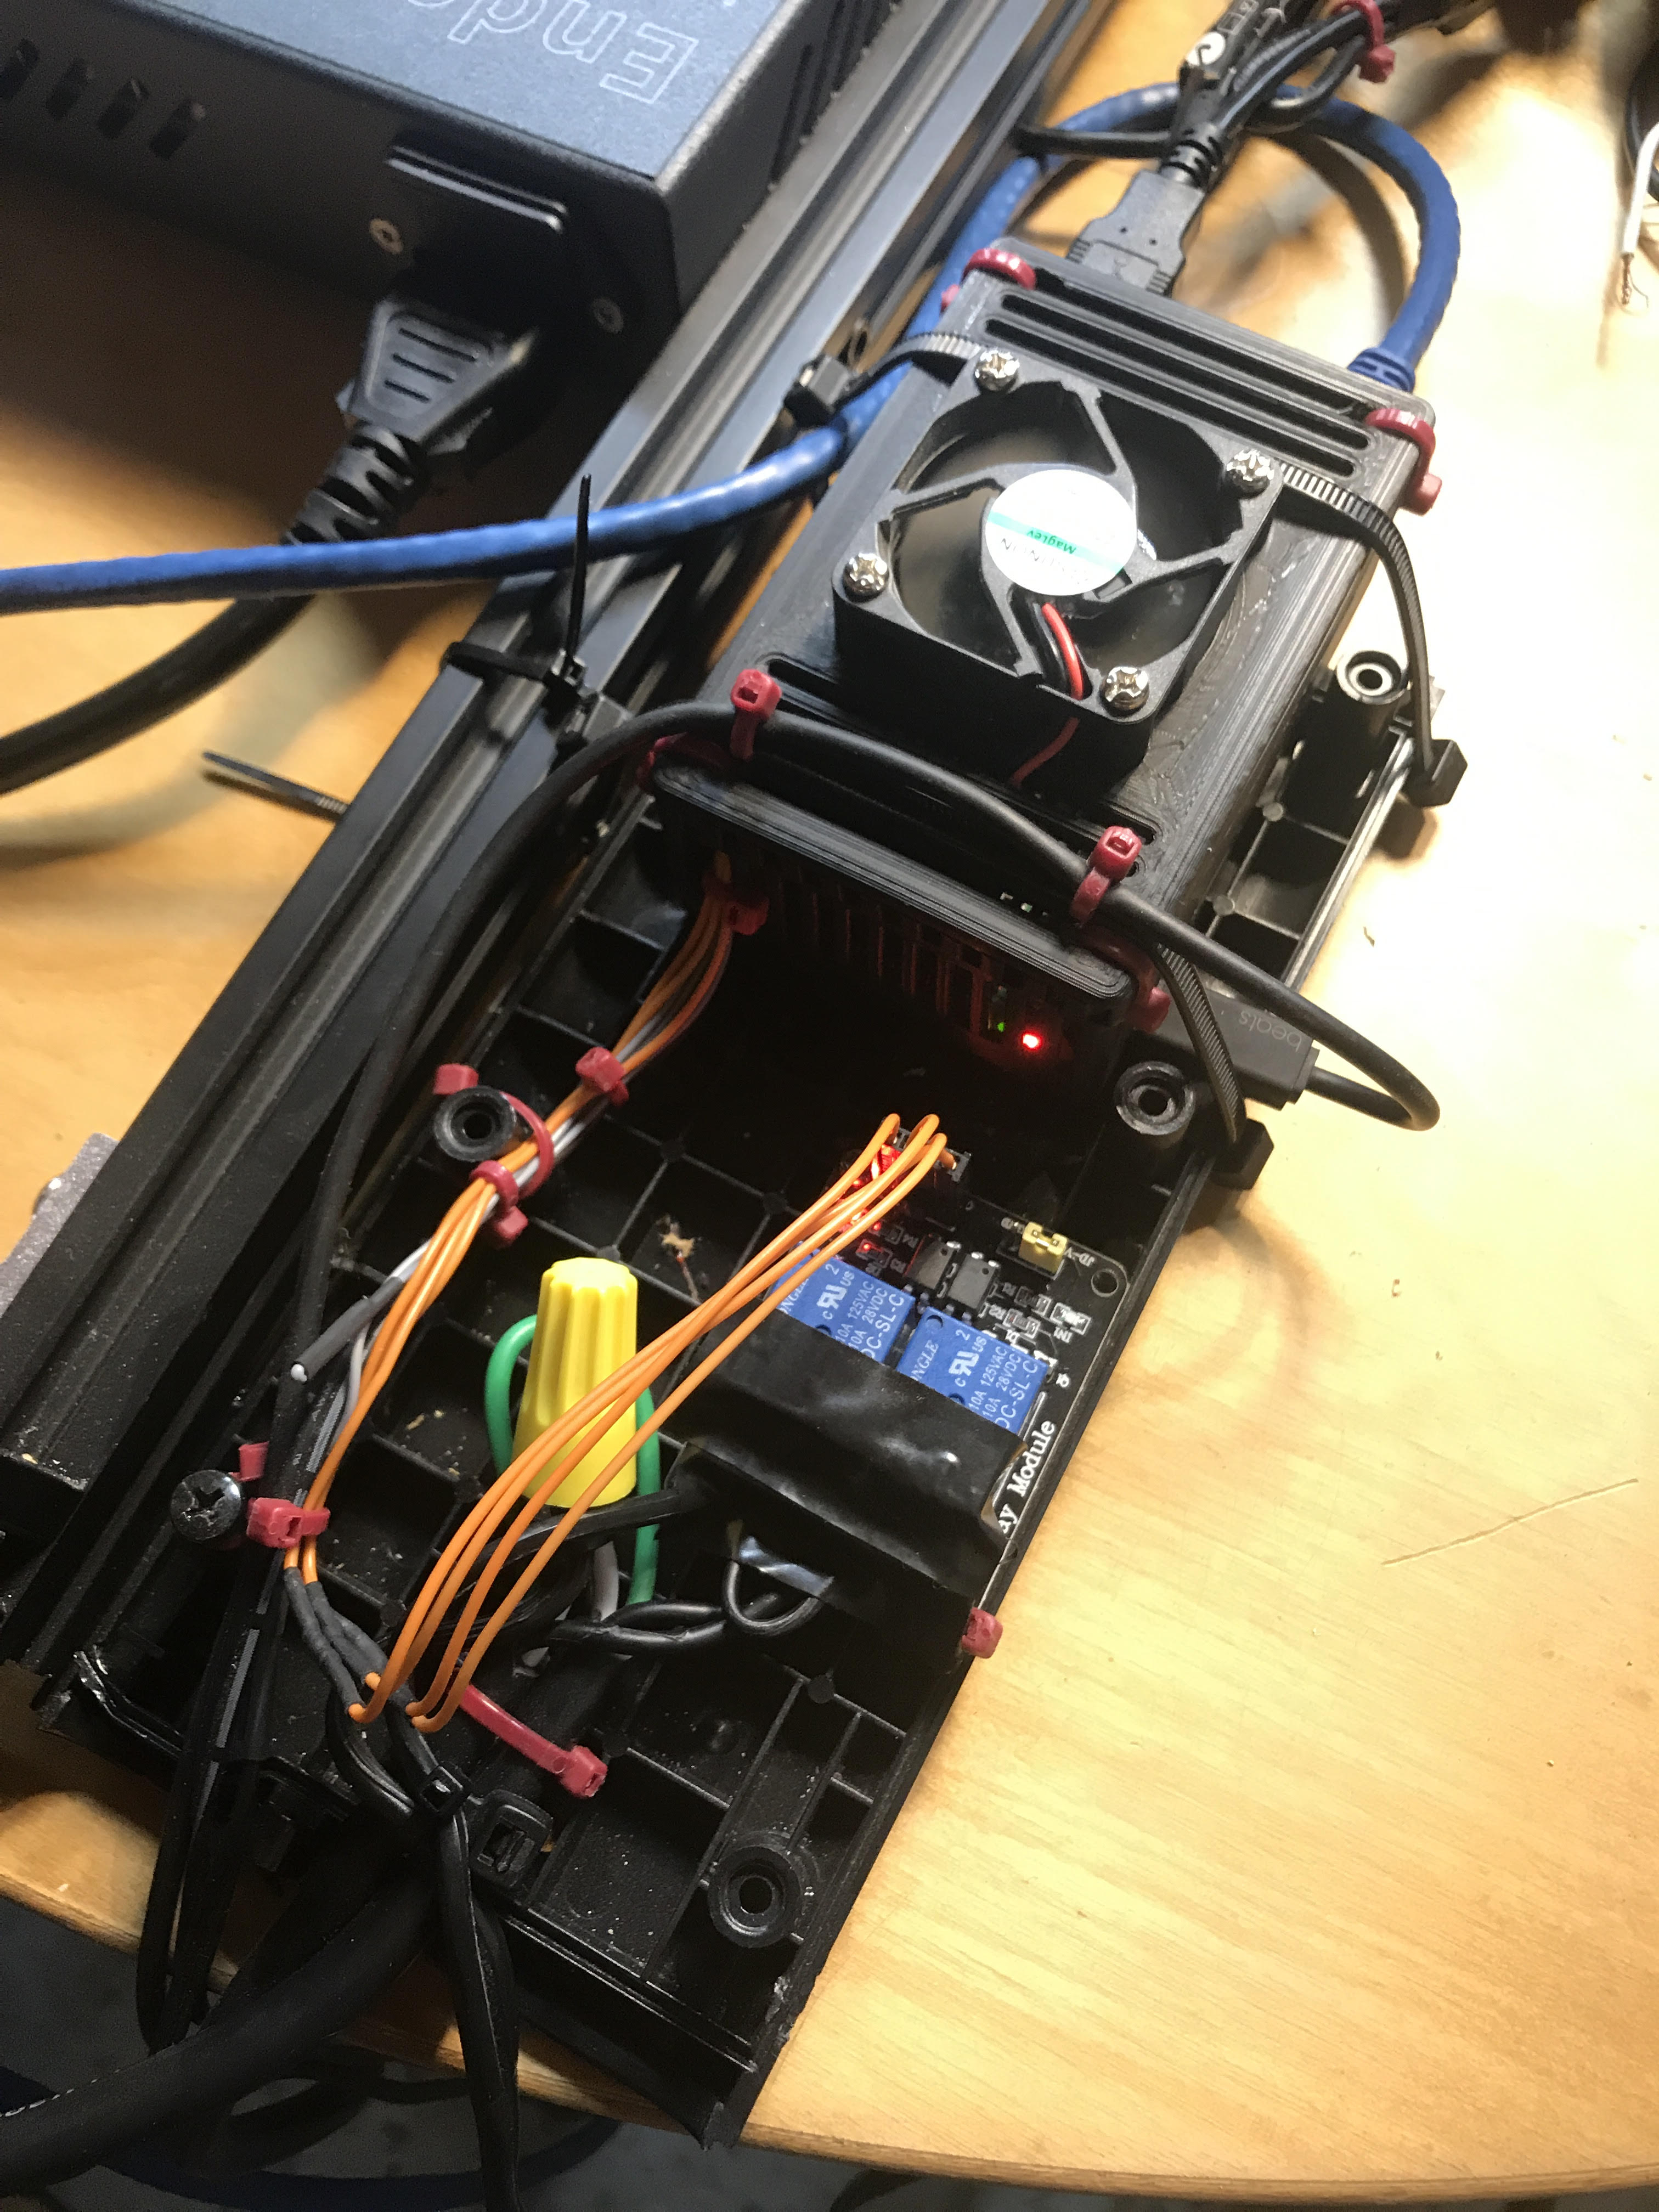
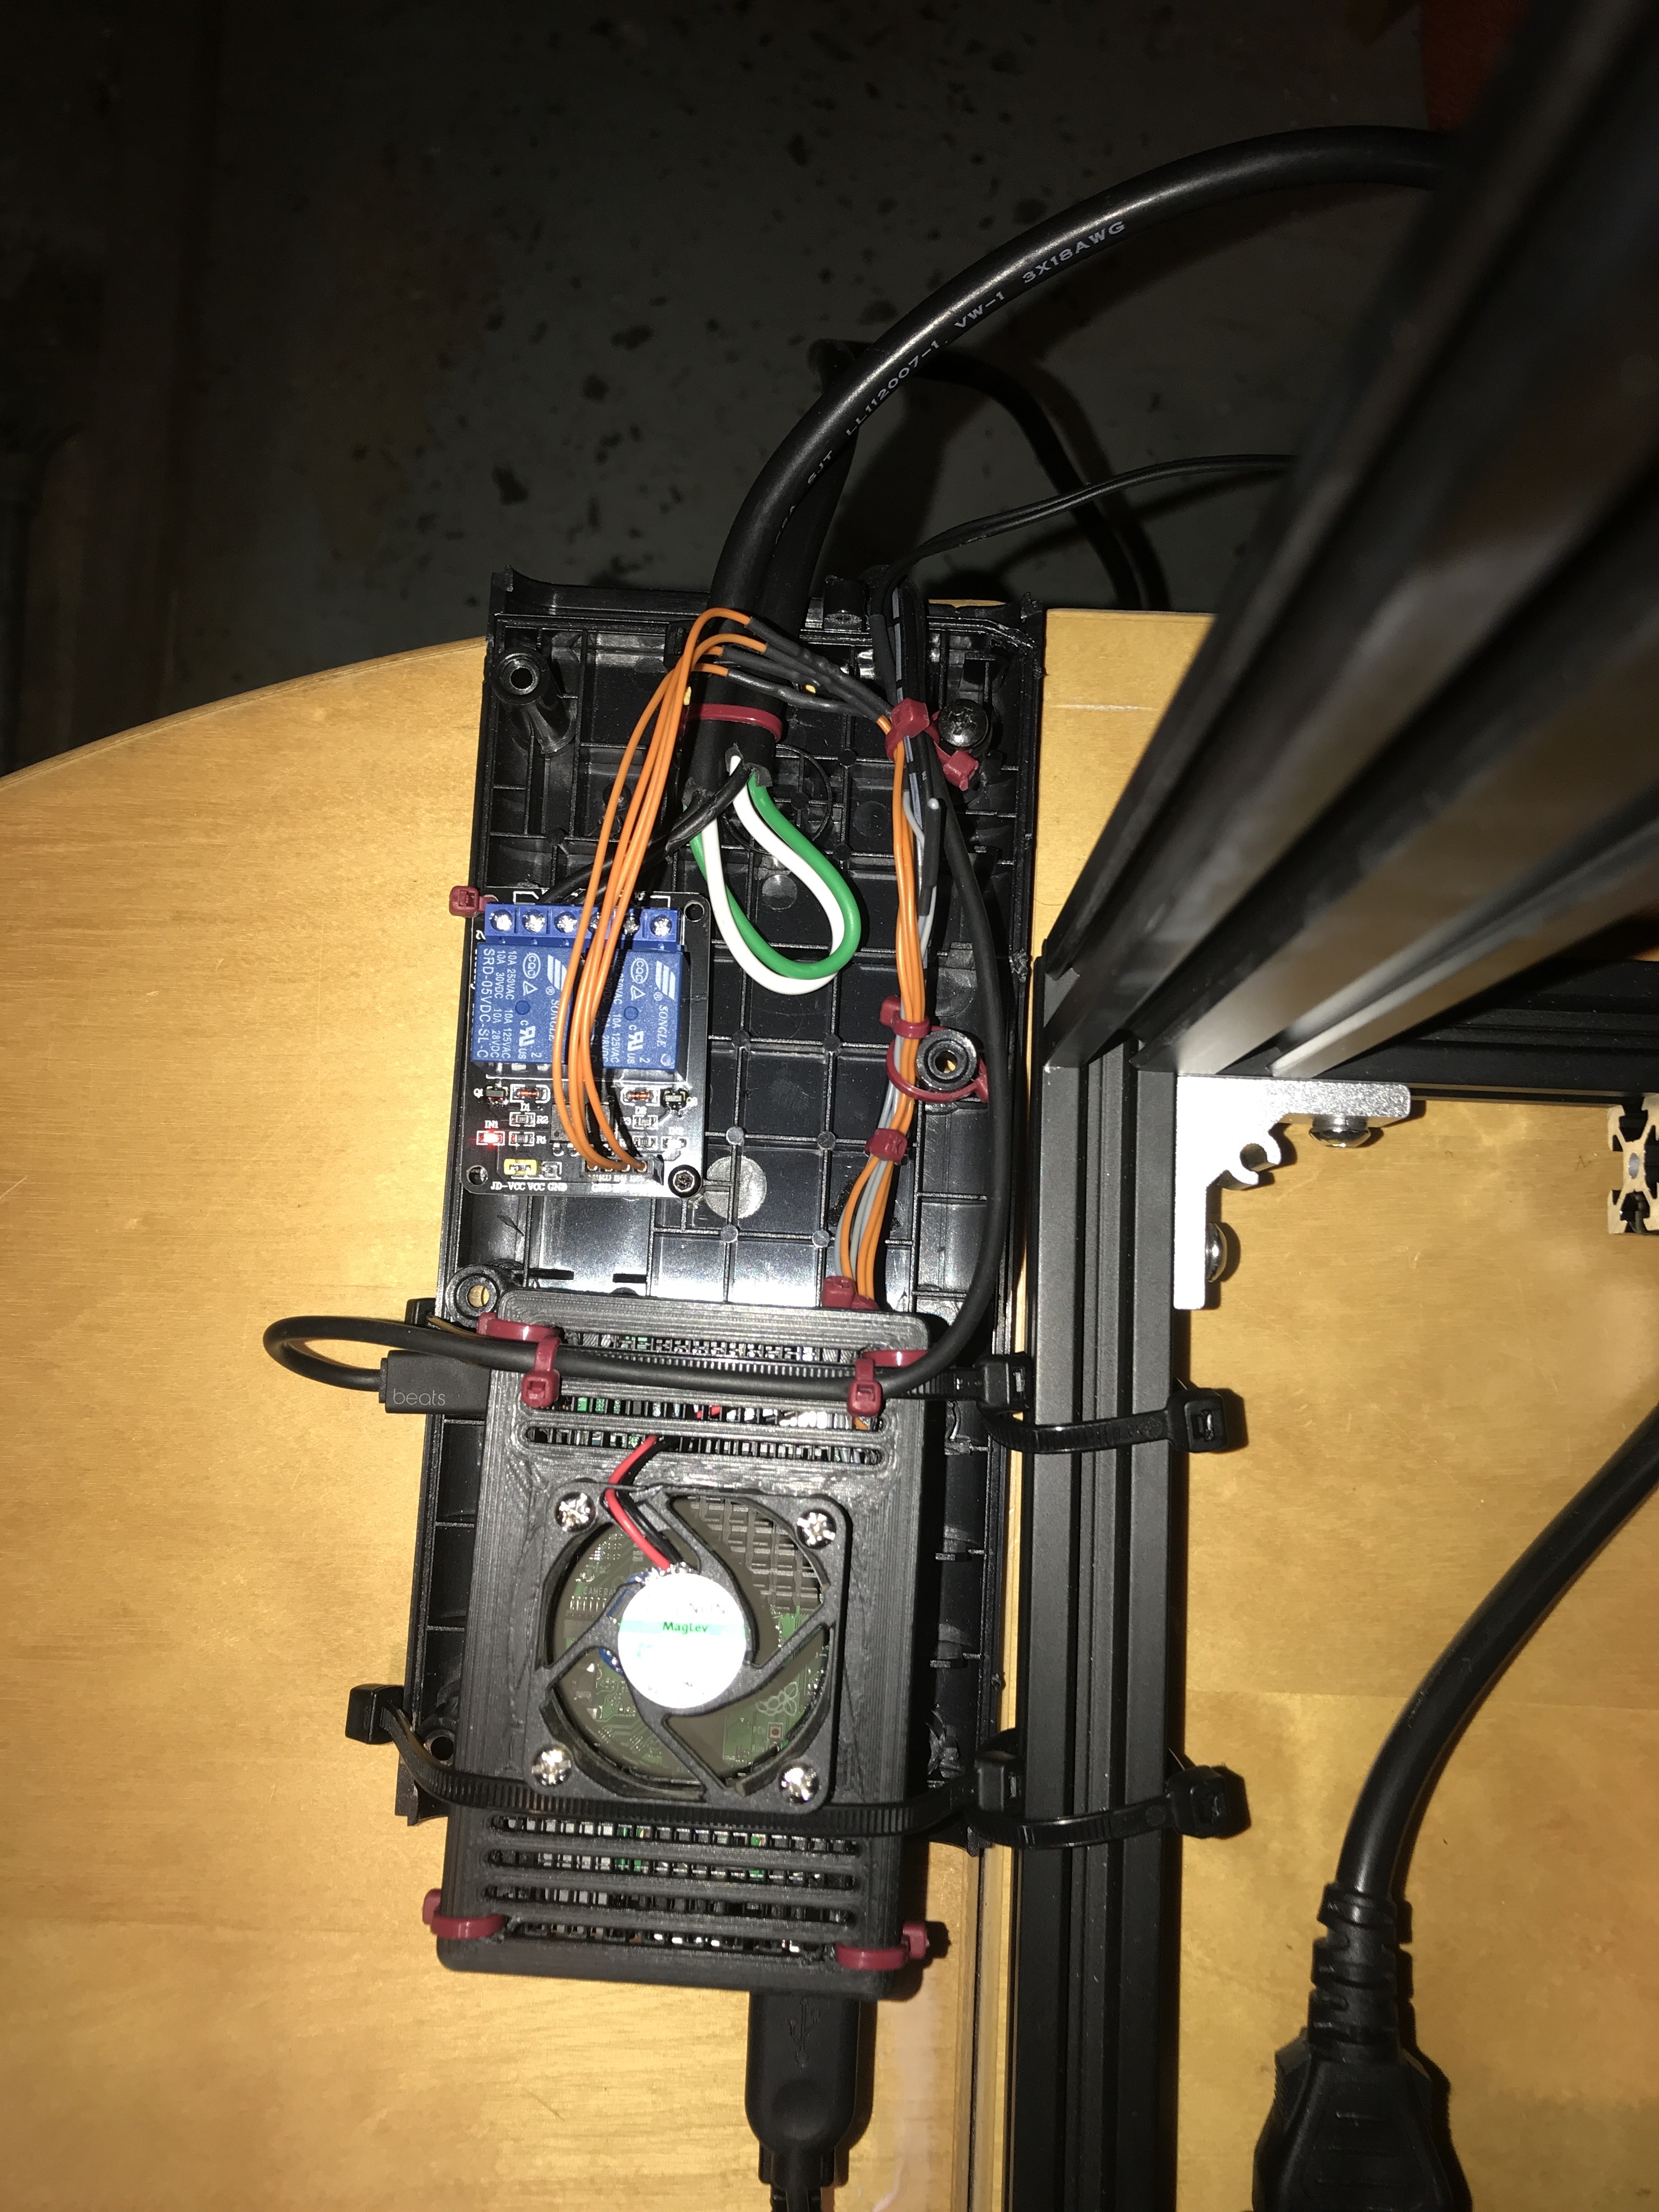
Here are some of the extras I have added (some of my power add ons are redundant). Also I must add you should NOT leave your printer unattended especially while sleeping. My set up does not negate the need to monitor a printer.
-Power supply control through the GPIO pins on the pi
-Filament run out / sensor linked to the pi (not the printer)
-Lots of great plugins for OctoPrint
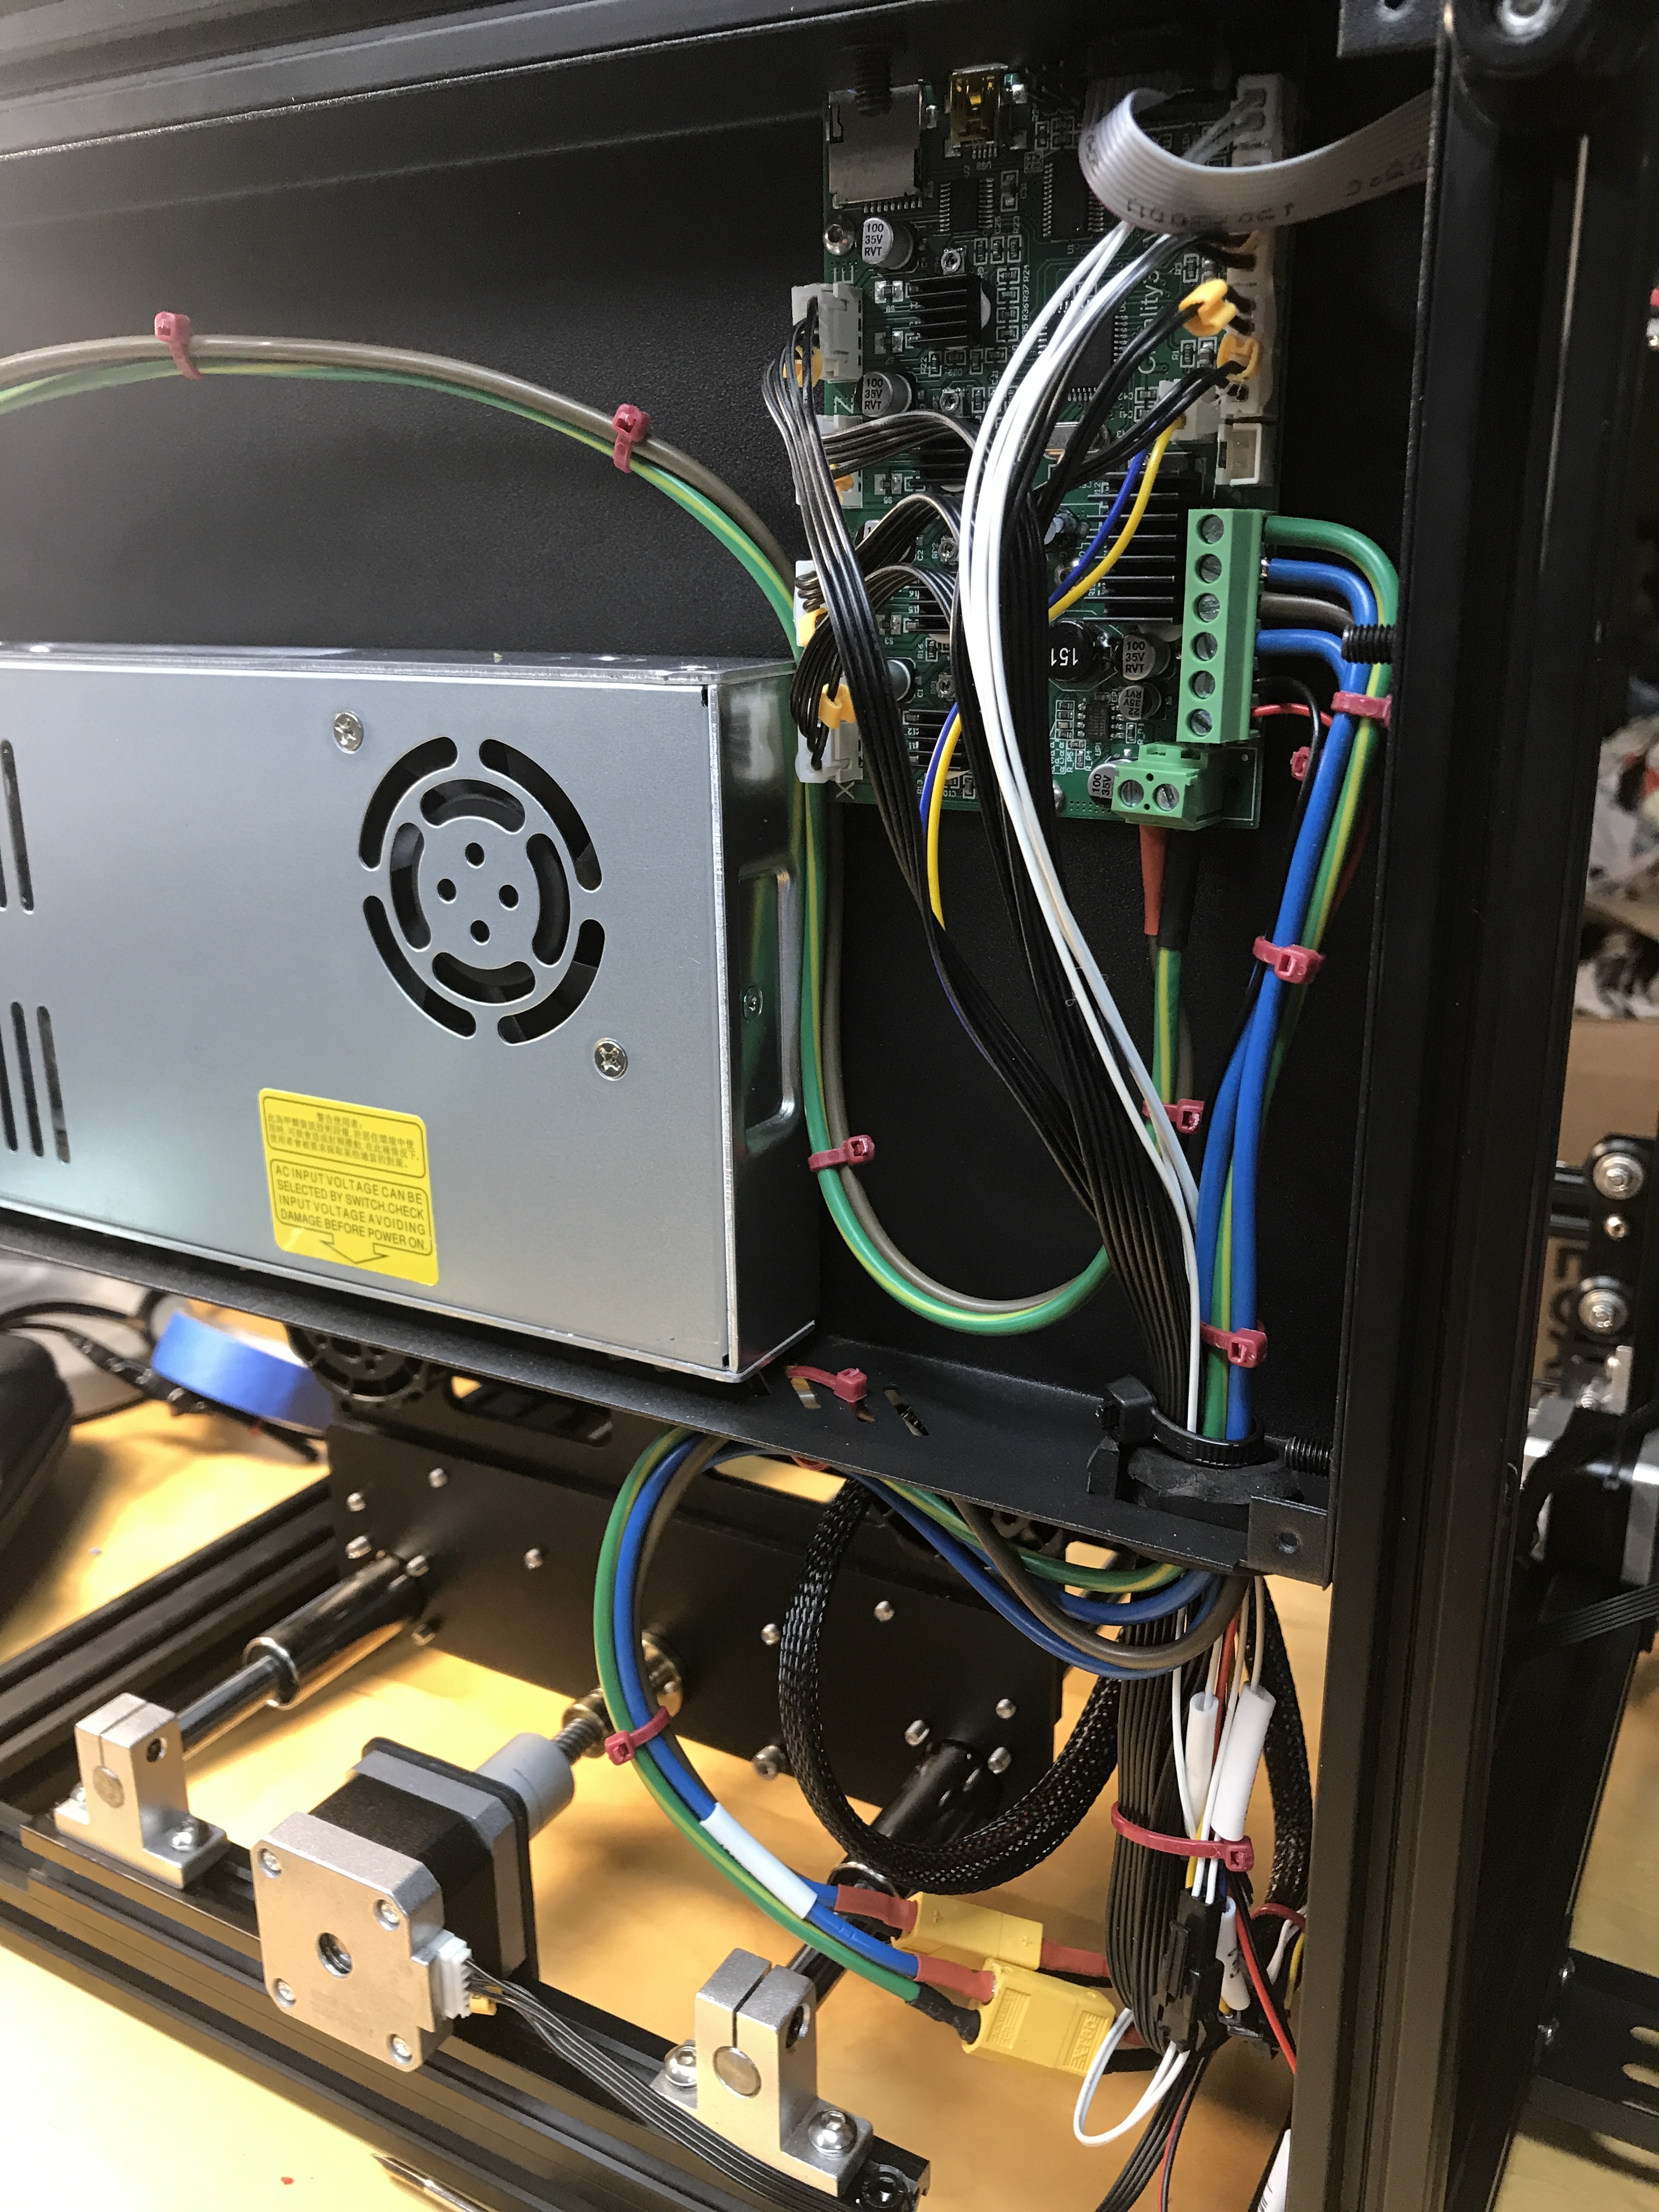
-Glass print bed
-Upgraded wires for the Hot end and heated bed with new 60amp connectors (my goal is a all metal hot end and new mainboard once I figure out how to do it)
-New nozzles to play with .25, .4, .6, .8, & 1mm
-Currently the whole set up is running on a large battery back up (enough to run the set up for about 2 hours)
-Lutron controlled outlets so I can 100% kill power remotely
-Fire alarm tied to my security system right over the printer
-Auto fire suppression over the printer
-Auto thermostat switch to kill power in the event of a fire
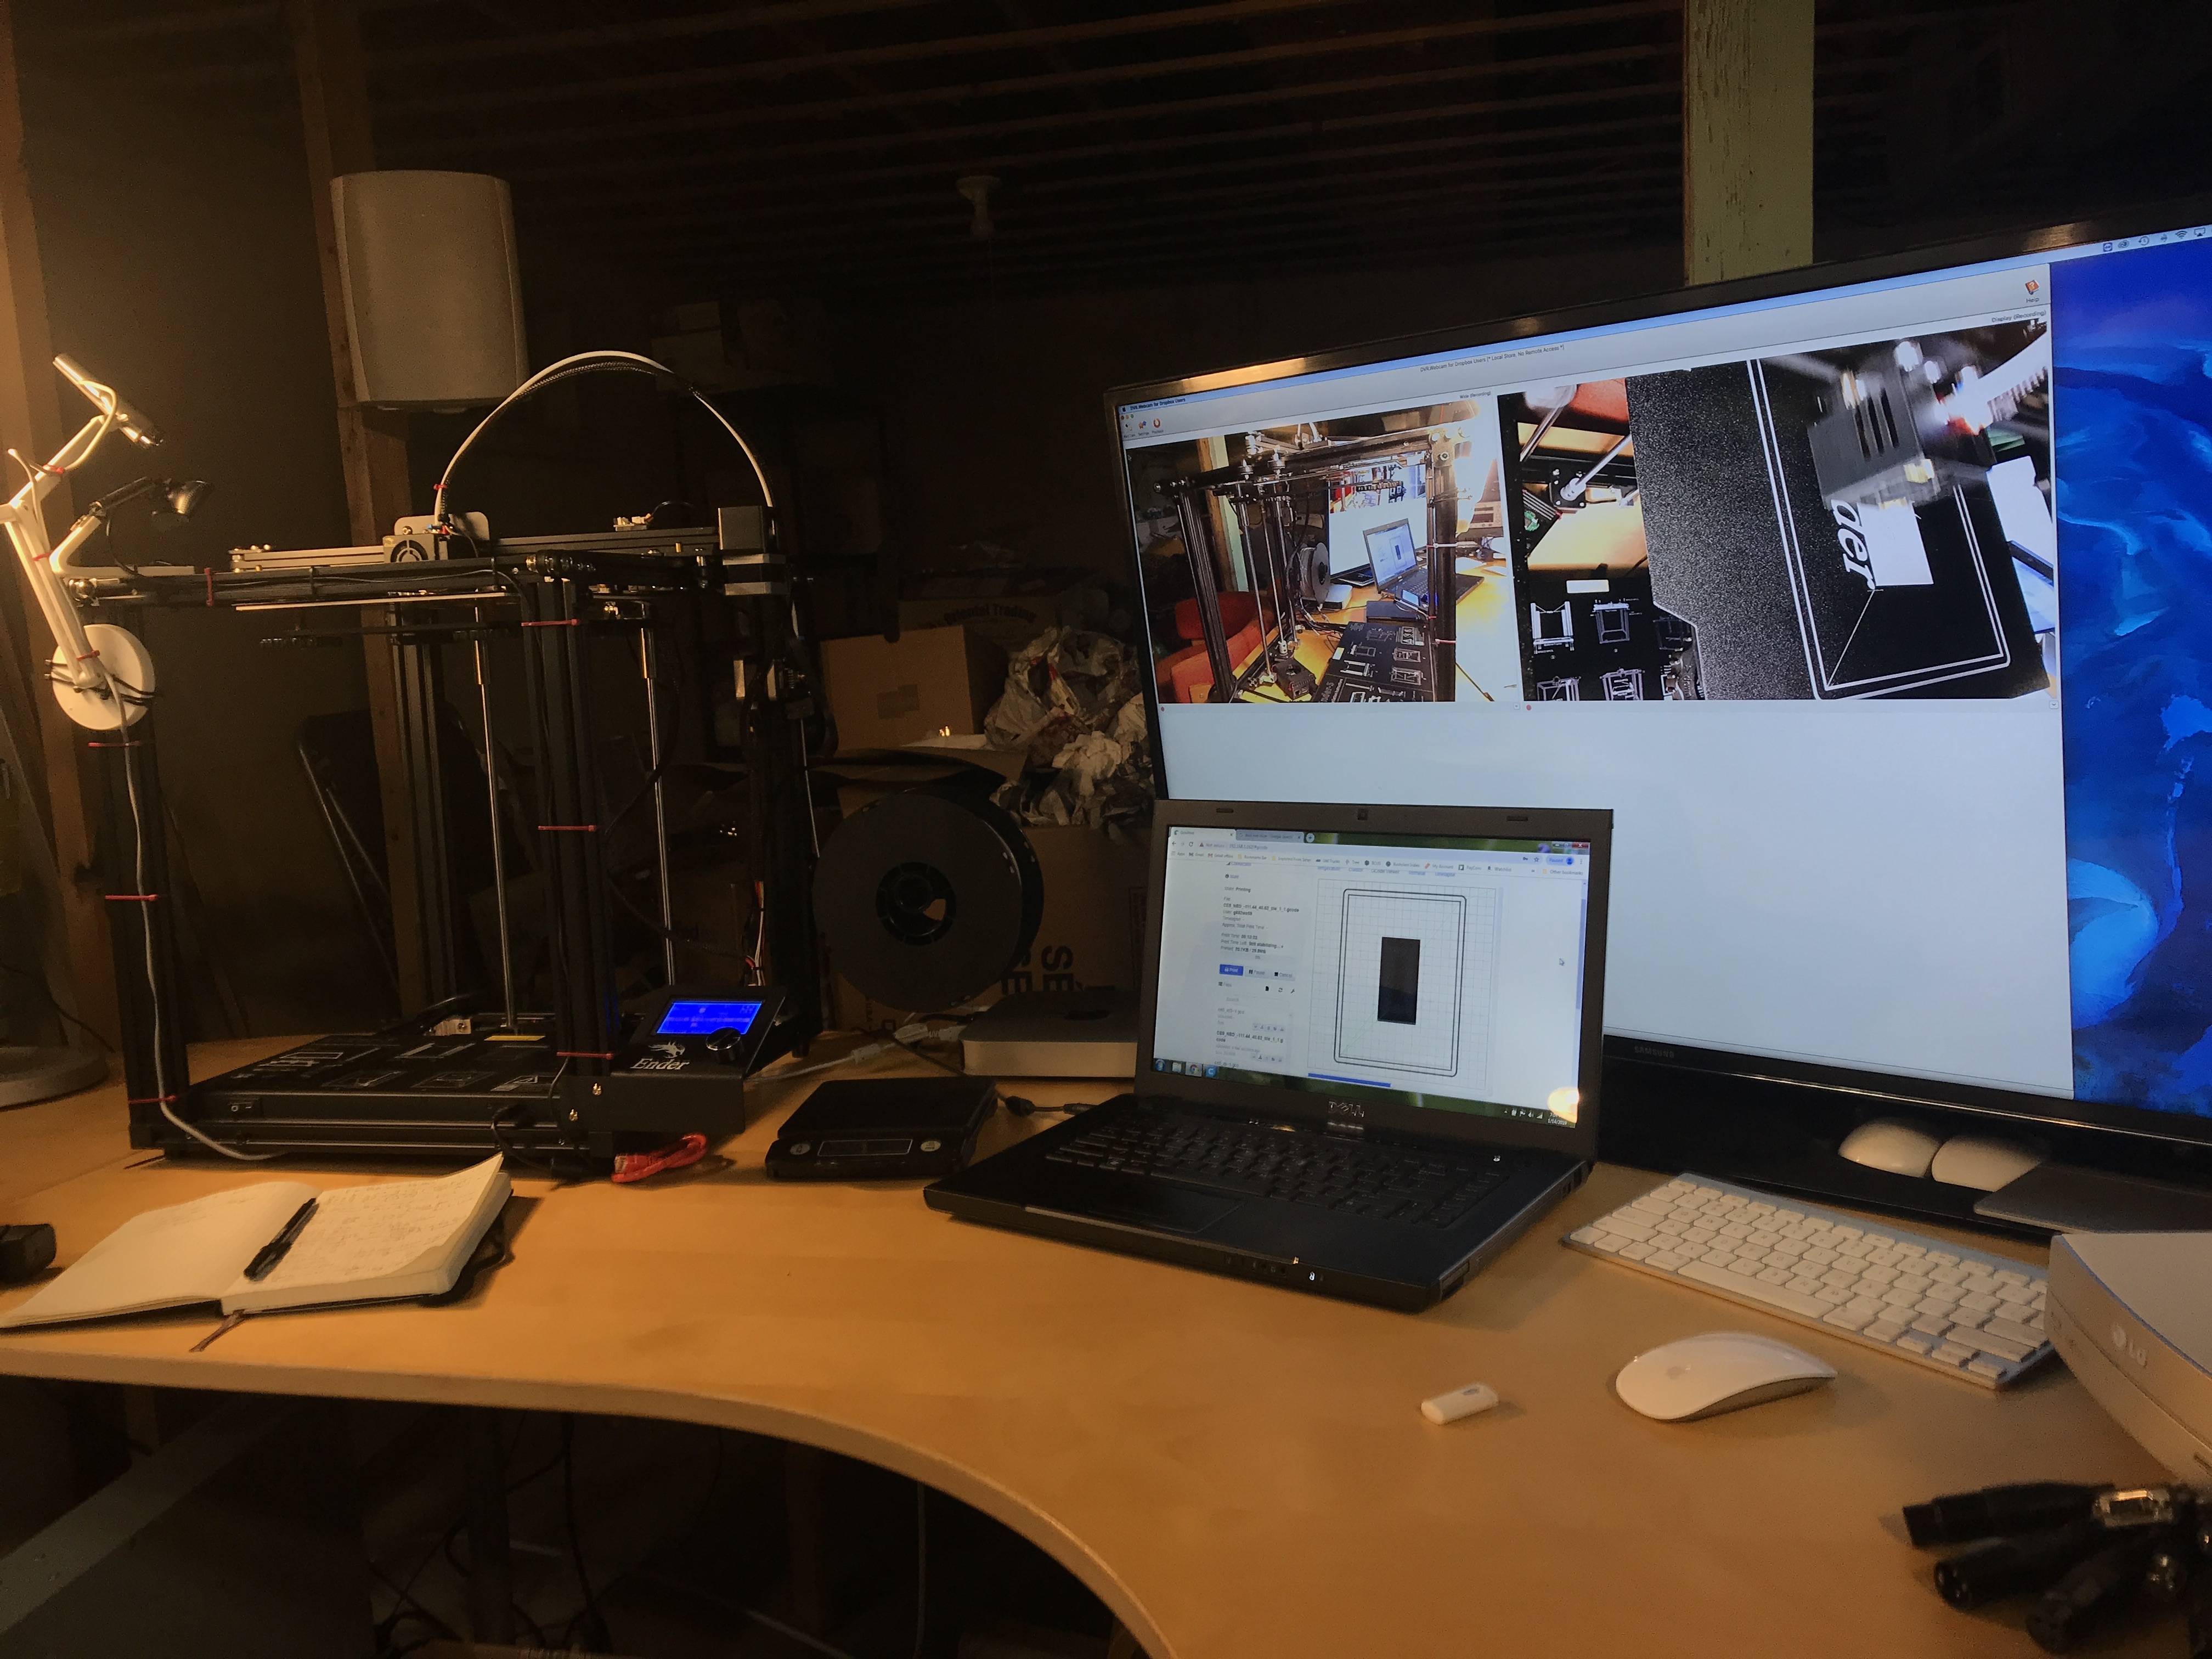
-Teamviewer on my Mac mini next to the Pi to view OctoPrint remotely
-Camera angles to watch filament, Ender display screen, and the print bed
Not sure if this answers any questions or is more confusing but feel free to ask anything else and I will do my best.
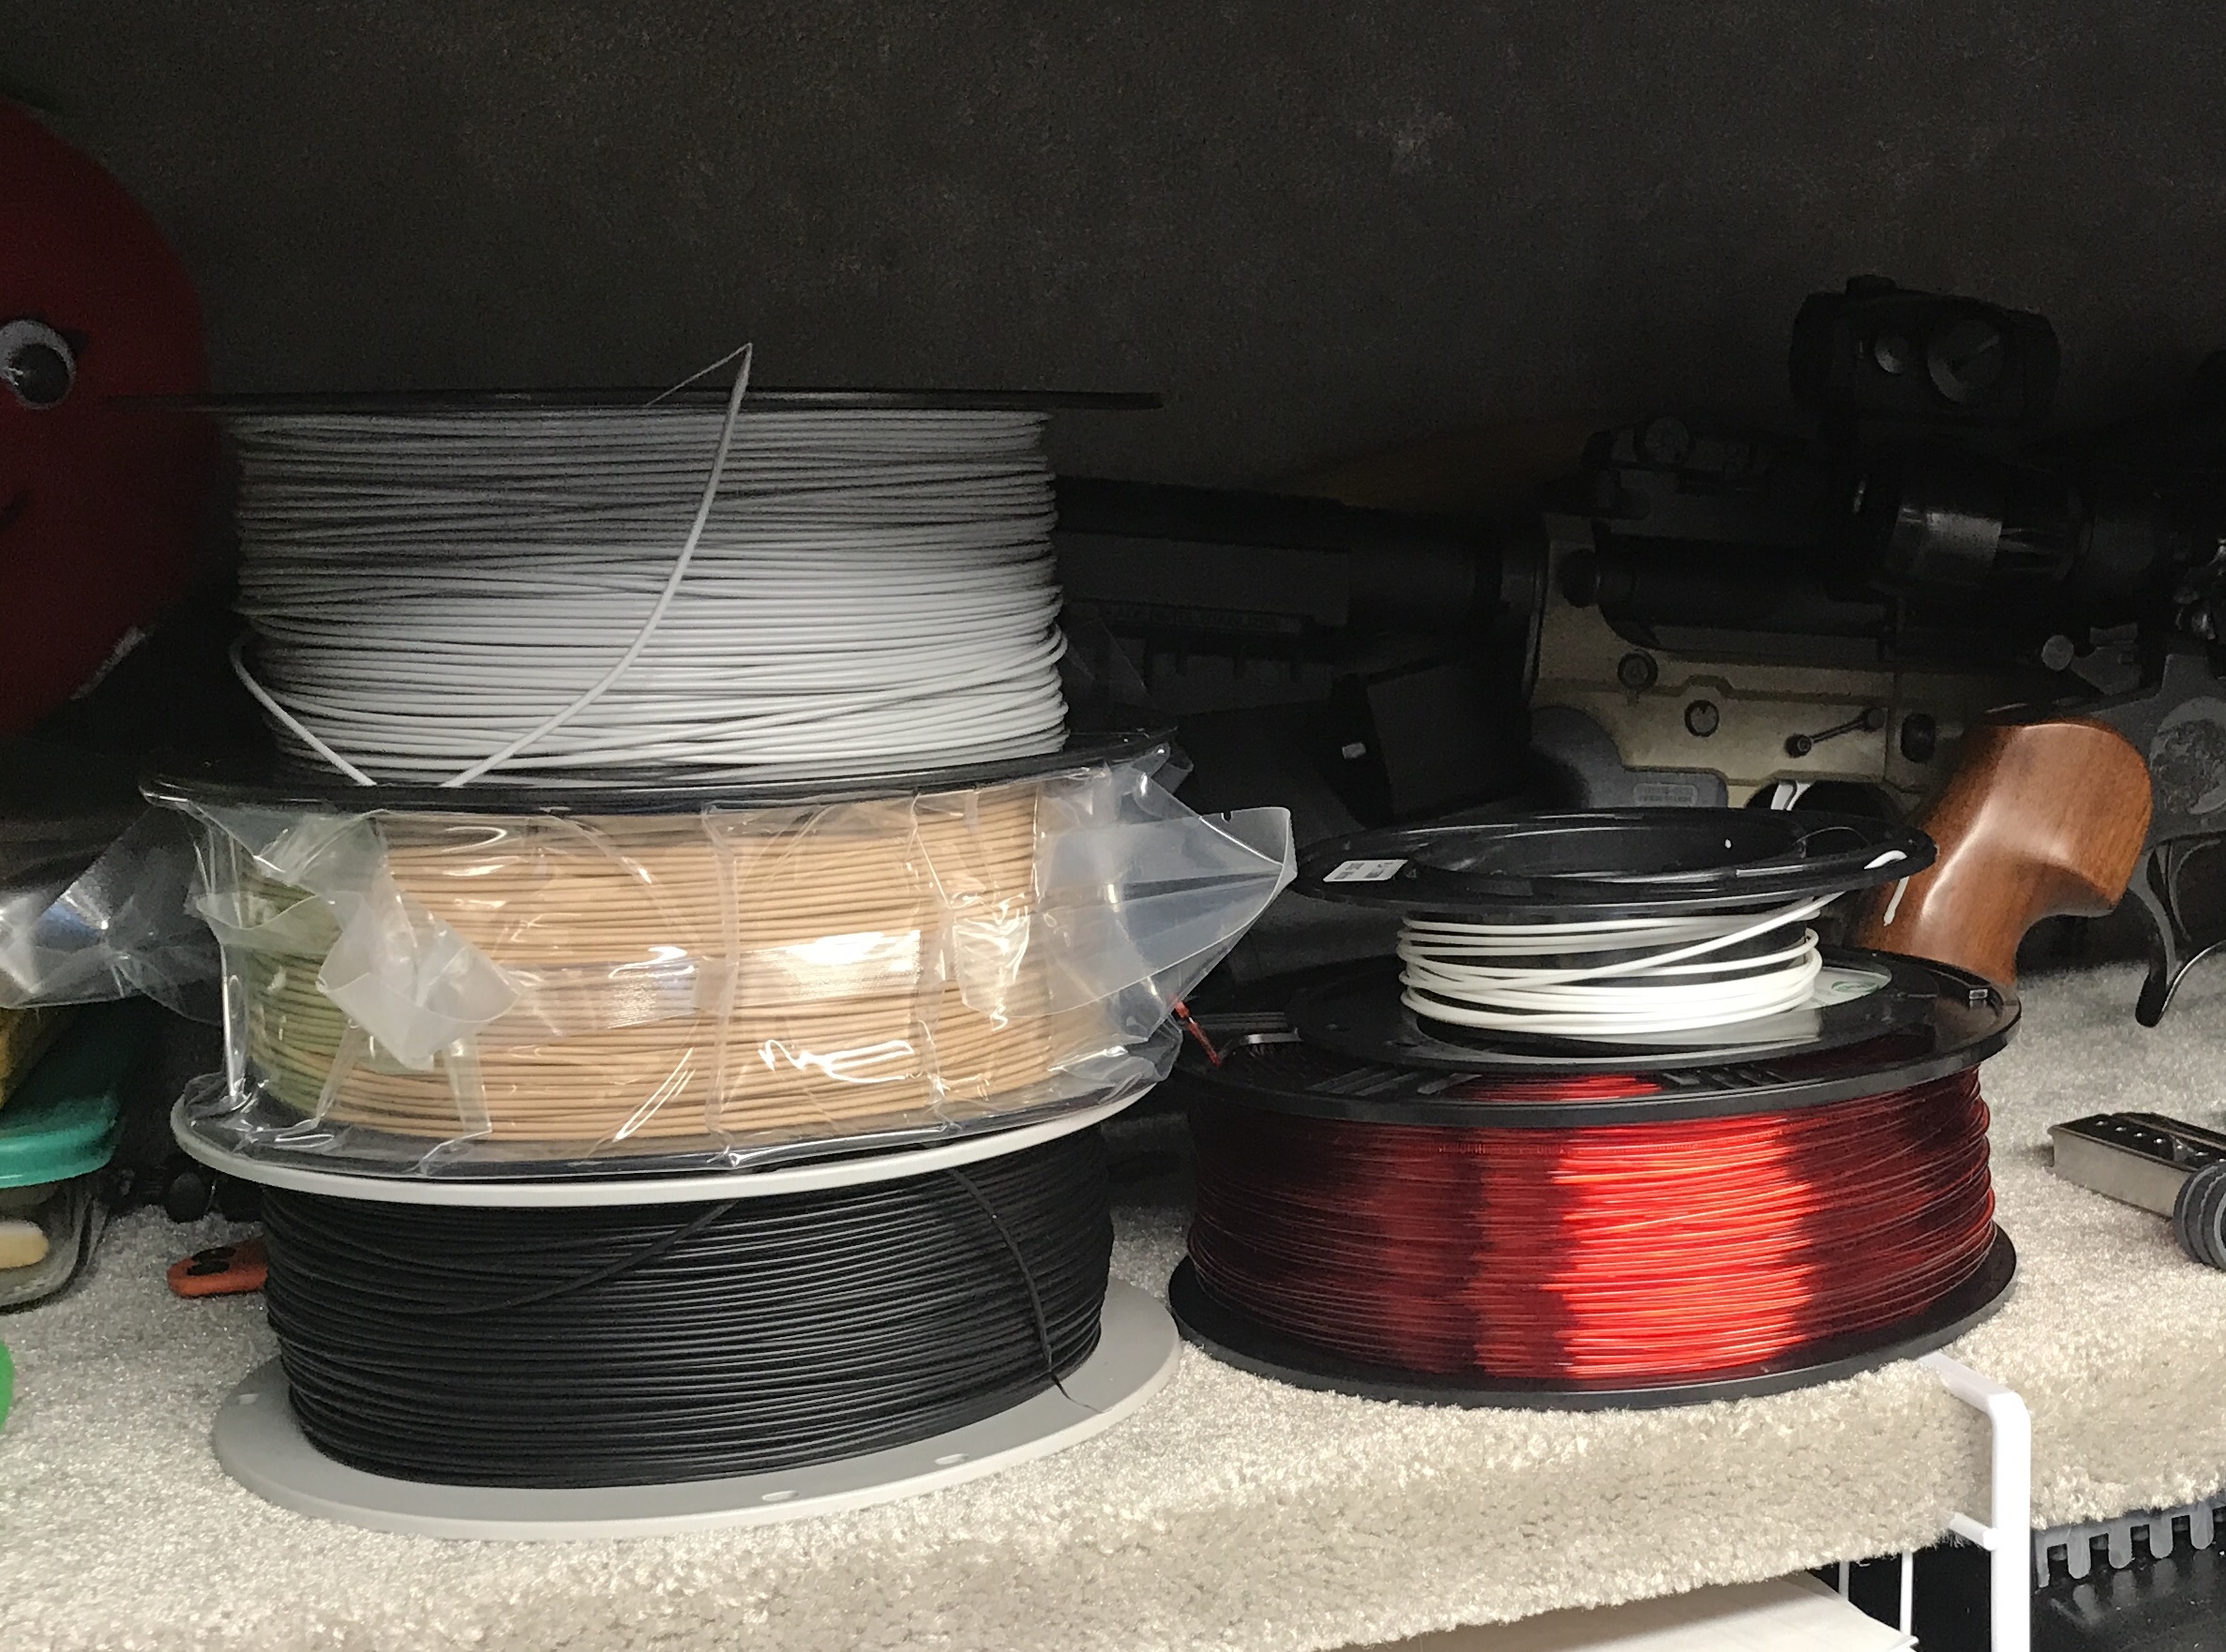
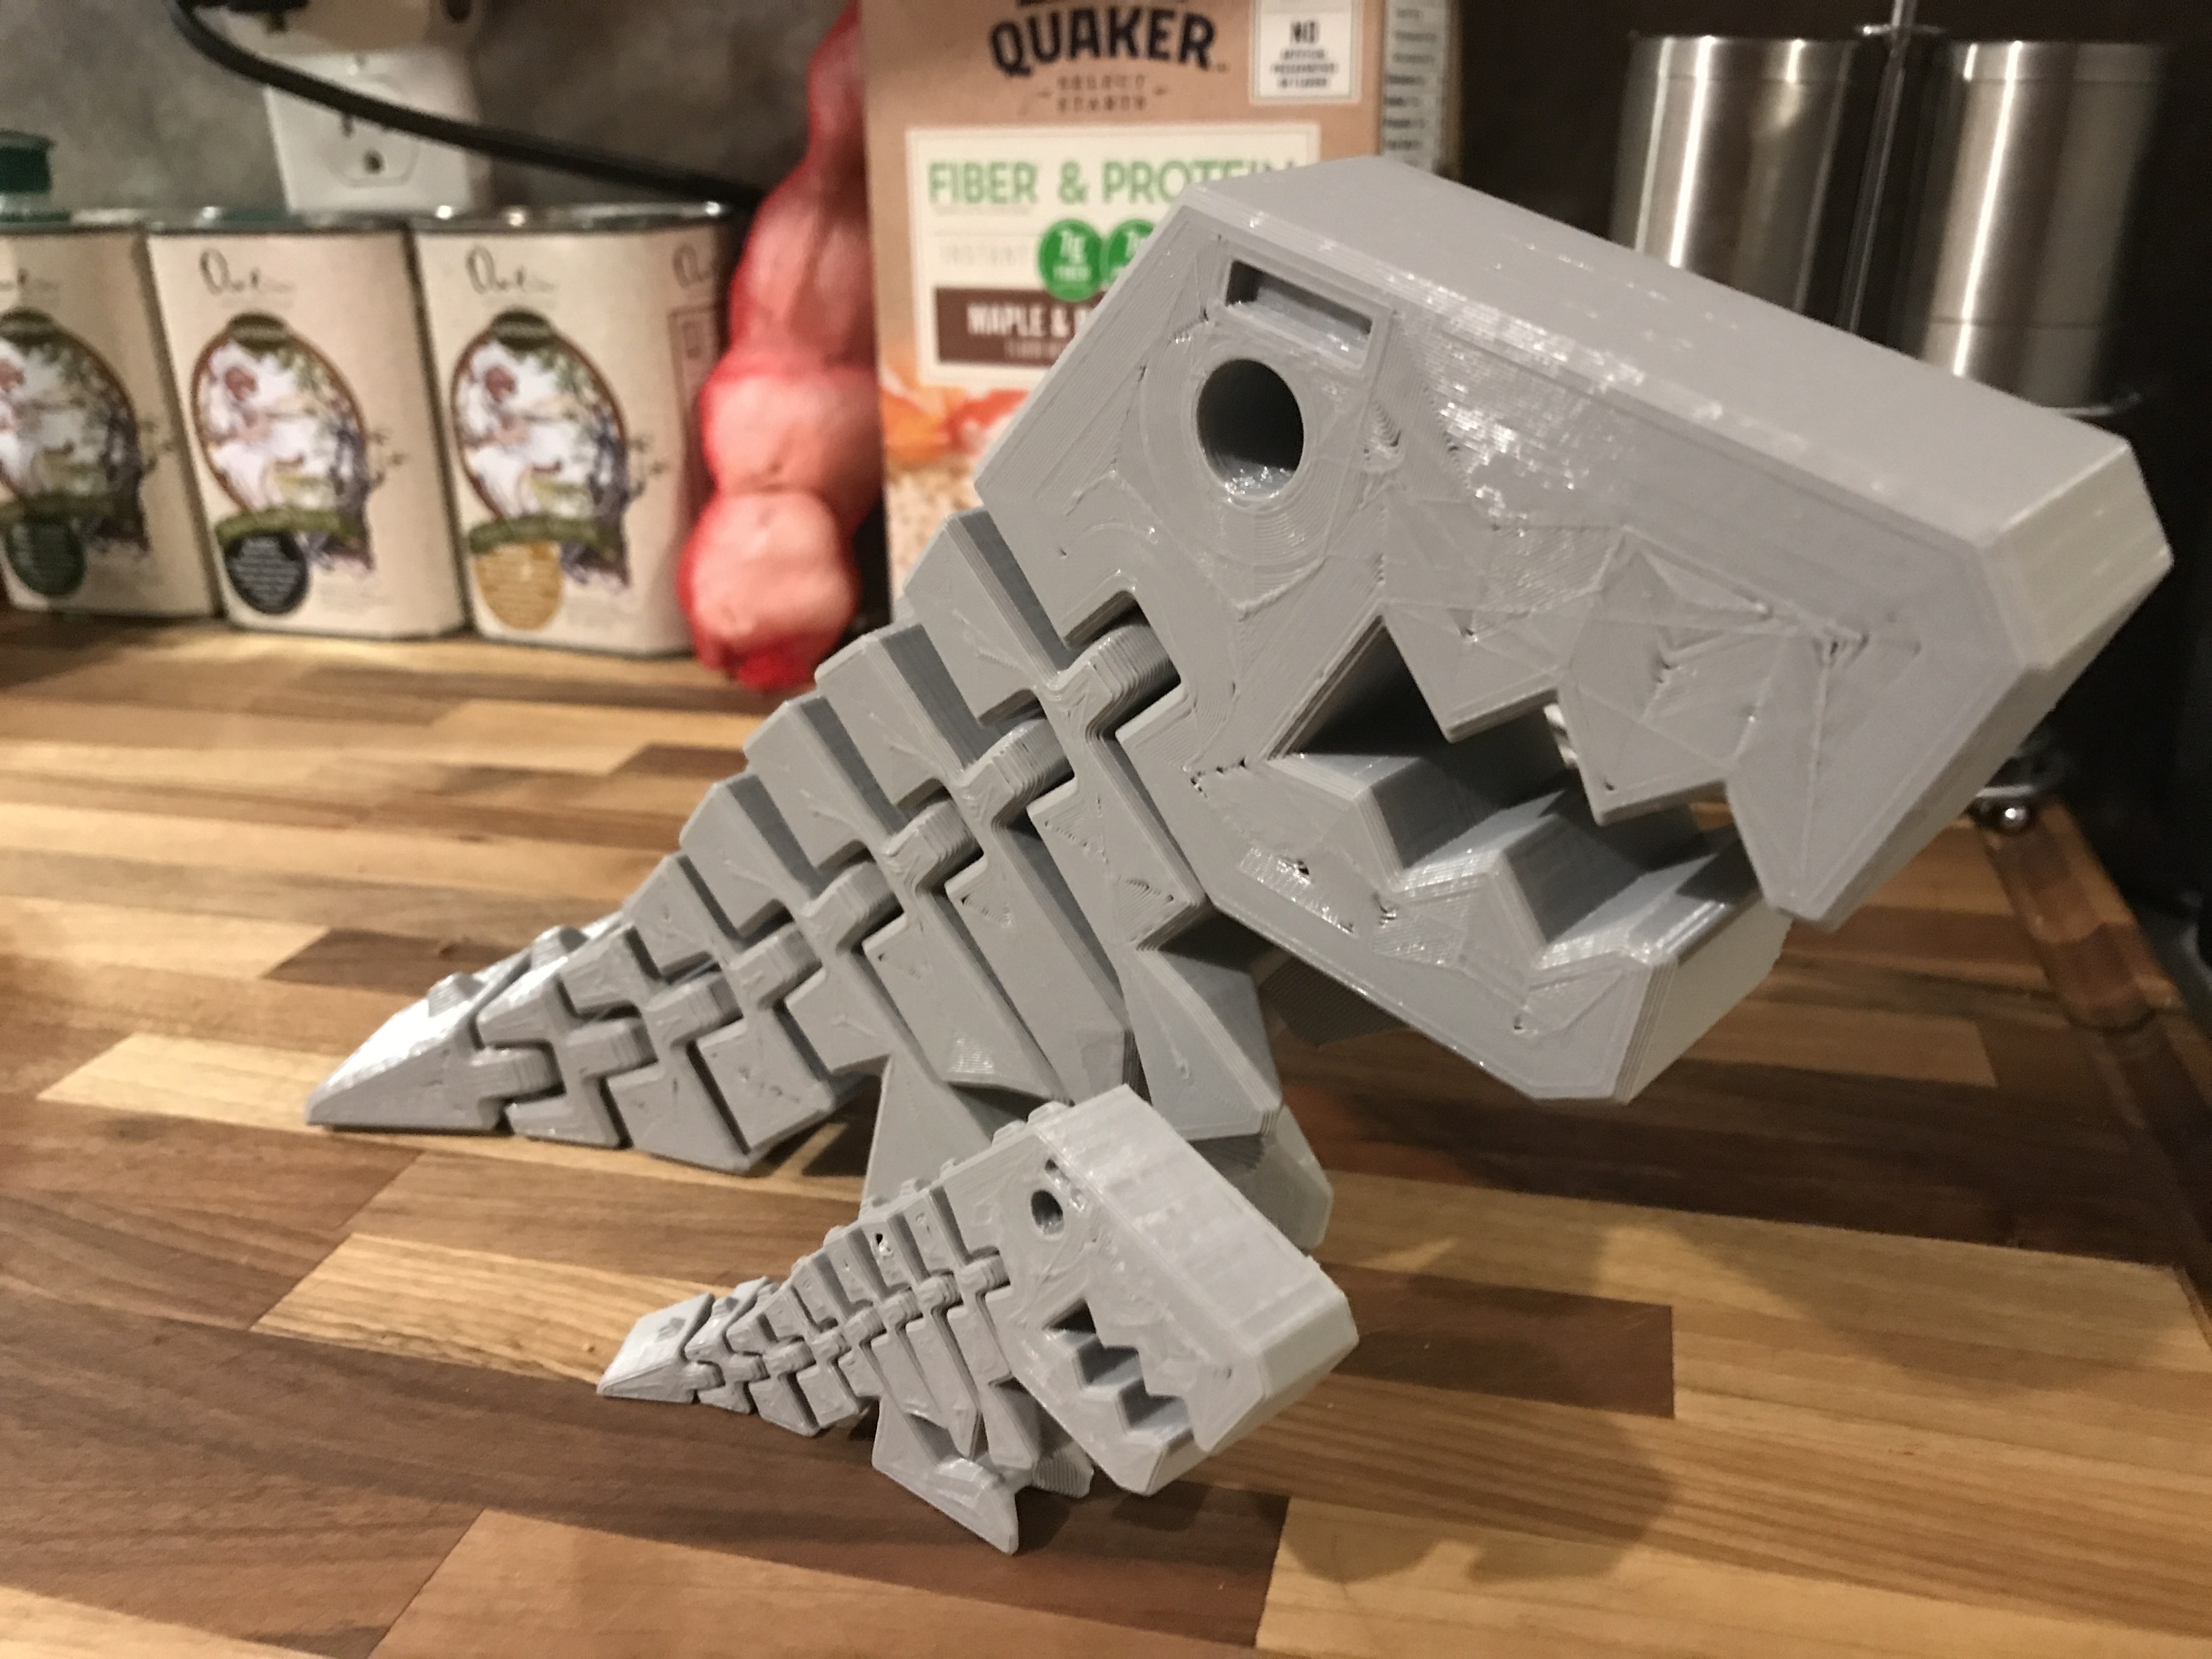
Here are some pictures of my set up and prints. Ignore the bad Pi set up i`m working on a enclosure.
Nice Jason,
I also have an Ender 5. My Brother-in-Law has an Ender 3 and recommended the 5 to me. It's a little harder that the 3 to find info on, but basically the same. I'm running Octoprint as well (new to it). I've figured out the single relay, but not a second.
I'm on a huge upgrade path and will share anything I learn along the way. I've upgraded the board to a Duet Maestro - it's pretty awesome - it has it's own network interface and you can also use Octoprint. It has TMC2224 that make it way quiet. I'm currently trying an SKR V1.3 contro board with TMC2208's - also very quiet. I like the Duet much better but it's also quite a bit more expensive.
My eventual setup will be (and I have most of the pieces, just haven't wired it up yet)
-Duet Maestro control board
-seperate power supplies and Mosfets for the bed and hotend
-Octopi with relay board and camera.
Nice thing about the Ender 5 over the 3 is that you can attach a 16" piece (or 2) of DIN rail across the back. My power supplies are DIN mountable and I've been printing DIN and 2020 mounts off Thingiverse for all my controls etc - to be mounted across the back.
It's a work in progress.
I have a new baby and have been working 12 hour days. I'll be able to put some time into it on Thursday. I'll post my progress Thursday Evening.
Here's the walkthrough I used to add a 4 relay board to my printer, all controlled through the OctoPrint interface. I had to write up a few scripts to toggle the things I want toggled, but it wasn't too bad.
edit: It seems to have been changed since I last used it. I went with the wiringPi route (The Manual Way in the link above) to set up scripts which control the GPIO pins, which are connected to the relay board to switch the printer on/off and to turn lights on/off.
That's a great path, although, not exactly the way I did it
What I did was take some parts that I shouldn't use, and connect them in a way that they aren't supposed to be connected, in order to make something that technically shouldn't work
But if you study Bistromathics, you'll find that if you multiply enough negatives together, you'll eventually end up with a positive...
Or start a fire
Unfortunately you have to actually connect everything and turn it on in order to see which way it goes
Hello all. Just joined the forum to ask a question and to my joy the fifth one in the list is exactly what I wanted to ask.... this one.
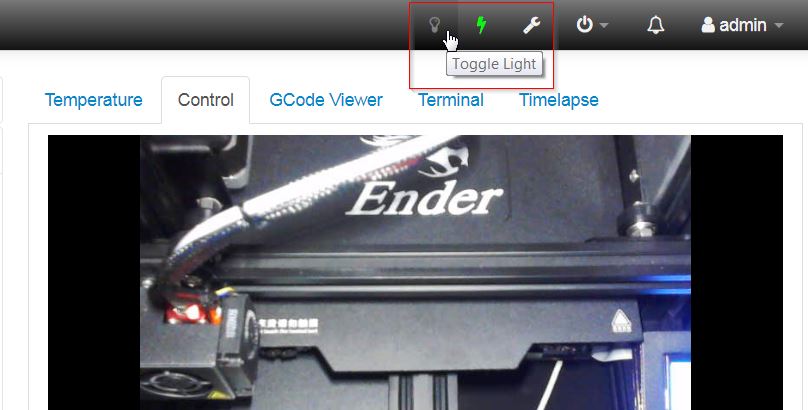
I was wanderig if it would be possible to make a "clone" of the PSU Control pluging, that works exactly the same except for the little icon in the top bar ... lightbulb instead of a lightining rod. I have no idea how these plugins work so I'm hoping theres some developers here who are up for a challenge.
I know this is a old thread but thank you so much for posting about the light control plugin. I finally got back around to printing after my second kid was born and it was awesome to find the solution to my problem right here!
I know there is the Enclosure plugin, but it is just overkill for switching the lights and does not work like I want.
It is a shame that this plugin is not maintained and also that some functions have been removed. The timeout for example. Also the invert switch breaks the plugin for me, so when i reboot the rpi light comes on.
I tried changin it myself but i don’t understand how it works and i dont feel like messing up my octopi.
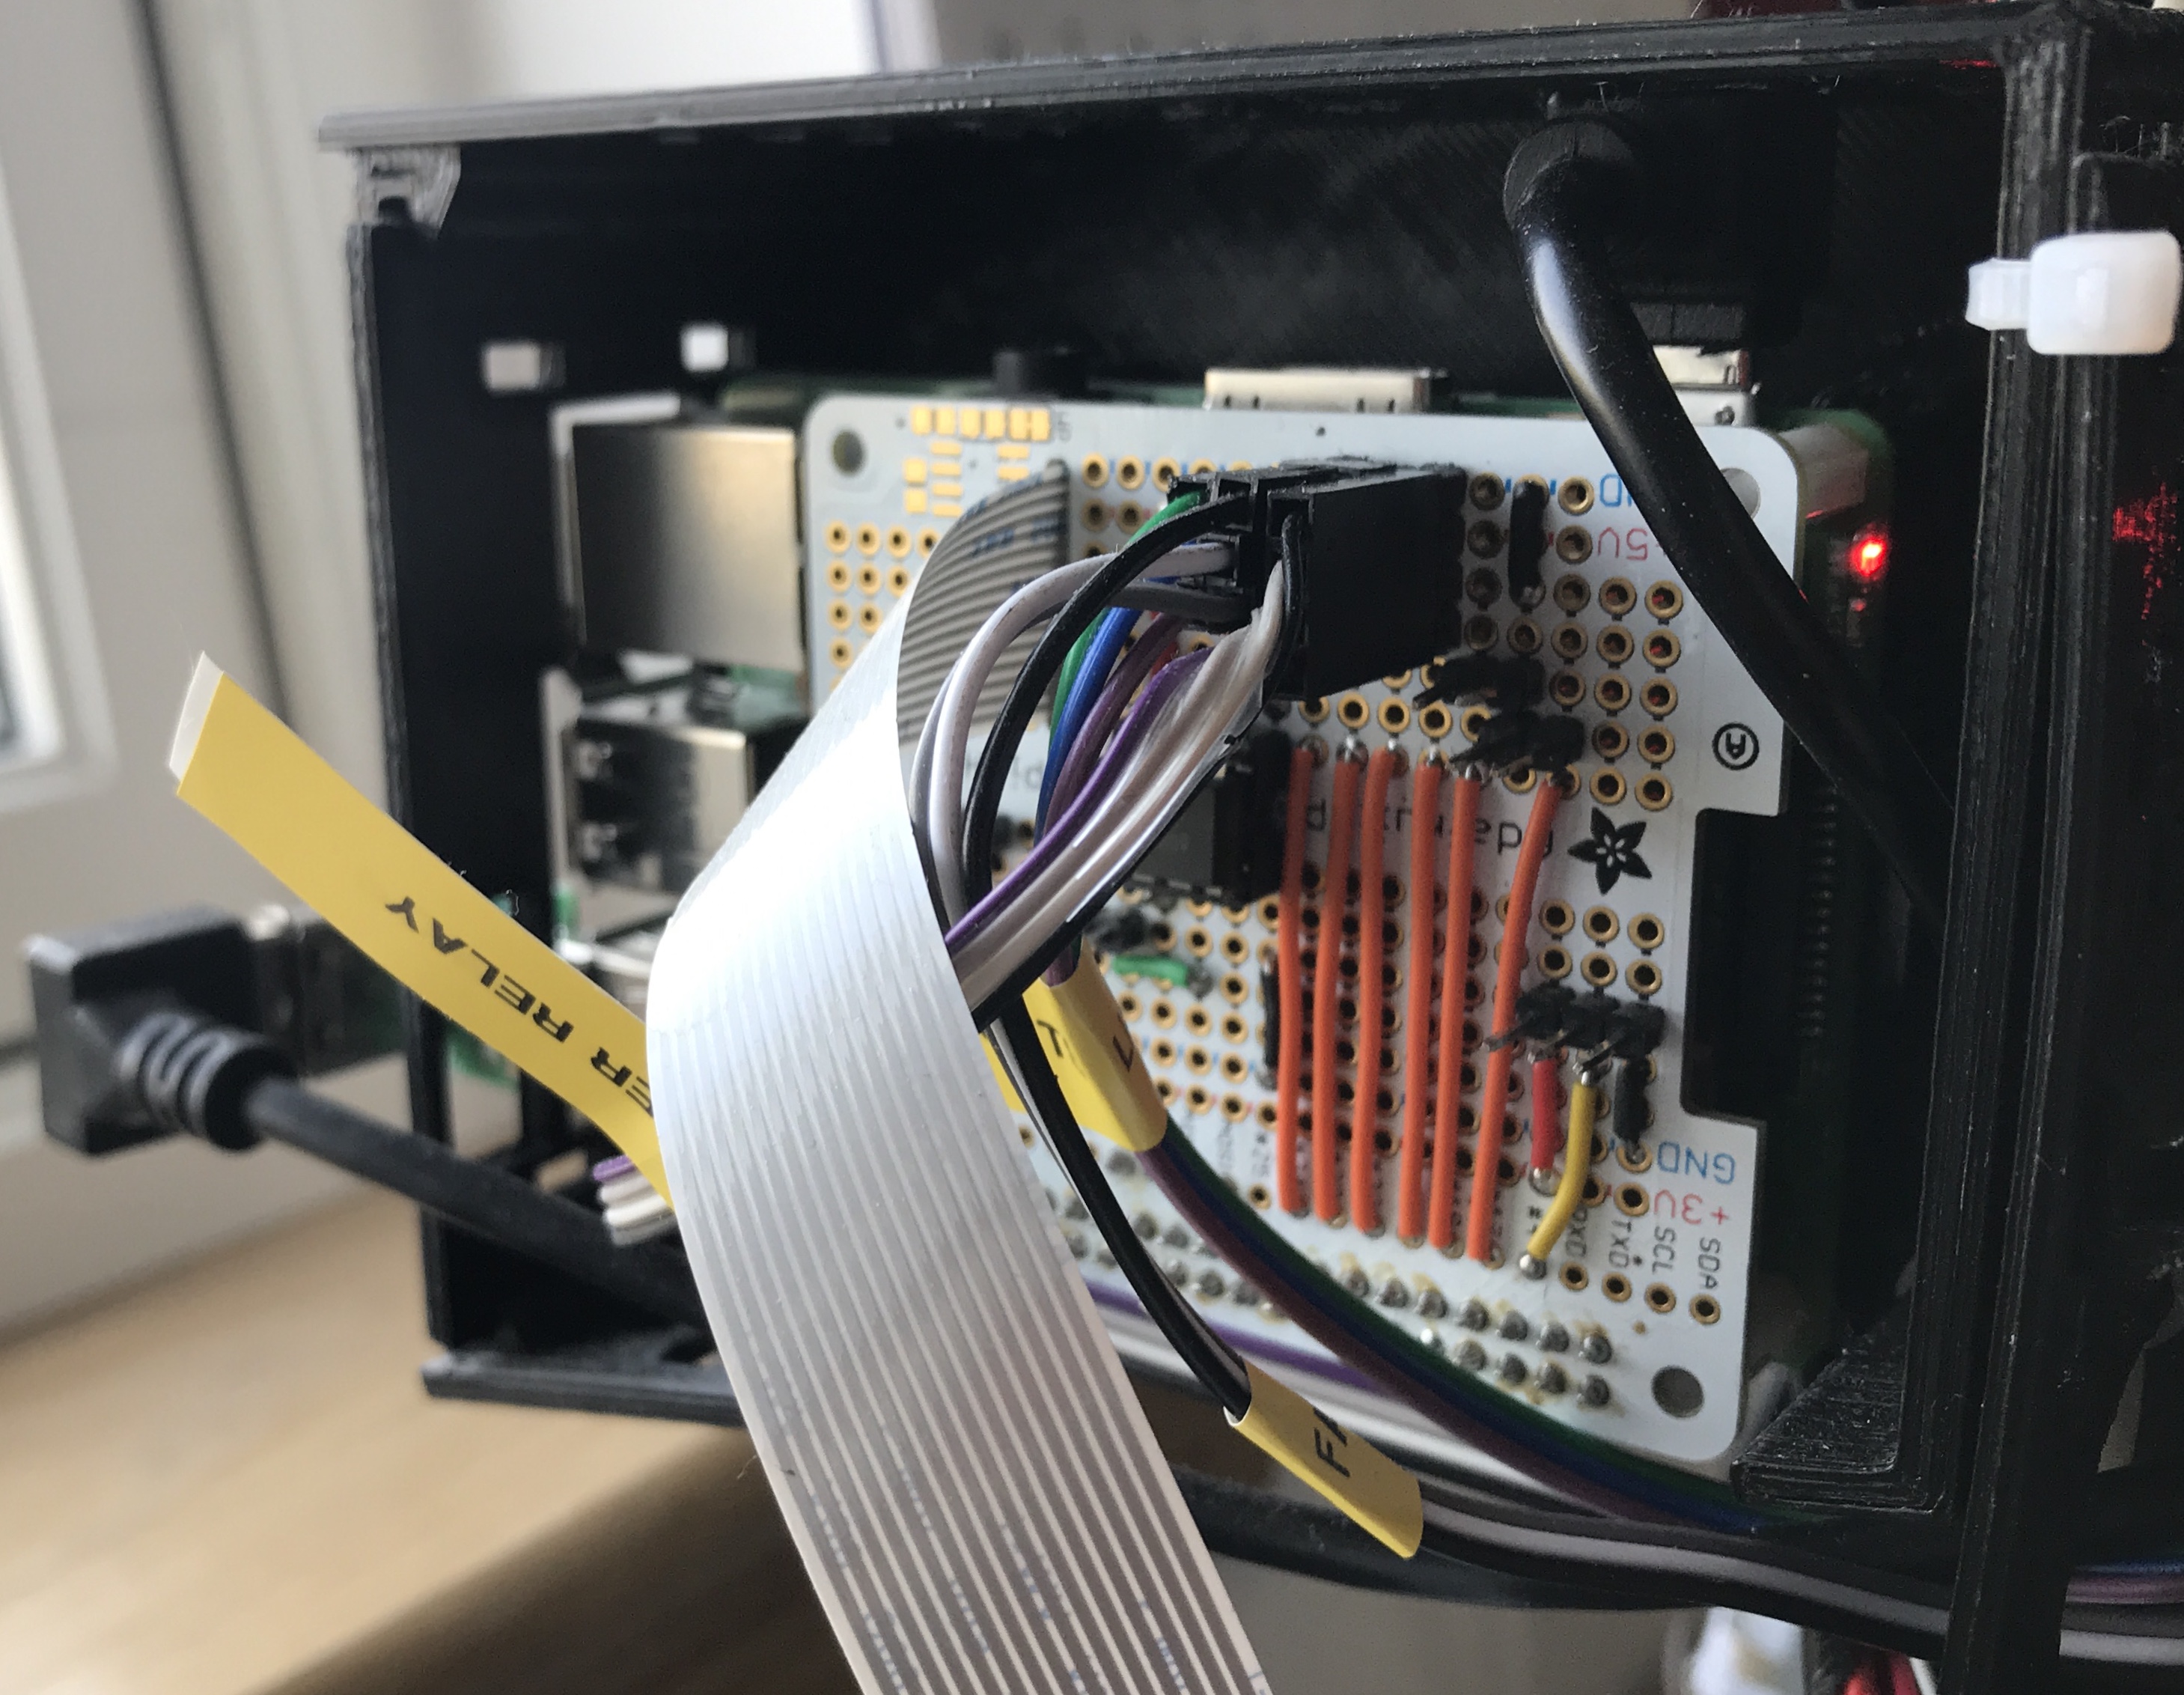
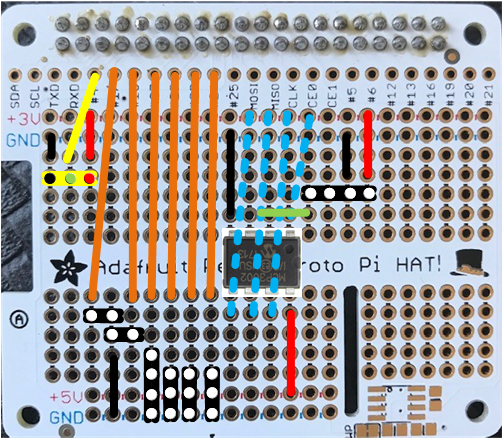
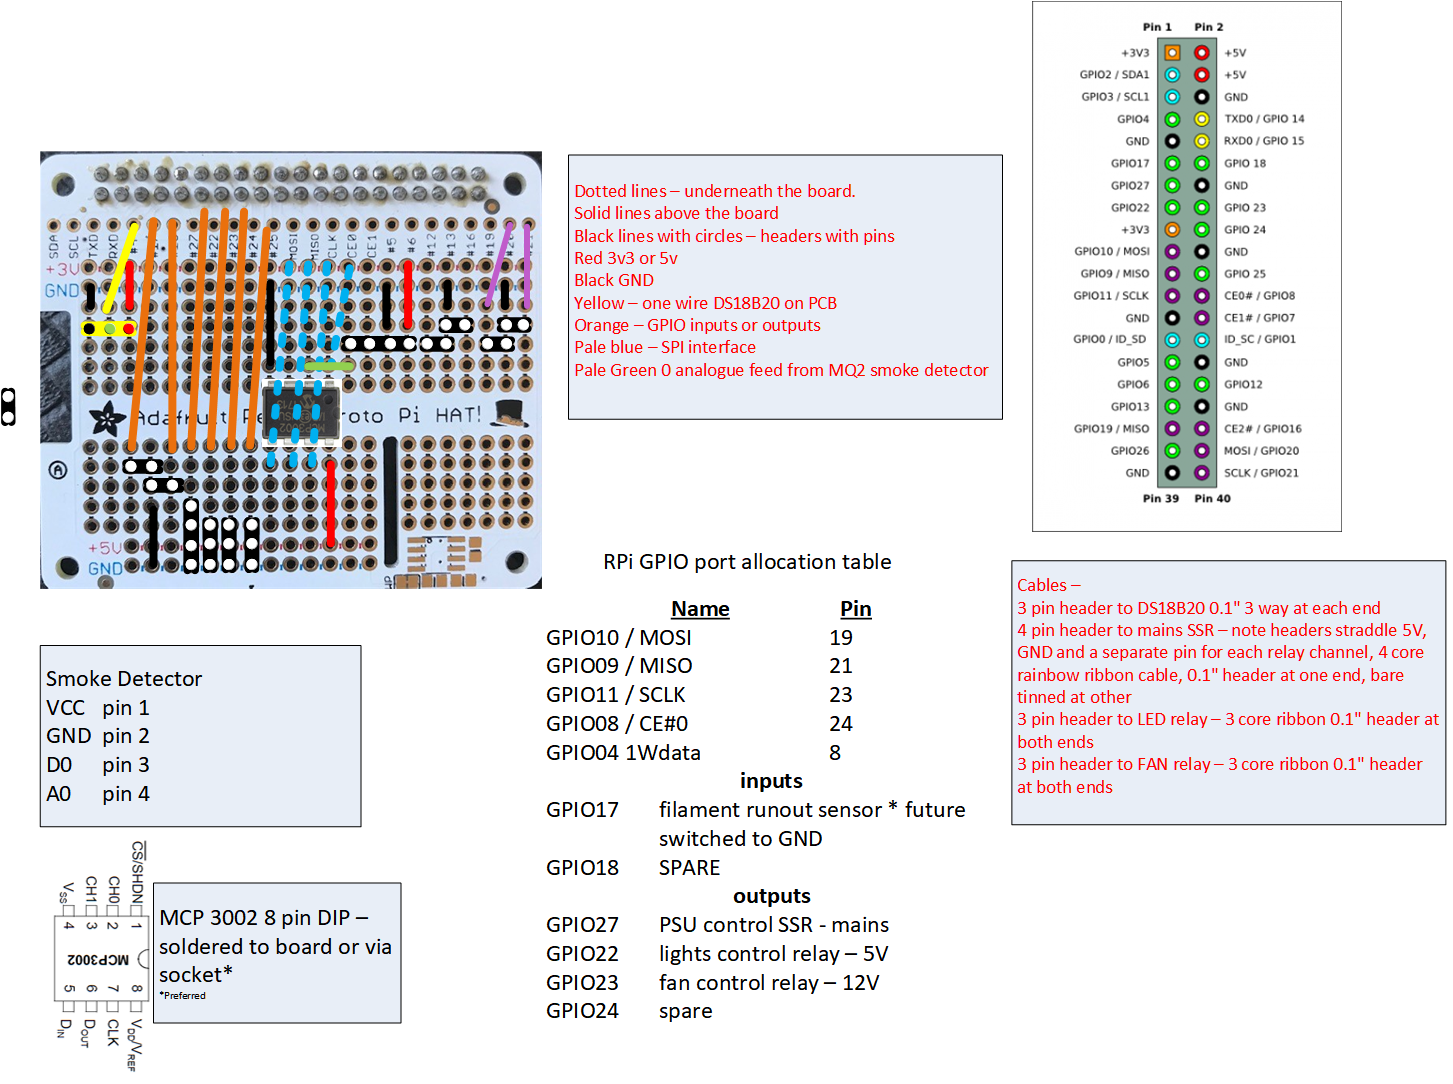
I have some scripts that install off the Power Button on the menu bar, these control On/Off relays for an Anet A8 and a relay for the 5V LED light strings, one is round the extruder, the other on a carbon rod across the back. The I/O board plugs directly onto the Pi GPIO header and provides access to all the GPIO - there's an ADC convertor and headers for a DS18B20, push button switches for headless control and a few spare GPIO points brought onto headers, just in case. I use Adafruit HAT boards [without the HAT PROM].
I got all the casing and cabling sorted out, then hit a problem, the casing fouled on the X stepper, so its hanging off the back, where its been for at least six months but it works. Spaghetti wiring offends my eye so this took a lot of planning.
With respect to my own ideals of asthetics, if a jumper can be under the board then it goes under the board. All the pins are "pretty side up" unless it's a jumper that you really don't easily want to do... like 12V versus 5V input or something.
I love these Adafruit Perma boards, btw. I've ordered so often from them that I have a stach of them.
I agree and had the same issue. I am running it backwards so if I restart my light will turn on when the Pi reboots but when the Pi is off the light will stay off. I wish the invert function worked as its a nice simple option for light control.
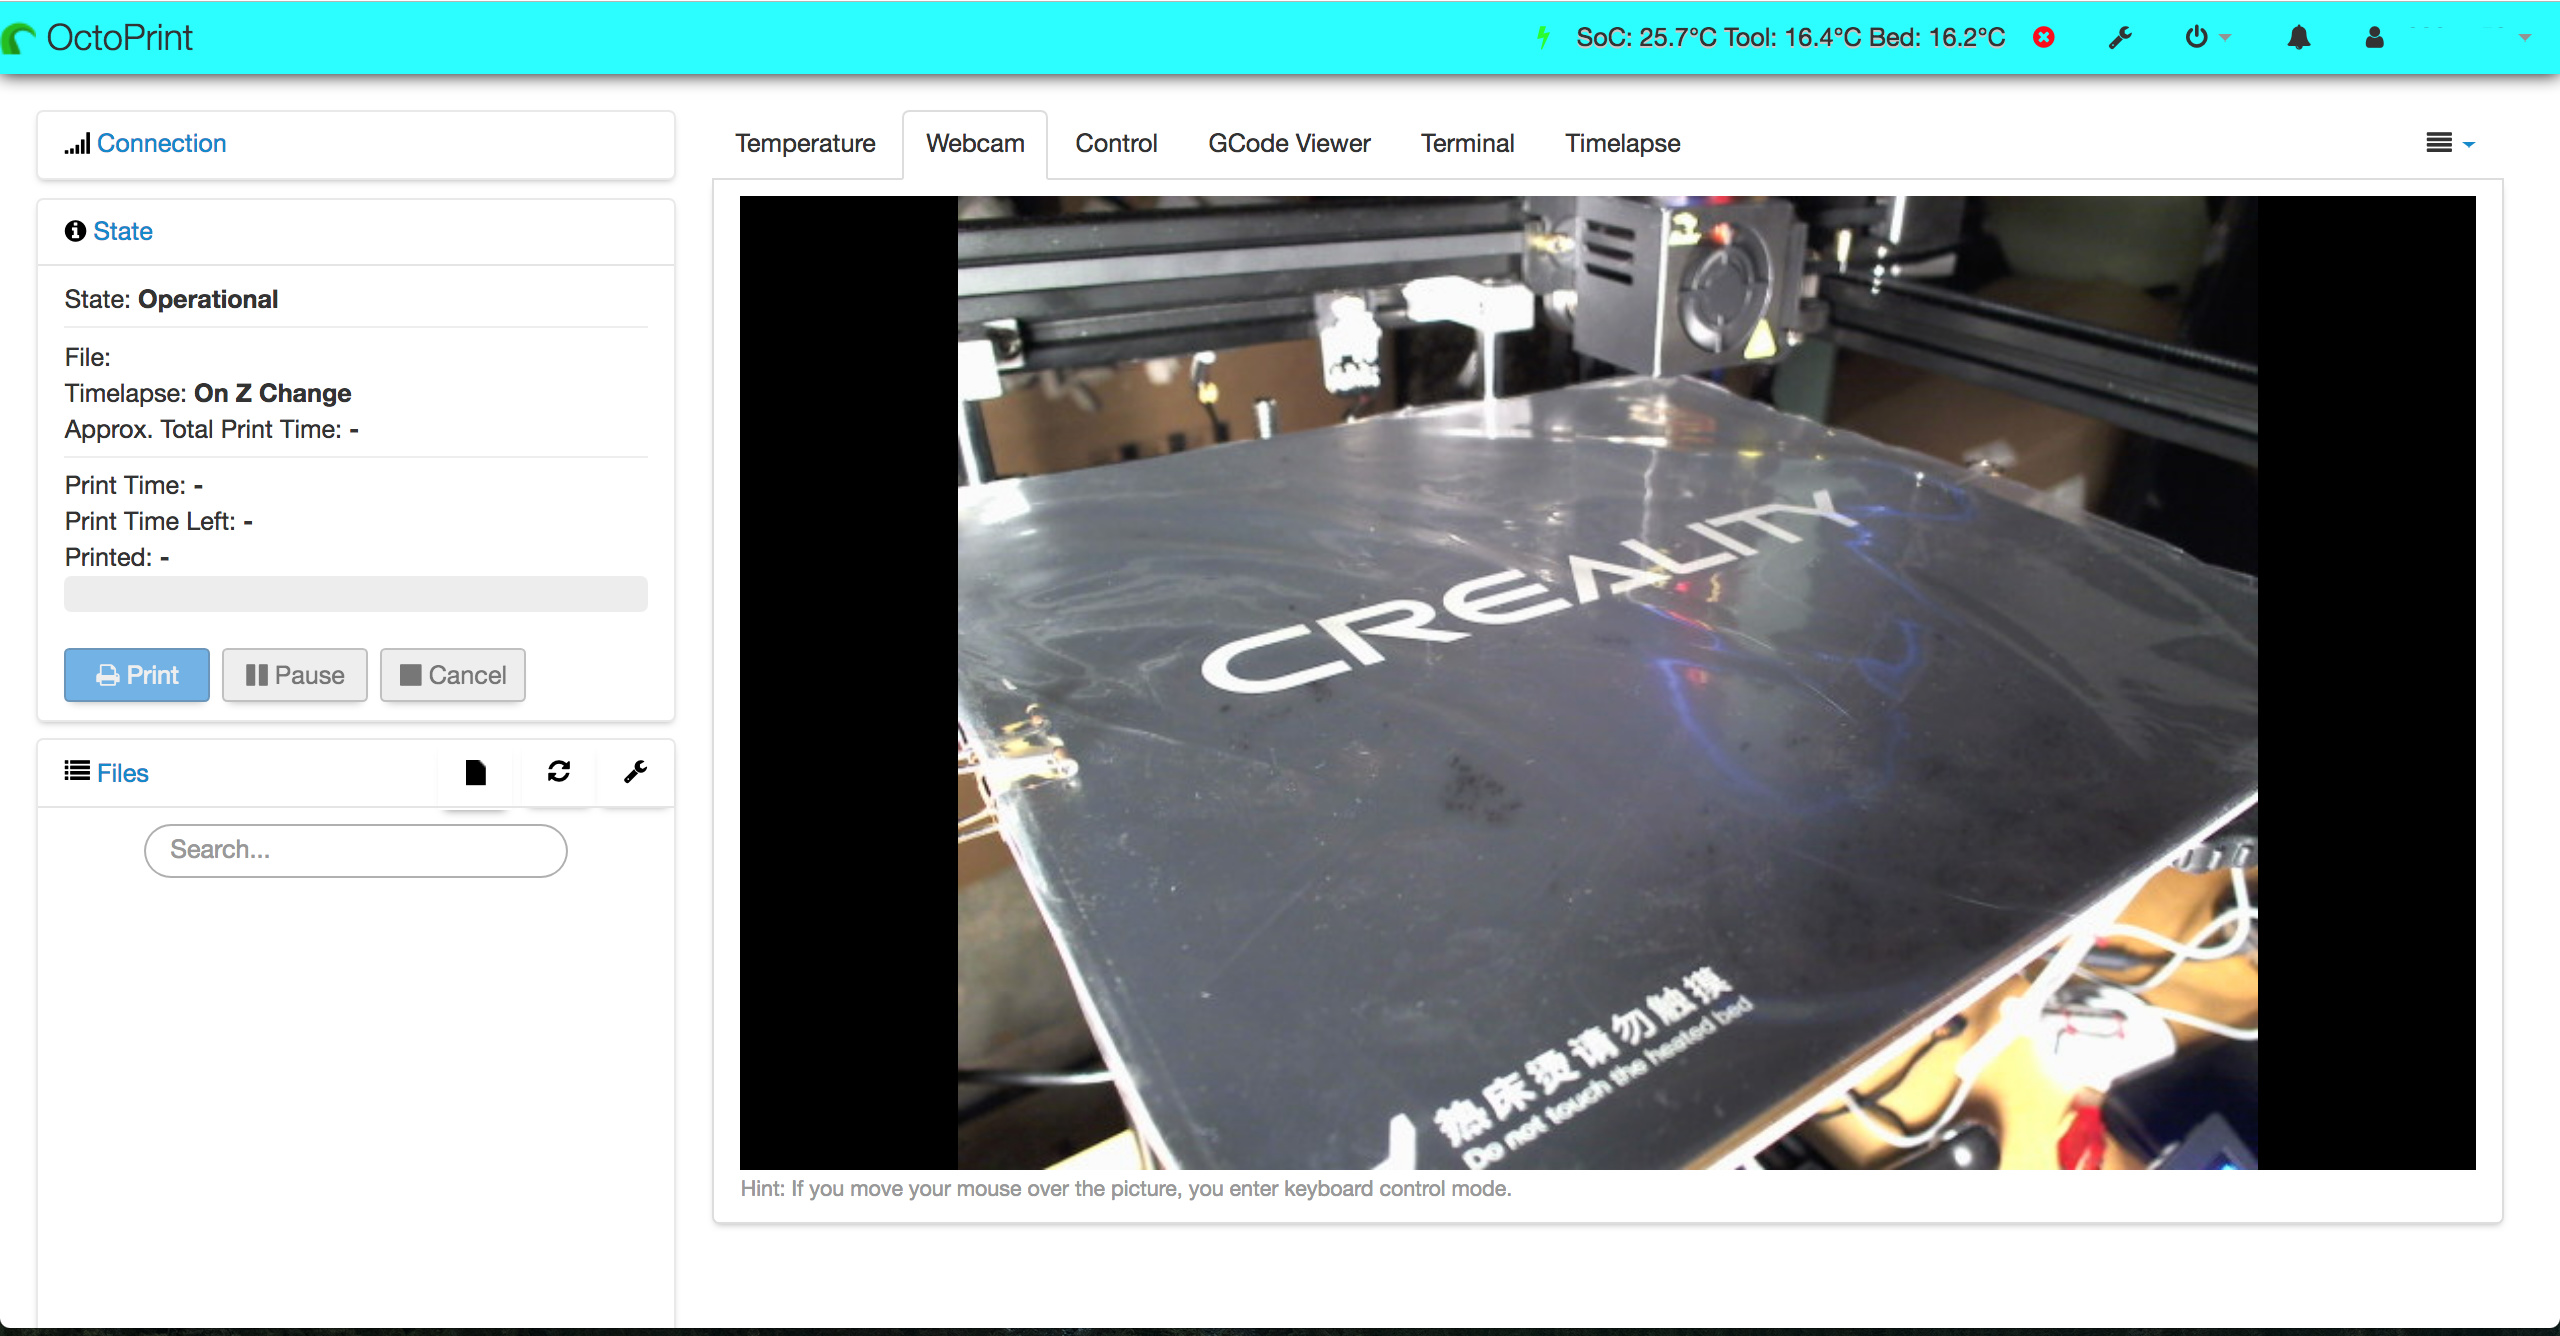
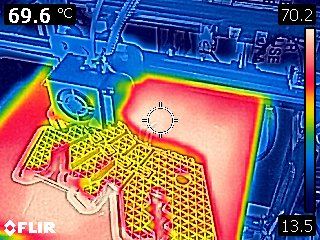
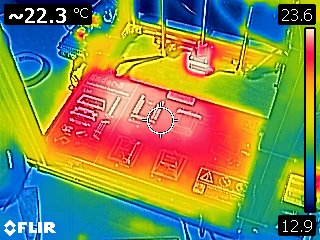
Thank you for posting this! It has given me some great ideas to take my system up a level. Currently I am just running two relays. Its embarrassing but here is a picture of my mess.


 /3dprinterhumor