this isn't my first rodeo  I prefer Mouser, slightly, but order from both. Here are some of my jellybeans and other parts that were within reach while typing this:
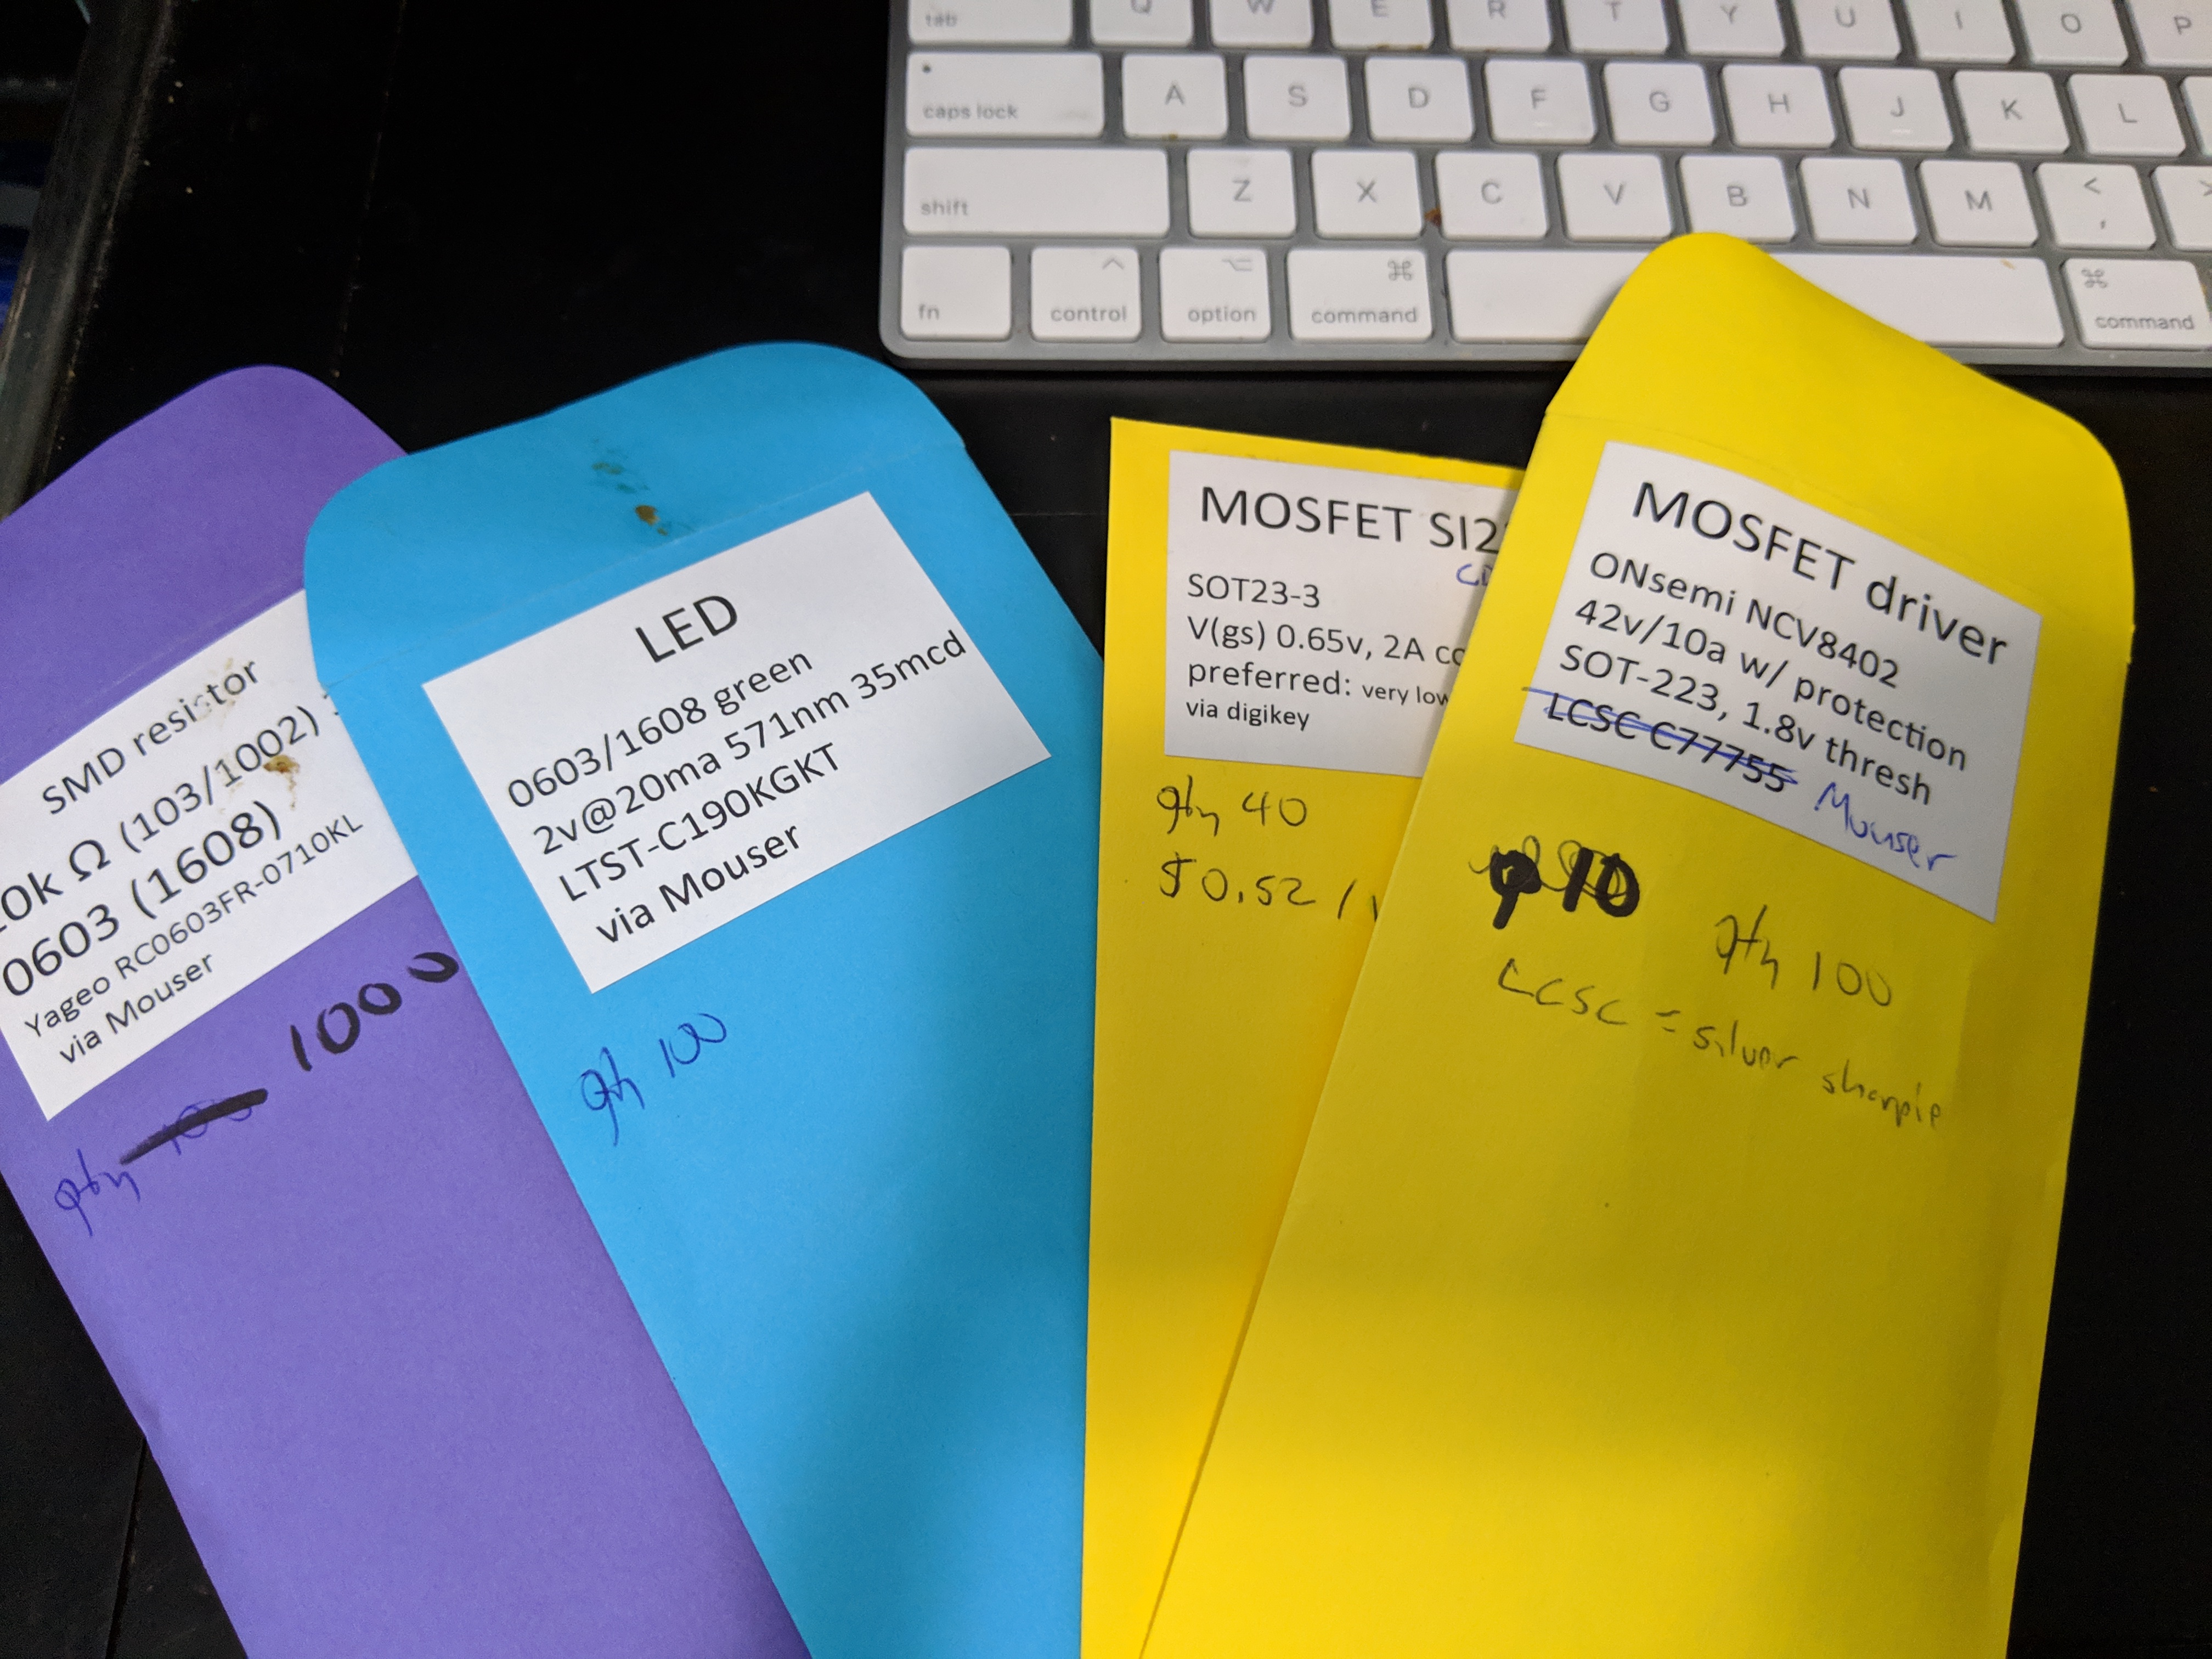
I would take a photo of my workbench and stash but then everybody would think that I'm a serial killer or recluse.
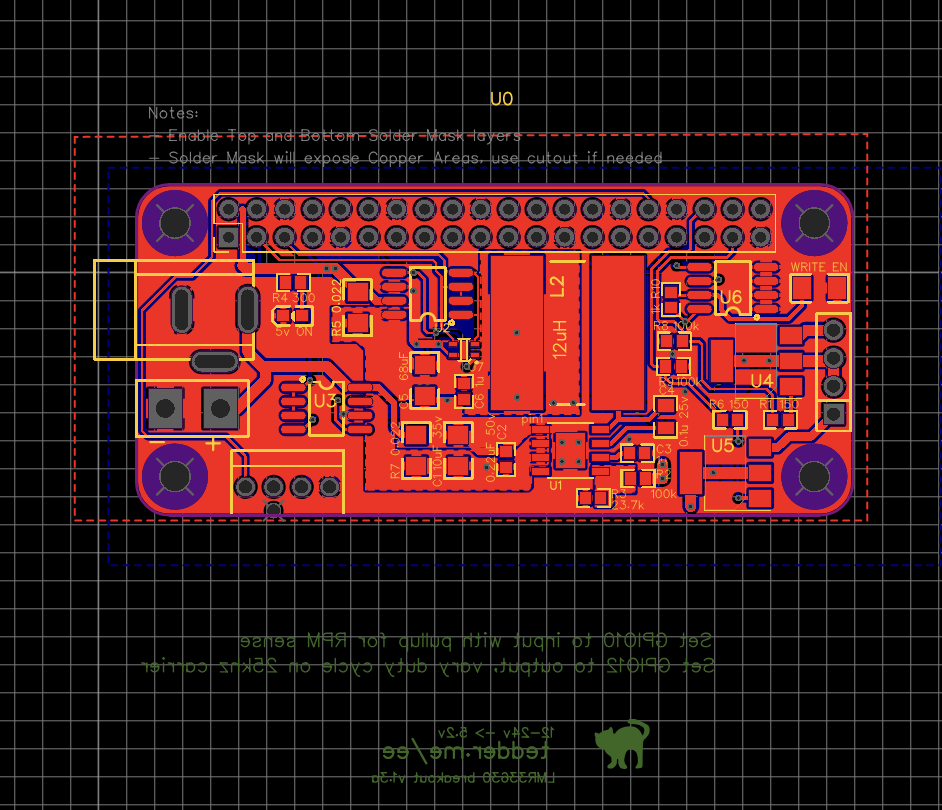
New design is routed, so I've gone slightly crosseyed. Still need to add the text/graphics (at the bottom of the screenshot) and update the BOM (added temp/humidity sensor, second current/voltage sensor on supply side). Those are on the "full" board, the stripped board doesn't change much except I added true HAT compatability with an eeprom.
Created the tindie page with the options, but obviously I have to recalc those from the BOM again.
"Who's a sexy hat?"
"YOU da sexy hat..."
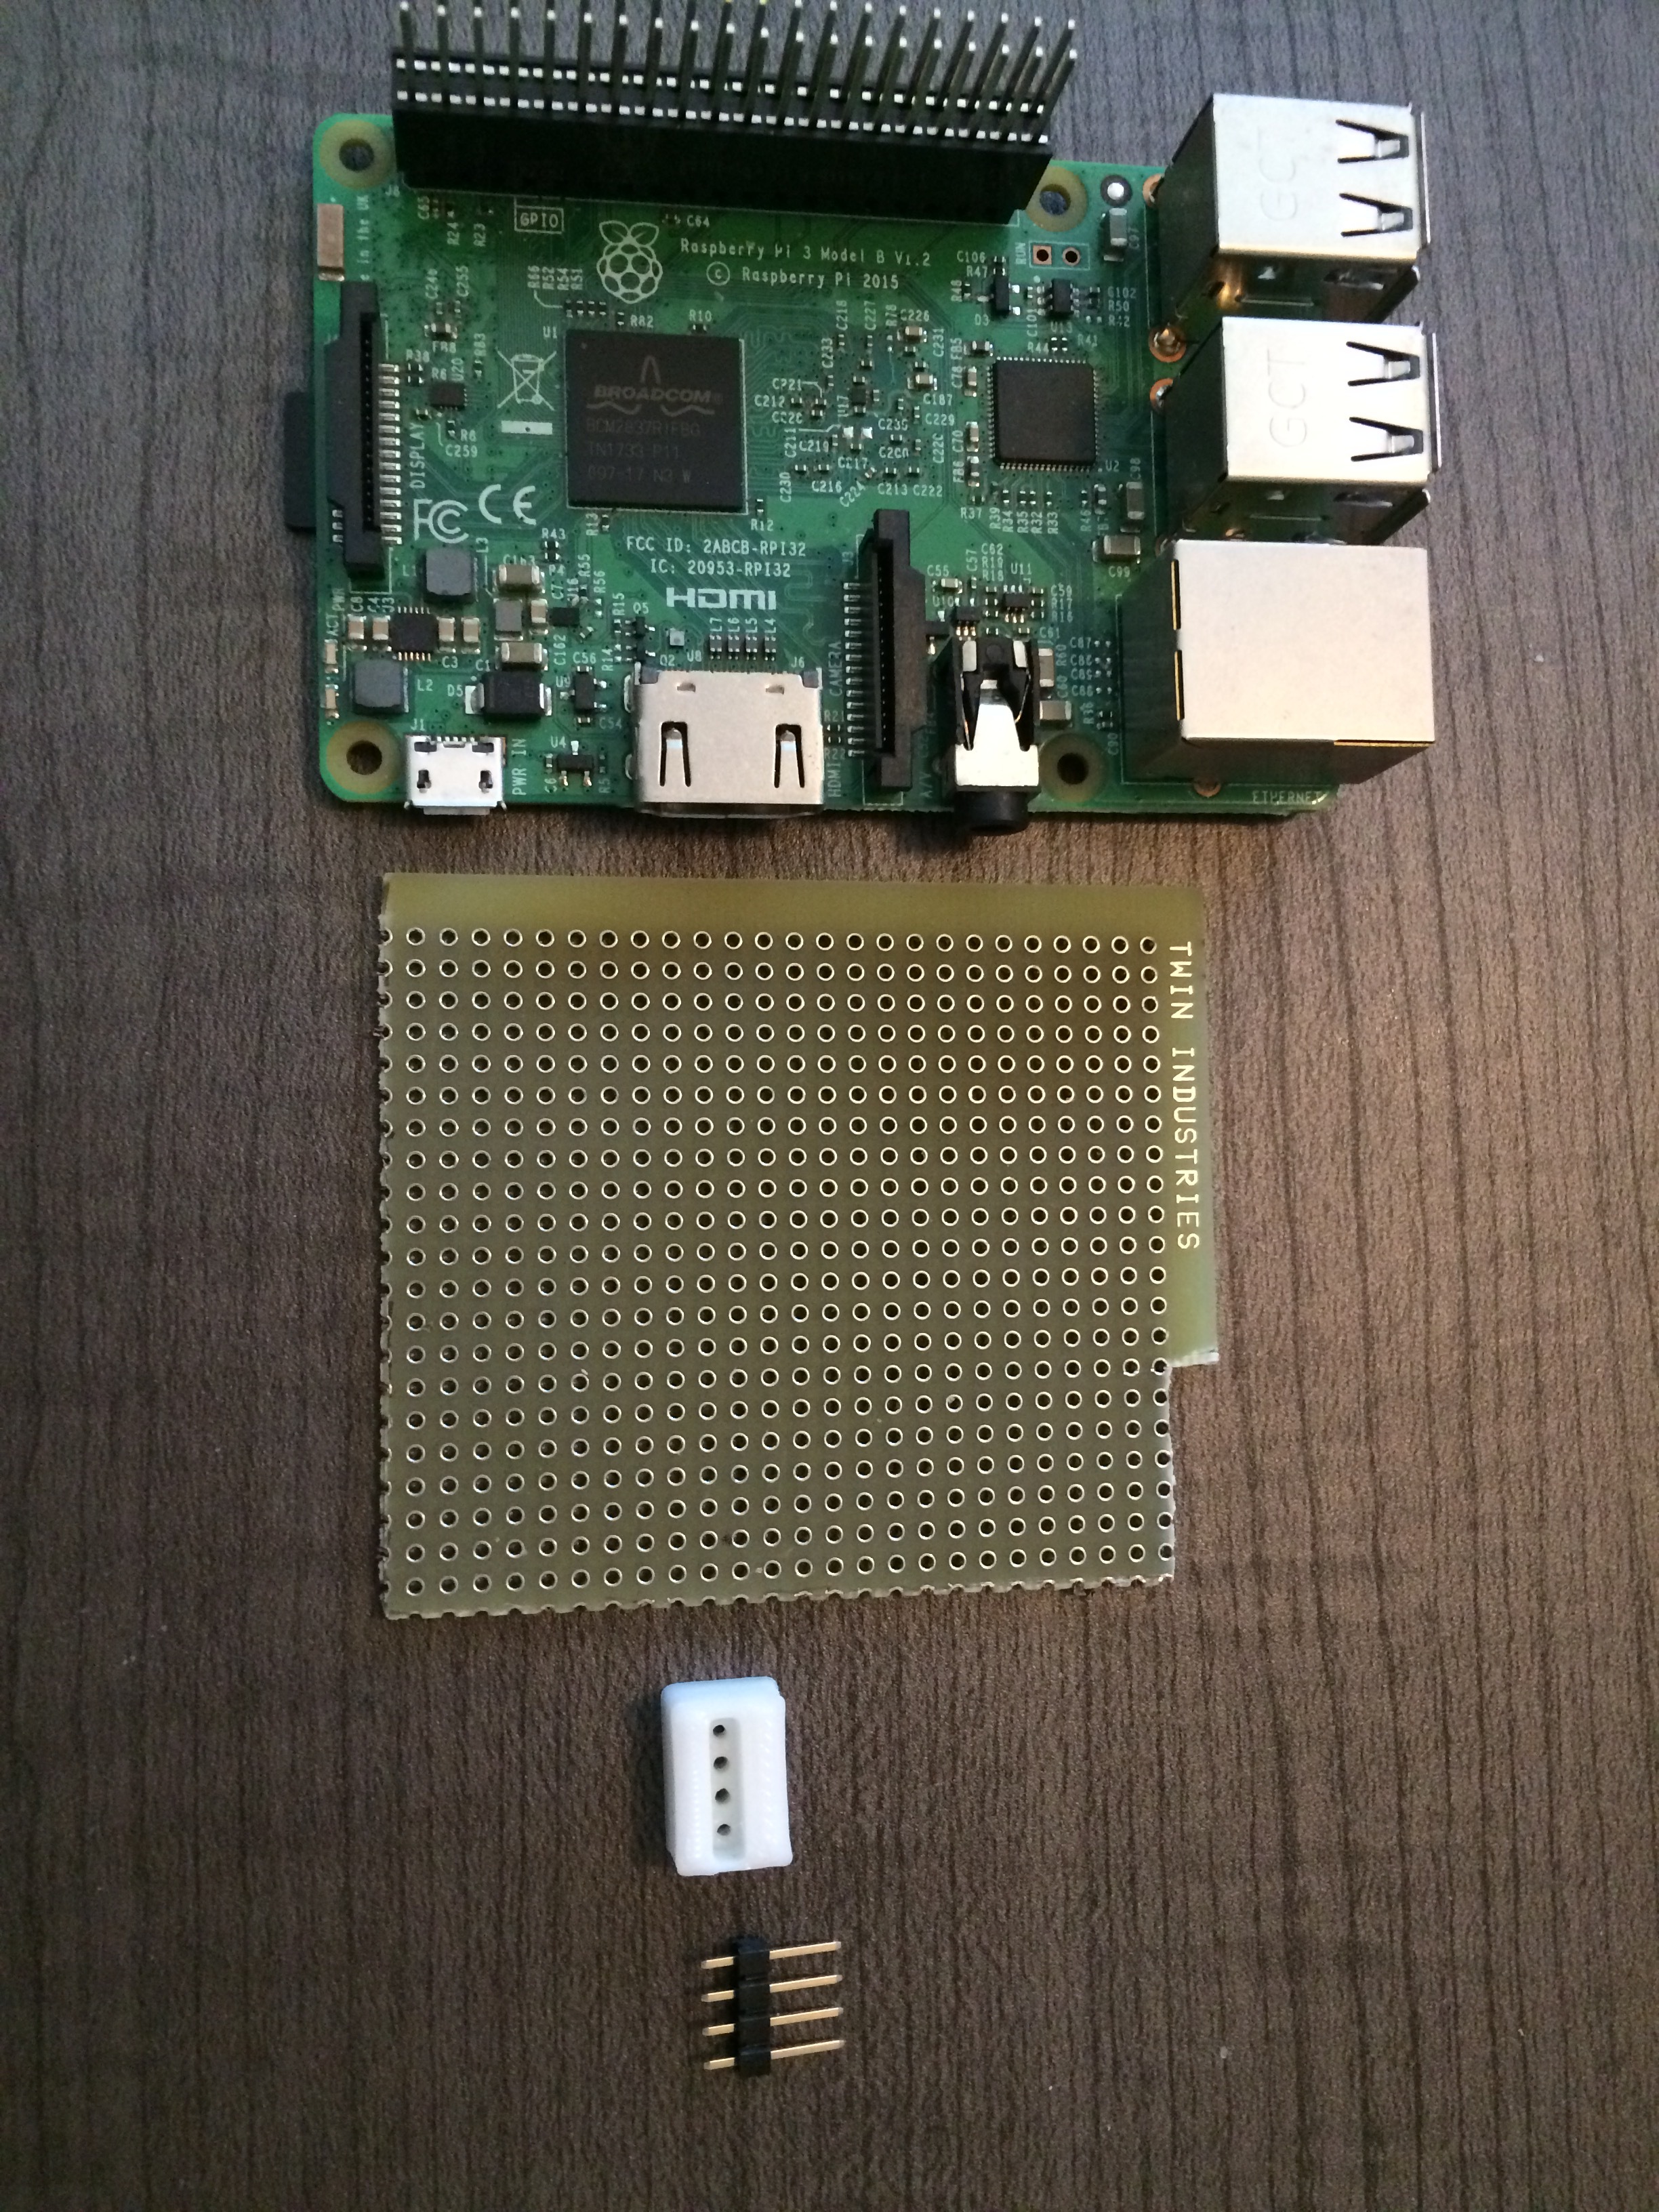
Are you going to provide little offsets for the person who's using this on a 3B, for example? It looks like two of the holes line up. I'm thinking maybe something for one of the other two holes which helps to provide stability. The little bump under the PiFace Digital 2 comes to mind.

Whatddya mean by offsets? Support on the middle of a full-sized pi?
Obviously I don't really expect this to be used on a Zero, it's just that the mini-hat size is all I need for real estate. If this is what you mean, in my current samples I've just let it float or made it sit on top of a case that has proper cutouts.
On the earlier sample that I'm using for my off-grid satnogs pi, I printed a spacer, basically just a tiny block.
Mmhm, I was wondering about support. With a proper case it's not an issue, to be honest. You've been getting me to think of my own design ideas and these are the sort of things I think about, that's all.
Been outta town for a week, but this is now a Genuine Pi Hat(tm):
$ cat /proc/device-tree/hat/product && echo ""; cat /proc/device-tree/hat/vendor  && echo ""
Pi Power Hat (aka Pi Printer Hat) v1.3a https://tedder.dev/pph/
tedder.dev
Need to add the ZVD (anti-backpower) circuit and the next iteration might be it.
2 Likes
Oh, btw, here's the stand-off that I design/printed and put on my own prototype that I'm working on.

1 Like
Actually, I've got one of those tiny fans so I may mount that under the board as well now that I have guaranteed separation distance.
I use a 40mm because that's the smallest that Noctua sells.
Hi Tedder42,
Nice work ! Tried to find this board on tindie, but could not find it.
I'm quite interested, As I want to get rid of all those crappy buck converters.
Powered the Pi for quite some time with a buck converter which was taking it's supply from 24 volt lines of the printerl.
Know this is a quite 'old' topic, so it could be that this project is stopped/finished.
Kind regards,
Thijs