OctoPi GUI Setup

:raised_hand: Stop

Please note that a GUI on the Pi is not needed for running OctoPrint. You should access it via the network from a browser somewhere on your network. The OctoPi image can in fact be run without ever having to attach a monitor to your Pi ("headless") as even the initial wifi configuration can be done just by editing octopi-wpa-supplicant.txt on the root of the SD when used as a thumb drive.

Installing a desktop environment on your Pi running OctoPrint (e.g. via OctoPi) is not recommended and can be detrimental to performance and thus achievable print results.

OctoPi GUI Setup

A quick and easy guide to setting up OctoPi for beginners with zero experience. Follow these steps to setup OctoPi OS on your Raspberry Pi in a few basic steps regardless of your machine's operating system.

Octopi image

So what exactly is OctoPrint? Here is a list of things OctoPrint allows you to do:

  • Wirelessly upload G-code files from a computer to a 3D printer
  • Manually control a 3D printer (moving the X-, Y-, and Z-axes as well as forcing extrusion)
  • Monitor print temperature and change print settings
  • Set up a webcam to view the Print in real time and create time lapse videos
  • Slice models using CuraEngine Legacy
  • Customize operation with numerous plug-ins

Installation

Hardware Prerequisites:

  • Raspberry Pi (Model 3B or later, Raspberry Pi Zero/Zero W not recommended)
  • 5.1V/2.5 A Micro USB power supply (For the RPi)
  • MicroSD card (preferably 16GB or larger)
  • MicroSD card reader
  • USB Mouse and Keyboard
  • HDMI Monitor
  • Stable WiFi
  • Desktop/Laptop

Preparing the MicroSD Card:

  • Download the latest image of OctoPi from
    OctoPrint.org - Download & Setup OctoPrint

  • Next download an etching tool:
    https://www.balena.io/etcher/

  • Insert the MicroSD card into the MicroSD card reader and connect it to your machine.

  • Format the MicroSD card (FAT32 formatting only)

  • Using Etcher, flash the disk image of the OctoPi OS onto the MicroSD card

  • Once the flashing is complete, insert the MicroSD card into the Raspberry Pi

Setting up the Raspberry Pi:

  • Connect the Raspberry Pi to the monitor, mouse and the keyboard and power it up.

  • Your Raspberry Pi will boot up automatically.

  • After the boot is complete, you will see the following:

  • octopi login: pi

  • Password : raspberry

You are now sucessfully logged in!

Enable GUI:

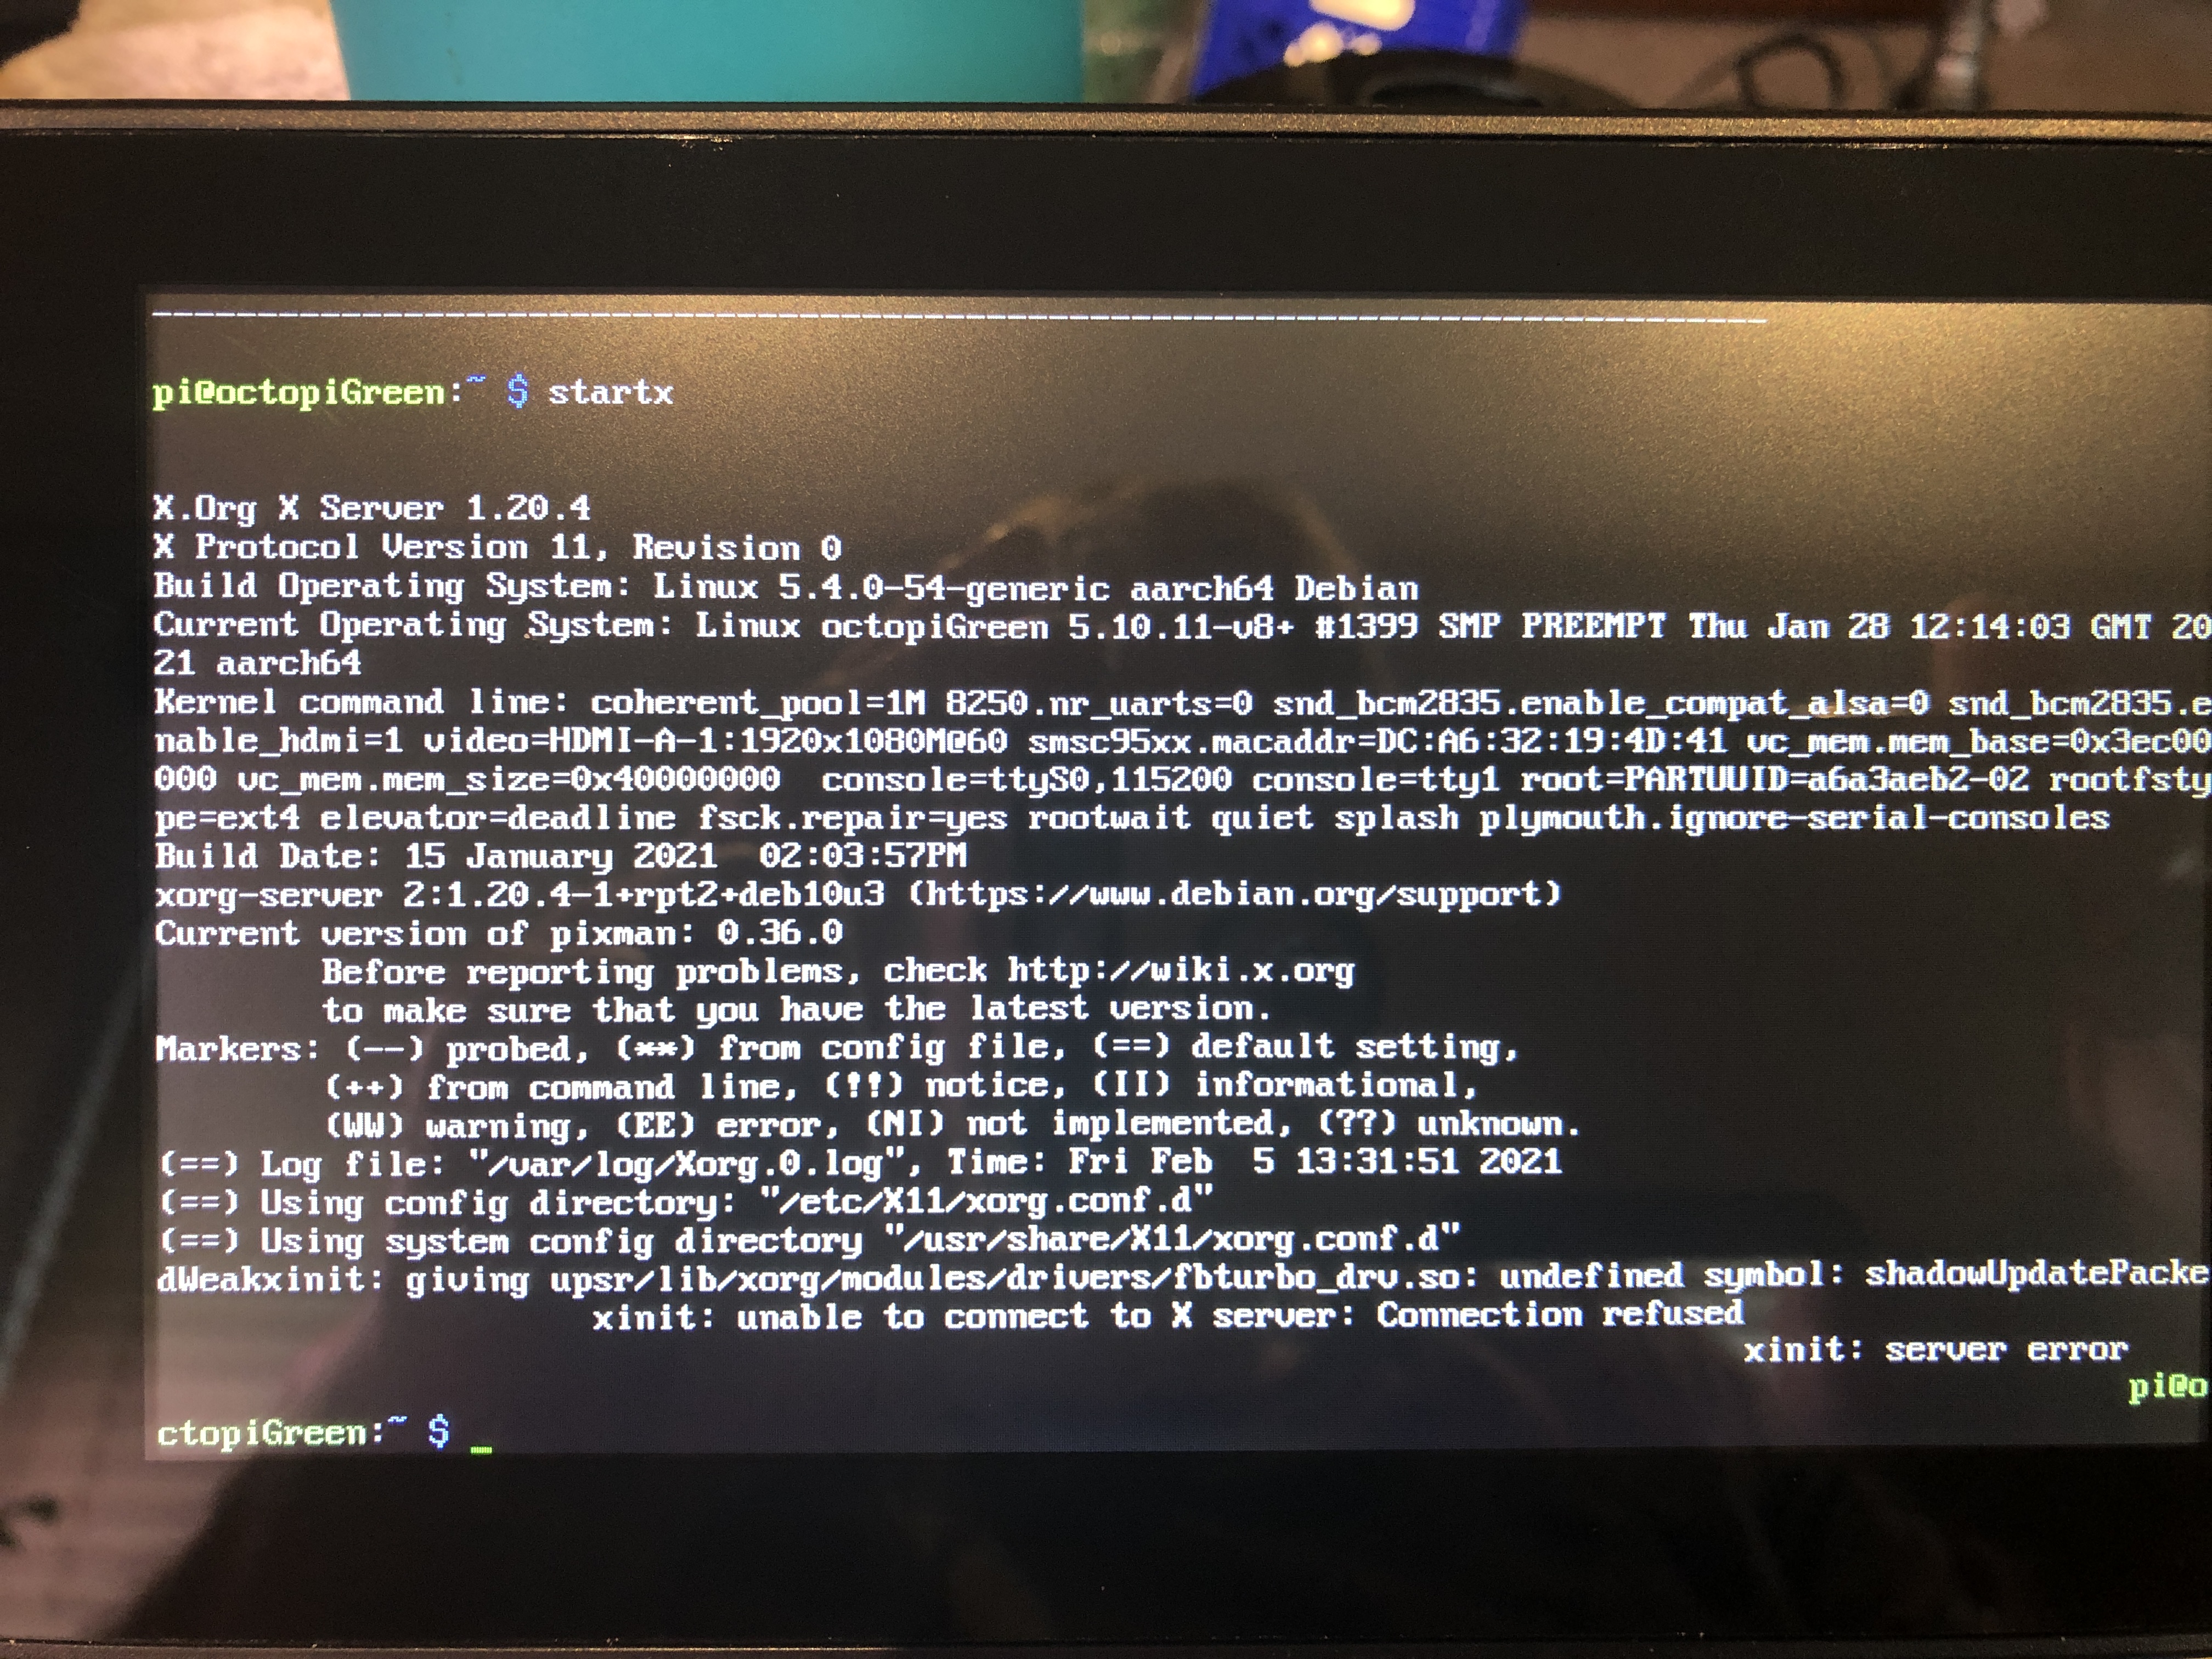
  • Enter the following command into the bash terminal:

    sudo raspi-config
    
  • Re-enter the password.

  • Use the arrow keys to navigate to "Network Options"

  • Select "N2 Wi-fi"

  • Enter the SSID (Name of your Wifi network), and click "".

  • Enter the password of the Wifi (if none, leave blank), and click "".

  • Click <Finish>

  • You are now back in the bash command line.

    Enter:

    sudo /home/pi/scripts/install-desktop
    
  • Enter the password, press any key to continue.

  • You will be asked whether you want the Pi to boot up into a desktop environment by default. Type β€˜yes’ and hit Enter. We can disable this functionality later on if we want to.

  • The resources for the desktop GUI will now download and install automatically

  • When complete, Type:

    sudo reboot
    

    The Pi will now reboot to OctoPi Desktop GUI.

  • Enter the username and password.

Your OctoPi GUI is now ready!

Meta

Author: Harshit Shandilya, also on Github

Affero General Public License (AGPL)

1 Like

Hello @Harshit_Shandilya!

Well done. I took the liberty and moved it to the - Get Help - Guides section.

2 Likes

Thanks @Ewald_Ikemann!

1 Like

Lets say we didn't select to have the Desktop Environment automatically start on reboot.... What do we type at the prompt to launch into the Desktop Environment manually?

1 Like

And vise versa. What if you set the OS to run auto, but want to run just the octopi without the gui?

Run:

sudo apt-get install xinit

After that you can use

startx

to start the GUI from the commandline

1 Like

If you previously chose to boot into the desktop environment, and don't want it to do that anymore, then just run sudo raspi-config and go to Boot Options and pick one of the 'console' options. There is no real need to uninstall the desktop environment if you don't use it; it does not do anything unless you start it.

I'm in the process of trying to set up a Pi 4b 4gb with an official Rpi 7" touchscreen, and when I try to run it via automatically booting into the desktop, all I get is a black screen, occasionally with an unresponsive cursor top left. If I boot into the command line and run startx, I get this (doing an apt-get install xinit shows I have the latest installed). Fortunately, this is a completely spare system I'm experimenting on before I try to implement it on my actual printers' systems.

I'm getting various 404 errors during the install-desktop script.
There are some successful gets but there are a whole lot of 404 not found at address raspian.raspberrypi.org/raspian/pool/main/... at the end of the script.
Is there a more up to date script or procedure available?
Thanks

As already seen in this post, the RaspeberryPi OS changed version since the guide was written, so there is an additional command that must be ran before the installation script.

Thank you very much,
It worked wonderfully with Octopi 0.16.
But since the update to Octopi 0.18 it no longer works :frowning:
I now only get the Debian login dialogue, but can't log in, it keeps coming back.
Is there a new, working version of the script for Octopi 0.18?

i have the same problem, you solve it?

Mine is built on OctoPi 0.18 but in the short term you could install 0.16 and allow it to update.

No I have it back :slight_smile:
Follow the steps here https://community.octoprint.org/t/problem-installing-desktop-with-0-18-0-release/37018/7 until step 6 (incl.),
then install a browser, I'm using chrome:

$ sudo apt-get install -y rpi-chromium-mods
$ sudo apt-get install -y python-sense-emu python3-sense-emu

Now you have chrome, the url for the Octoprint is http://localhost/?#control

What's the need for installing these packages? They don't seem related to the desktop environment.

Greetings,
I am running a pi-top-ceed (Raspi 3B+ and a TFT monitor in a housing) with latest octopi OS
My printer is an Ender 3 V2 with Jyers firmware installed.
BUT my problem is not hardware related (not purely)

I think there is some confusion when talking about
Octopi GUI aka graphical desktop (windoof or Ubuntu or the like)
and the OctoPrint front end (Web front end)

I got trapped in a certain way of thinking and so I searched for GUI and hit the "Install Octopi GUI".
But that is only half of what I wanted, looking down the thread I found the hint on installing chromium.
So to clarify if you fall for the same brain trap as me, which is actually simple, but may happen:
Octopi is the OS and GUI means desktop
Octoprint is the actual application which can be accessed using a web browser.

With respect to the installation hint here in the thread:
Installing rpi-chromium-mods and starting chromium-browser from CLI ends up in the following message:

dpkg-query: no packages found matching bluealsa

An answer to that can currently be found here:
https://dietpi.com/phpbb/viewtopic.php?t=9420&start=10
In short :
The Raspi friendly chromium browser seems not to work with latest Raspian Buster releases and the current Raspberry OS bullseye (any more?).

Wrap up:
To work "locally" in your workshop with your printer using octoprint front end
on the (octopi) raspi, which is connected to a monitor, you need to install

  • OctoPi x-windows (which is NOT a desktop) as described in this thread
  • Chromium
sudo apt-get install chromium

Then start x-windows

startx

and then chromium

chromium

in Chromium I had to enter my local IP.

http://my-local-ip

to reach the octopi web page on local host.
(there was another issue with an error message from my printer,
which I hat to disconnect from USB and power cycle, but I do not know
if that was related)

When done and before you get back to your remote site (kitchen, living room, loo :slight_smile: )
(See hint at the beginning of the thread, that x eats ressources,
which are necessary for good remotely controlled prints)

  • Close chromium
  • Exit x-windows
    to be sure x is killed, reboot the Raspi or try the kill command
    (I am lazy, I reboot the raspy :slight_smile:)

I hope this helps other confused people like me

Ydalir

2 Likes

I have added a touchscreen to my OctoPi server and everything is working however after installing Desktop Gui and updating Boot Options in sudo raspi-config to load Gui it is loading the Raspberry Gui and I have no clue how to get the OctoPi Gui to load. Do I have to install a browser and go the my OctoPi server address each time or is there a way I can get it to Autoload OctoPi?

Yes, OctoPrint can only be accessed in the browser

You can run scripts on startup to make it load the page. There should be guides on the internet, they don't have to be OctoPi specific - anything using Raspberry Pi OS should work fine as well.

I am completely new at octopi. I just purchased what is supposed to be a raspberry pi 4 with 8gb of memory. I followed the instructions and installed octopi which boots fine and I can access from the net. From someone else in another forum, I was led to believe I needed a small tft connected as well so I purchased a 3.5" tft screen off ebay. Prior to trying to install the gui I had it working so the boot showed and a text login appeared.

I then followed this guide with the following results: on boot the tft screen goes from just the bright backlight white to a sort of darker grey but nothing appears on the screen. It's as if X isn't running or something.

Any help would be appreciated!

Thanks in advance.

This "guide" is almost 3 years old and a lot has changed in that time. Please reread the very first post in this topic because whoever led you to believe that you need a small tft as well is just wrong.

That being said, any help from us is predicated on getting a lot of gory details from you. Start with details like what version of OctoPi did you install (and how did you install it)? OctoPi is based on a Lite version of the Raspberry Pi OS so additional steps are required to get the desktop environment installed. Please provide details on the steps you took.

How does the screen you purchased connect to the RPi and what additional software (if any) did you install to support it? Feel free to include any links to the hardware documentation, other forums, etc.

A micro HDMI to regular HDMI cable so you could temporarily connect an HDMI monitor (or TV) to the RPI would make troubleshooting a lot easier. A USB keyboard and mouse would also be useful.

BTW, I hope your "supposed to be RPi 4" is, in fact, a genuine Raspberry Pi. If not, this is going to be a lot harder.

One more suggestion... Since this is a three year old topic, it would be better if you opened a new Get Help topic of your own.

1 Like