OctoPrint version, OctoPi version, printer, firmware, browser, operating system, ... as much data as possible
OctoPrint Version: 1.9.3 Bed Visualizer Settings Version: 1.1.1 Printer: Creality Ender 6 Firmware: Marlin2.0.1-HW-V4.3.1-SW-V1.0.4.9-BLTouch Browser: Google Chrome (I have tried in Firefox, and in Safari) Operation System: MacOS Monterey (12.6.8 (21G725))
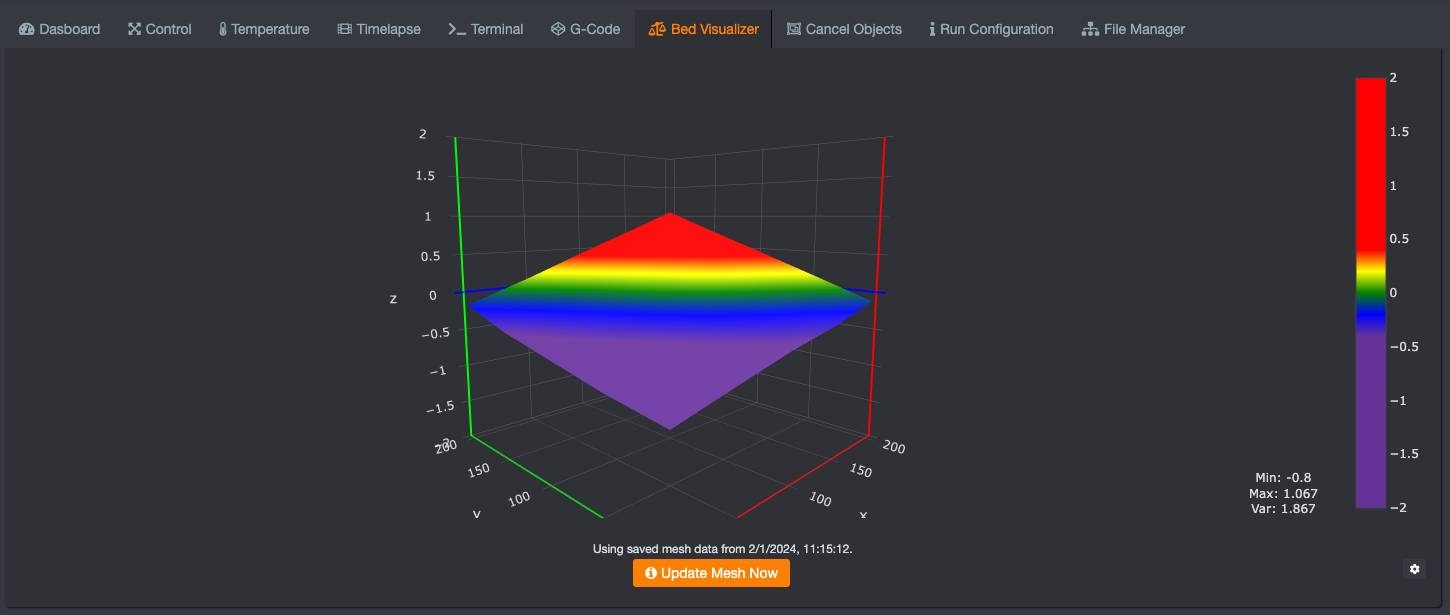
Is it really not obvious to you what needs to happen to make that surface flat and not tilted?
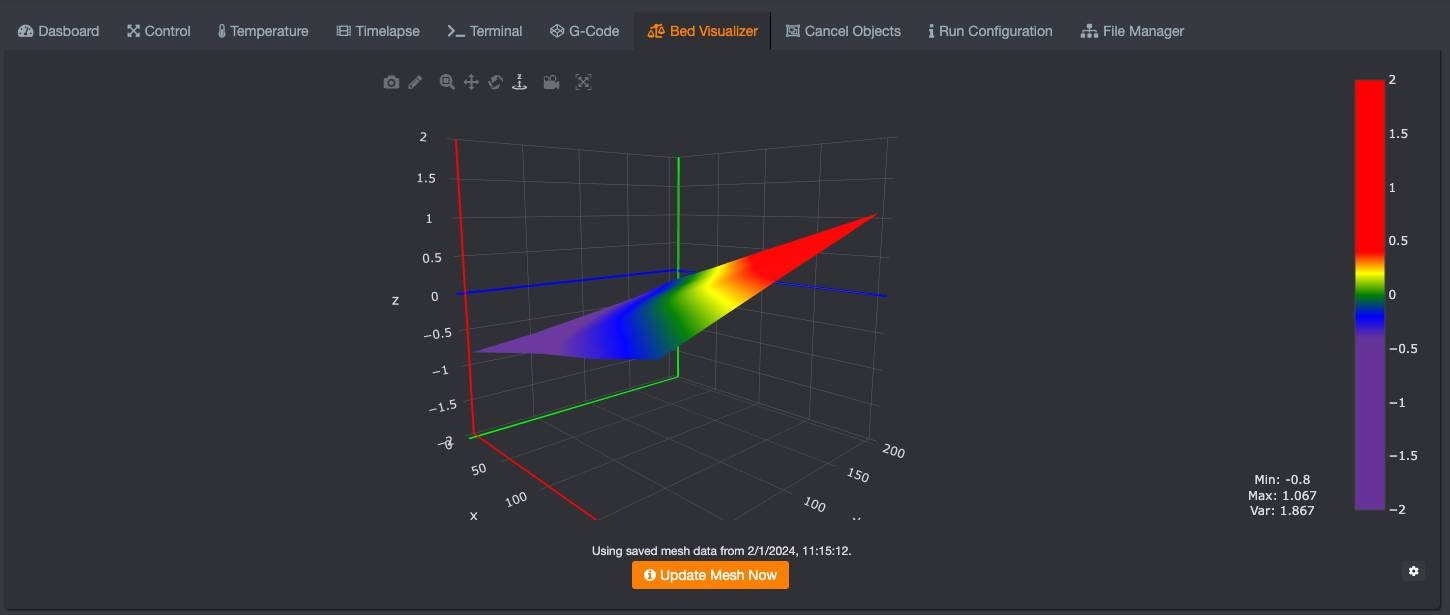
So you have areas that are higher than others, which is obvious from the screenshots. The section in red is too high and the section in purple is too low, so you need to tighten the screw on the high side to pull that side down and loosen the low side to lift up to find a middle ground where they all are pretty much the same.
Keep in mind this assumes the visualized graph is aligned with your printer's real world coordinates. If you find that when you only adjust one corner that the opposing corner changes instead (some changes are expected because of 4 fixed points, think of wobbly table at restaurant) then the flip options need to be adjusted in the plugin's settings.
First of all, some things may seem obvious and direct, but when someone has doubts, I think the most logical thing is to ask so as not to take anything "for granted" or believe that something has been understood, when there are doubts.
I'm sorry if my question seemed clear and answered with the images, but I believe that thanks to answers, and the exchange of information, we can all improve, learn and discover new things.
It is clear to me that the images show an unevenness in the bed.
But thanks to opening this post I can ask questions, gain information and learn from you, who know a lot.
My question is:
Yes, Bedlevelvisualizer shows a clear unevenness.
But I have BL-Touch, which corrects it. it's right?
Clearly, if I can level the bed so that Bedlevelvisualizer shows it 100% flat, the fewer corrections BL-Touch has to make.
On the other hand. To better level the bed.
Some way? Anything that can help me improve my process?
Because I work a lot trying to make a "perfect" leveling but I didn't imagine that Bedlevelvisualizer was going to cause such a gap.
I have an Ender 6 printer, and under the bed, I have springs (orange, the ones that come from the factory).
I have seen people remove them (the springs) and put plastic plugs (silicone?). Is that system better?
Any details or help to improve the leveling process and get Bedlevelvisualizer to give me a flat diagram would be appreciated.
mostly, the less the firmware has to work and make corrections the better. typically getting the variance between a single layer height is ideal (.2 in most cases).
going through standard manual leveling process (paper/feeler gauge techniques) prior to using the plugin/ABL should get you closer. there are other plugins that can aid in this process like AutoBIM or my Bed Leveling Wizard plugin.
I personally did silicone bed mounts with nylock nuts on my CR-10 and I may only have to re-level once a year if not longer as long as I don't do anything drastic to the mechanics otherwise.
The only true flat solution is a cast aluminum milled plate (sometimes referred to as MIC6 or tool plates) that is perfectly aligned parallel with both the x and y motion systems. This is very uncommon in hobbyist level 3d printers, so those previously mentioned plugins can hopefully help you get the bed closer.
First you need to use the manual leveling method with paper or feeler gauges and go around all 4 corners to get them as even as you can. Then use the ABL to probe and add corrections and save them with M500. Then you need to add in your startup gcode script in your slicer, M420 S0 to enable the corrections that the BLTouch found.
There are times when I add too much lacquer, and I have to remove the glass from my bed to remove it, and I have defined that "every time I remove the glass from the bed, level it with paper."
I'm going to see what ABL plugin is. Do not know him.
You say that later "record it with M500"
Command launched against the terminal? Or automating a plugin?
And I don't understand the "M420" thing on my slicer.
I have already configured in my slicer (Cura) that on each print, before printing, the BlTouch measures.
And since it is set for "all prints", they told me not to record anything in EEPROM.
Yes, I am using a translation service, since my English level is not high. Sorry if communication is not being easy. I will try to improve it using deepl.com.
I think so.
I've done it quite a few times, and it's worked.
I use this video for reference (from minute 4:19 the bed leveling starts).
I have a 5h print in progress right now.
When that finishes, I run the Bedlevelvisualizer test again and we'll see what values we're at.
Maybe, when I opened this post and did the Bedlevelvisualizer check .... did something wrong, I don't know.
I always check it. But I don't rule out that I did something wrong, or that I forgot.