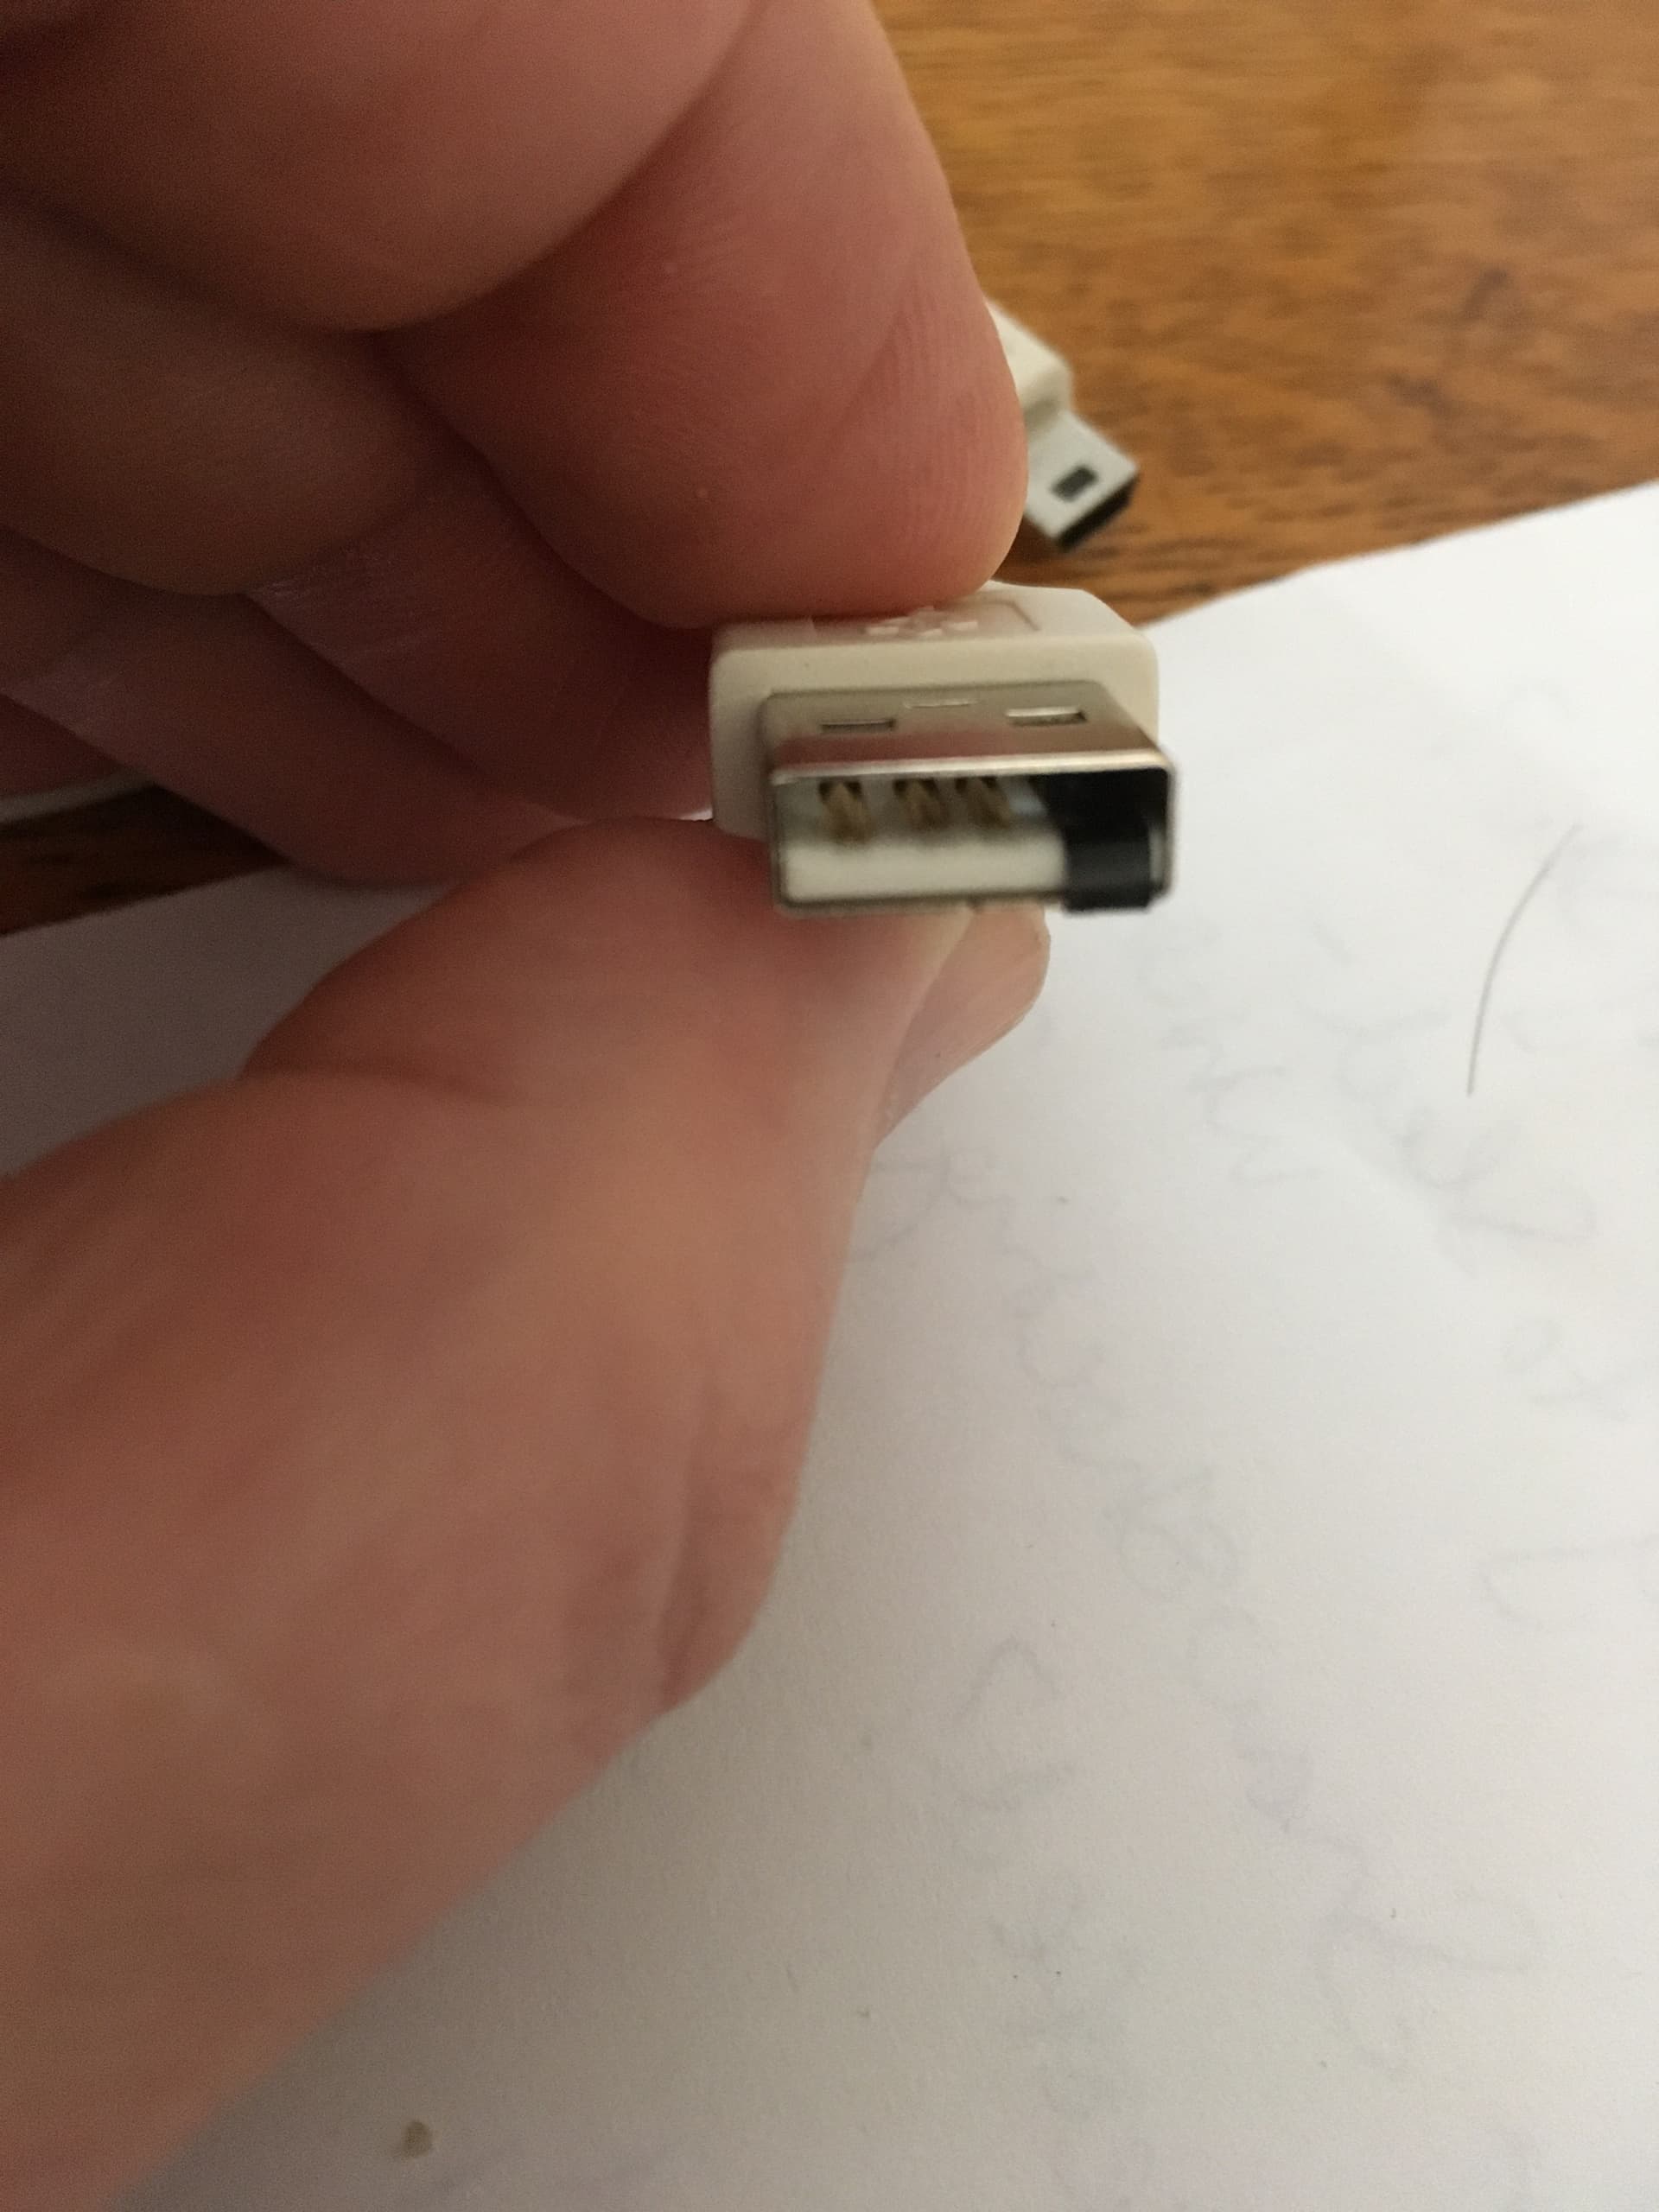
I've witnessed my Ender3 getting backpowered by my Raspberry Pi 3B+ via the USB cable. After some searching, I found the FAQ where is suggests putting black electrical tape over the 5V connector.
This successfully prevents the backpowering, but now OctoPrint can no longer detect the printer. The error when trying to connect is:
State: **Offline after error** No more candidates to test, and no working port/baudrate combination detected.
I see the following in the kernel dmesg log:
[Mon Nov 29 21:25:59 2021] usb 1-1.3: new full-speed USB device number 4 using dwc_otg
[Mon Nov 29 21:26:00 2021] usb 1-1.3: device descriptor read/64, error -32
[Mon Nov 29 21:26:00 2021] usb 1-1.3: device descriptor read/64, error -32
I power cycled the pi and still didn't see the printer, nor the output in dmesg above. When I power cycled the printer, then the above error message showed up again.
Has anyone had similar problems? Or any idea why linux thinks there's a USB OnTheGo device connected to via USB when blocking the 5V line? Is there something on the printer board that's waiting for the 5V before responding via USB?
I'm running OctoPrint v1.7.2, OctoPi 0.18.0 connected to an Ender3 (original version, purchased circa 2019). I can get more details if they would prove useful.
Getting the device descriptor is like the first step of usb communication, if that fails nothing goes.
Could it be the tape covers more than just the 5V? When you take the tape away, does it work then?
I had the same hardware you describe, taped the 5V line as the display showed the back powering and it worked just fine. Later got a replacement motherboard for the printer (BTT SK mini e3) and it still runs with the line taped.
There is at least one dedicated thread to this in the FAQ. You probably read it already. Some people posted they actually cut one of the wires - I remember cutting a very tiny piece of tape and placing, then pushing the adhesive side down with pliers.
I know the feeling, trying something everyone describes as a simple step and it just won't work. So I wrote to give you feedback and encourage you to keep trying.
But you can establish a connection when you take the tape away? (Just to be sure that it's not the mb that makes you fail...)
There are some controllers out there that don't have their own 5v regulator for the USB connection and instead take it from the 5v line of the wire, and these won't work with the tape trick in place. Maybe Creality cut some corners on the board here.
Ender 3 purchased in 2019, that wd be a Melzi board. 8Bit, noisy steppers, no boot loader.
It should work when taped, at least it did for me.
Creality did many small updates on E3 back then, so who knows ?
And things can break.
For me, replacing the board with an SKR mini E3 v.1.2 was an upgrade I never regretted and it cost me like 32€ in 2020.
Yep, though I have found that I need to plug in the pi's USB cable before turning on the ender3 power supply. Perhaps this is related to the missing circuitry that @foosel mentions below?
FWIW, board appears to be marked "Creality v1.14".
Would this still be a worthwhile upgrade today? Or are there other, better options by now? One of the problems with the backpowering is that I believe it drops the voltage enough that the raspberry pi's camera module quits working, requiring me to run down to the basement to check on the printer's progress.
That was my original board as well. Why you have issues is still unanswered.
BTT has added newer versions, v.1.4 and then v2. Personally I think the step from 8 to 32bit is the biggie and the silent stepper drivers, the other differences are marginal. So I would look at the prices.
I have to agree with planetar. I struggled for days to apply the tape so that the connection still works. In my case, the tape lifted the other contacts too, so the connection was unreliabel at best. In the end I openend the cable and cut the wire.
BTT has added newer versions, v.1.4 and then v2. Personally I think the step from 8 to 32bit is the biggie and the silent stepper drivers, the other differences are marginal. So I would look at the prices.
To my knowledge the BTT v2 board does not solve the backfeed problem but the silence is worth the money
I used very thin "regular" tape on both my Ender 3 pro's stock board and now on my V4.2.7 Creality 32bit board. The actual tape I used was from a roll of really cheap packing tape I bought at Harbor Freight Tools in the US. I did this because the only electric tape I had seemed a bit thick. It seemed to deflect, or push down, the plastic tab in the connector and caused the adjacent pin to connect intermittently. Once I plugged it in to the Pi and got it working I have made a point of never unplugging the cable from the PI only from the printer end since the clear tape does not stick as well as electric tape.
20220217 - I bought the PortaPow USB Power Blocker from Amazon and it works great. The tape was fine but I found never unplugging the Pi side of the cable was not always convenient. Plus I can't seem to leave my printer setup alone. I keep moving and adding things... Is it just me? :-).
if E-Tape is too thick, try a piece of capton, which is normally way thinner. Or just use like I do, a bit nail polish on the contact. You have to let it dry for like 15-20min for it to not stick or peel...