Continuing with OctoPi and an installed TFT screen for control from the last review, I'm now switching gears and attempting to use the TouchUI plugin.
Overview
OctoPi 0.15.1 install, configuring for wi-fi and ssh support
Install the Raspbian Pixel Desktop from the ~/scripts area
Run Adafruit's installation script
Install the Chromium browser
Modify the Desktop panel to auto-hide
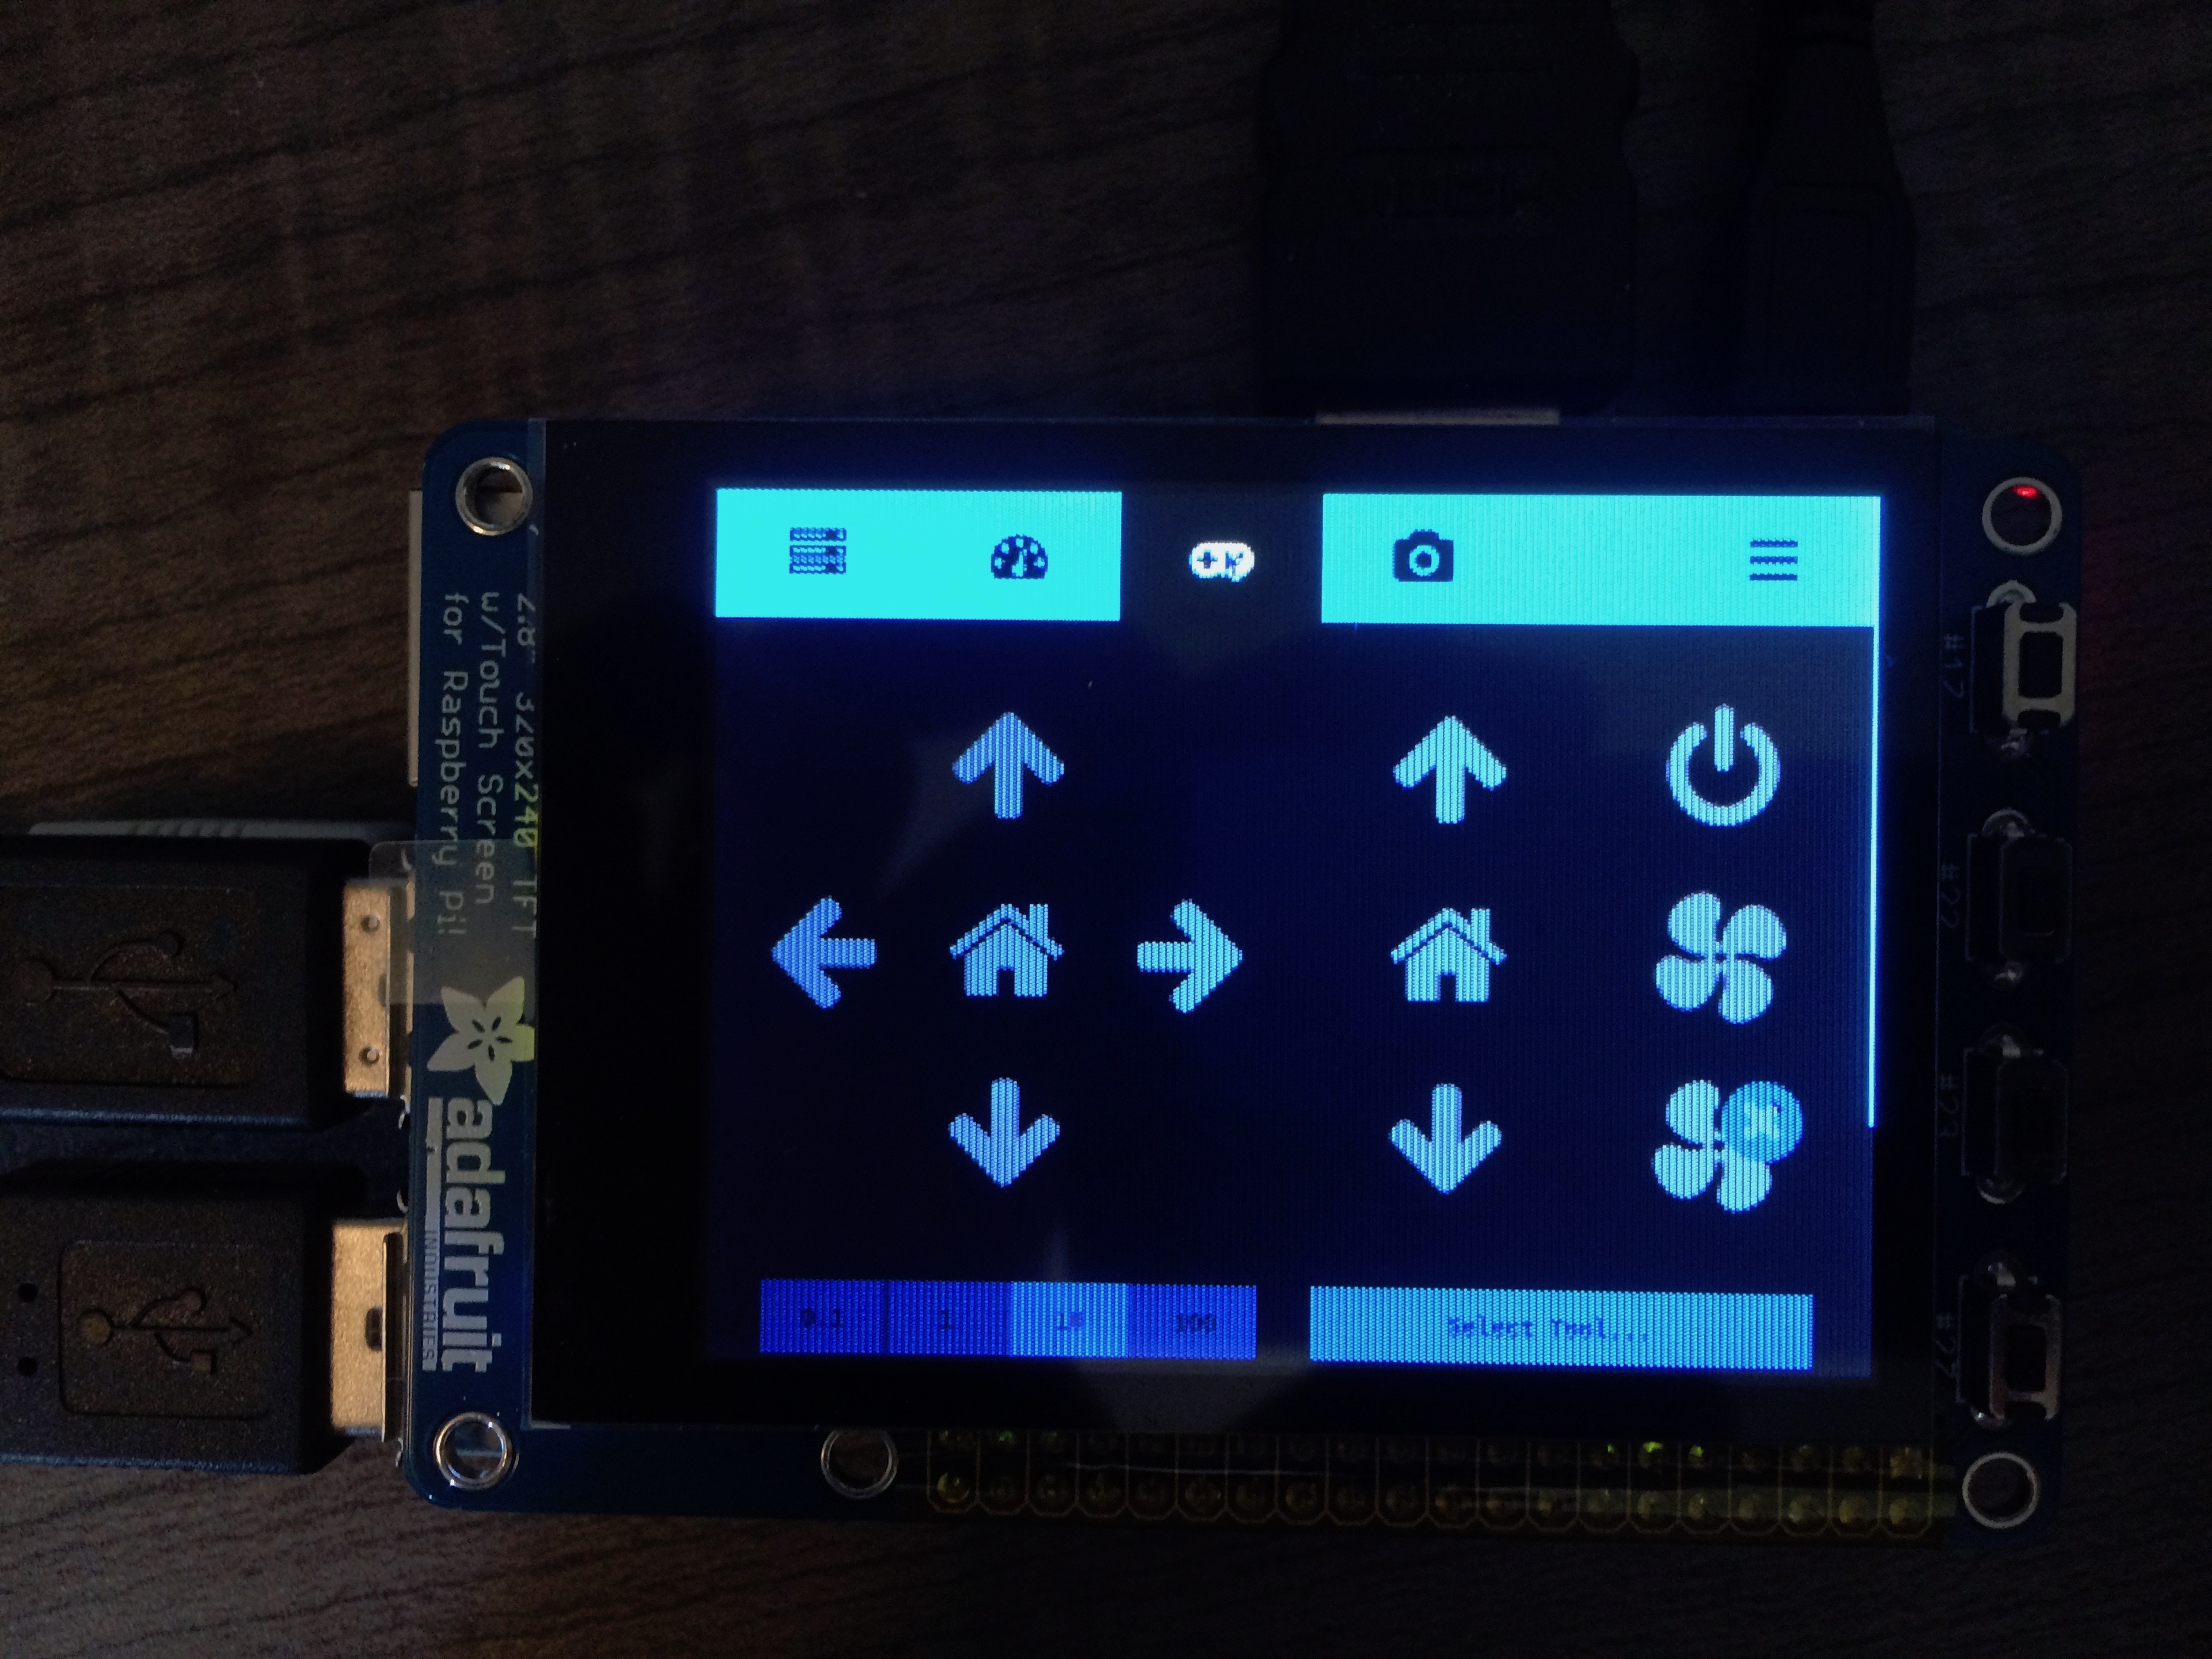
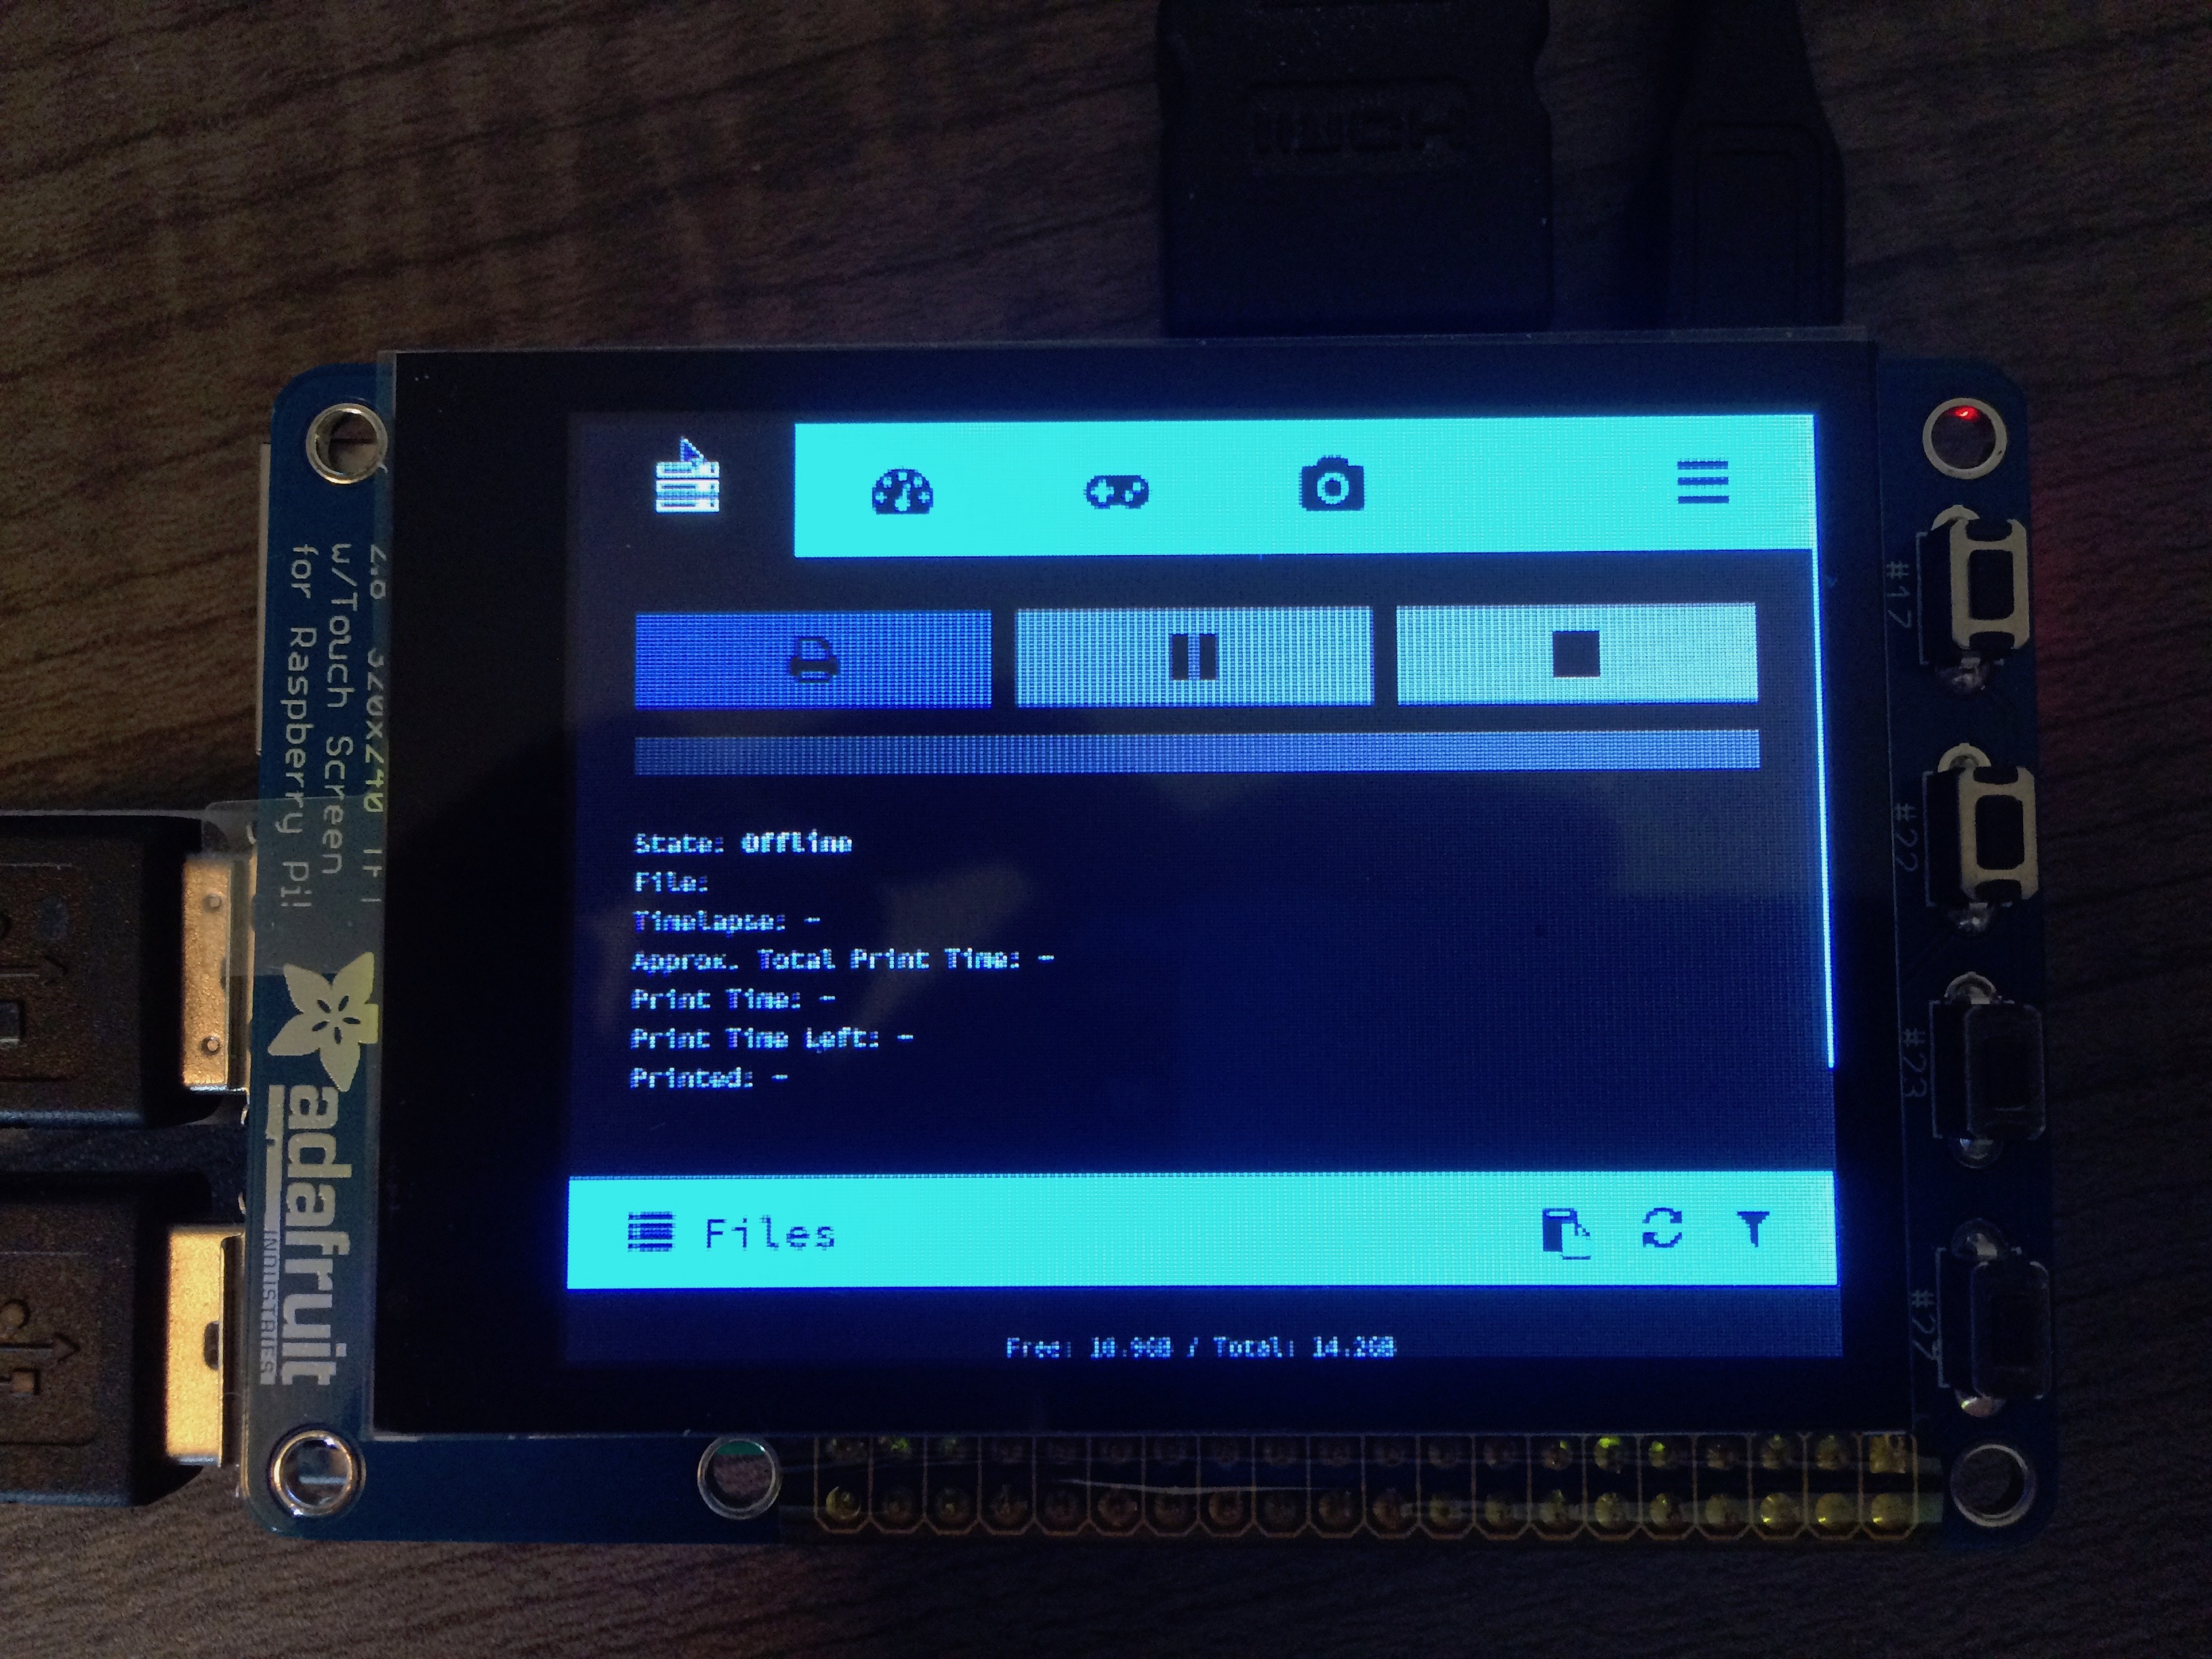
Install the TouchUI plugin to OctoPrint
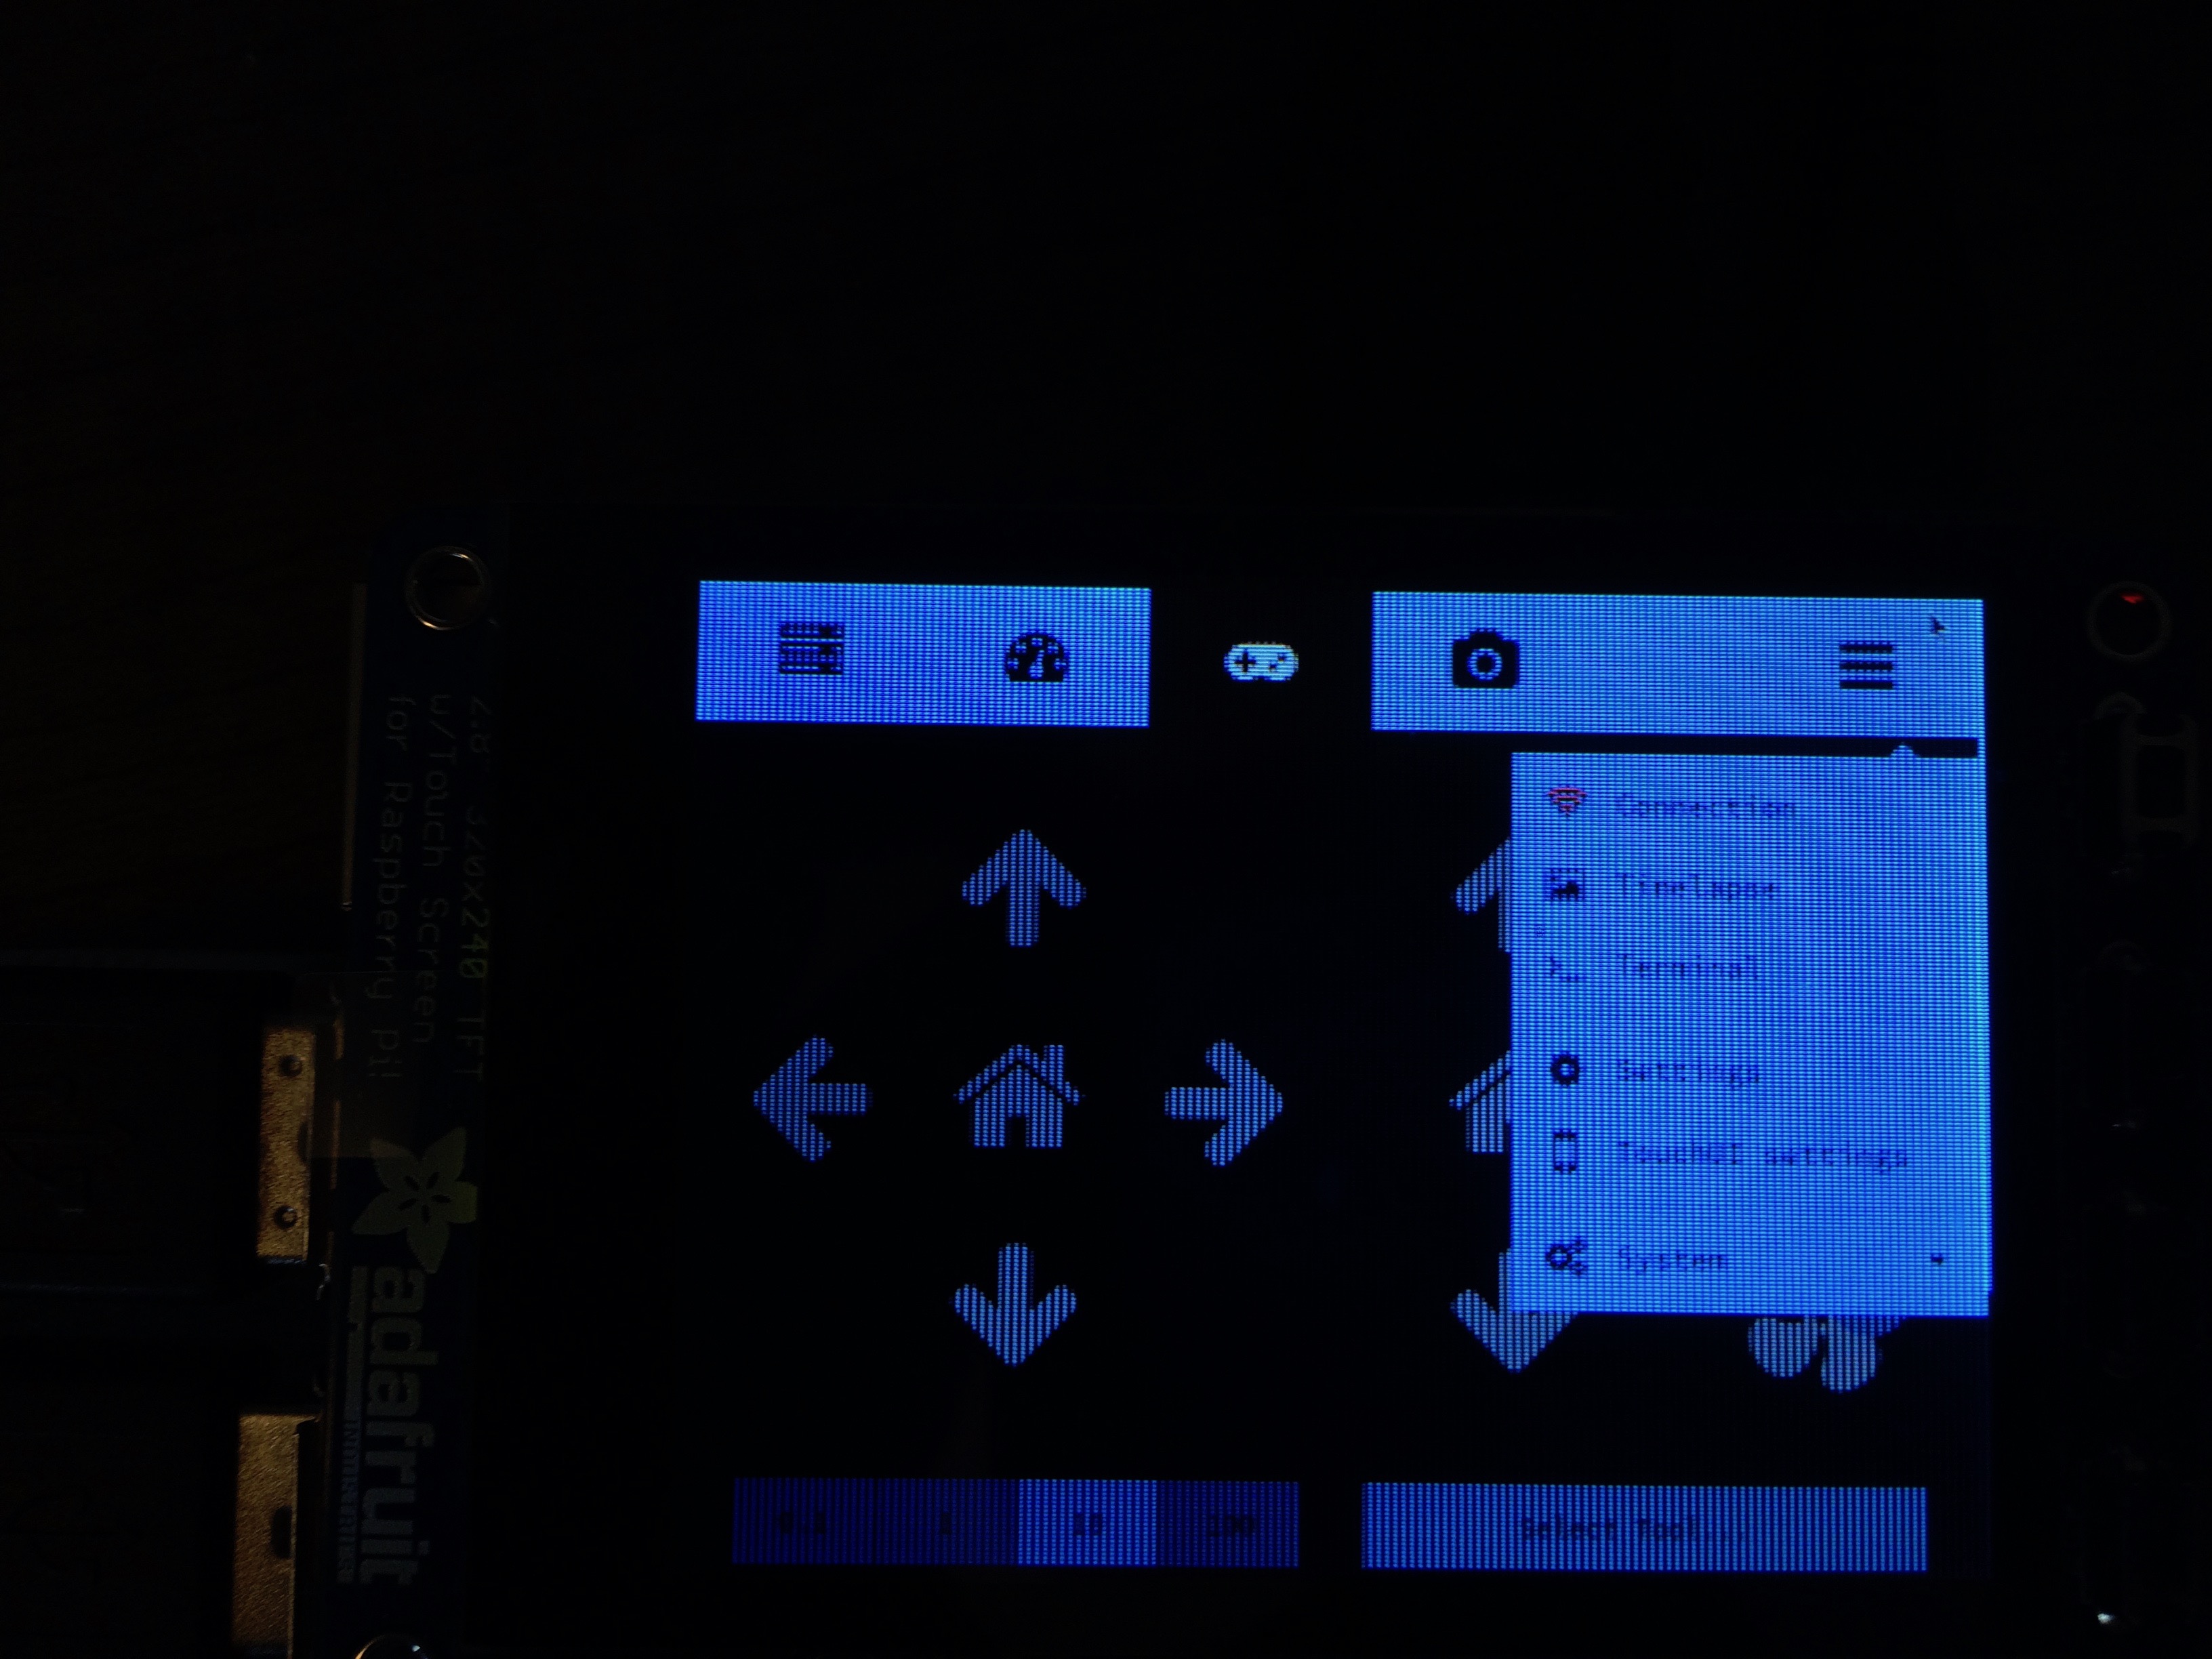
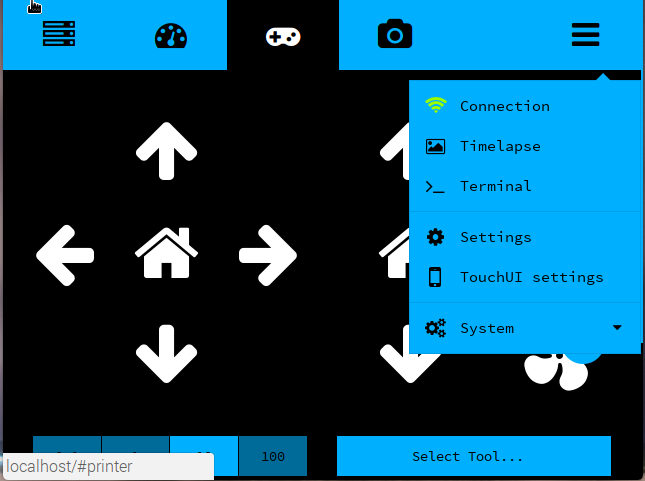
Bring up Chromium on the TFT display, go to http://localhost and go into full screen mode
Observations
It's got potential.
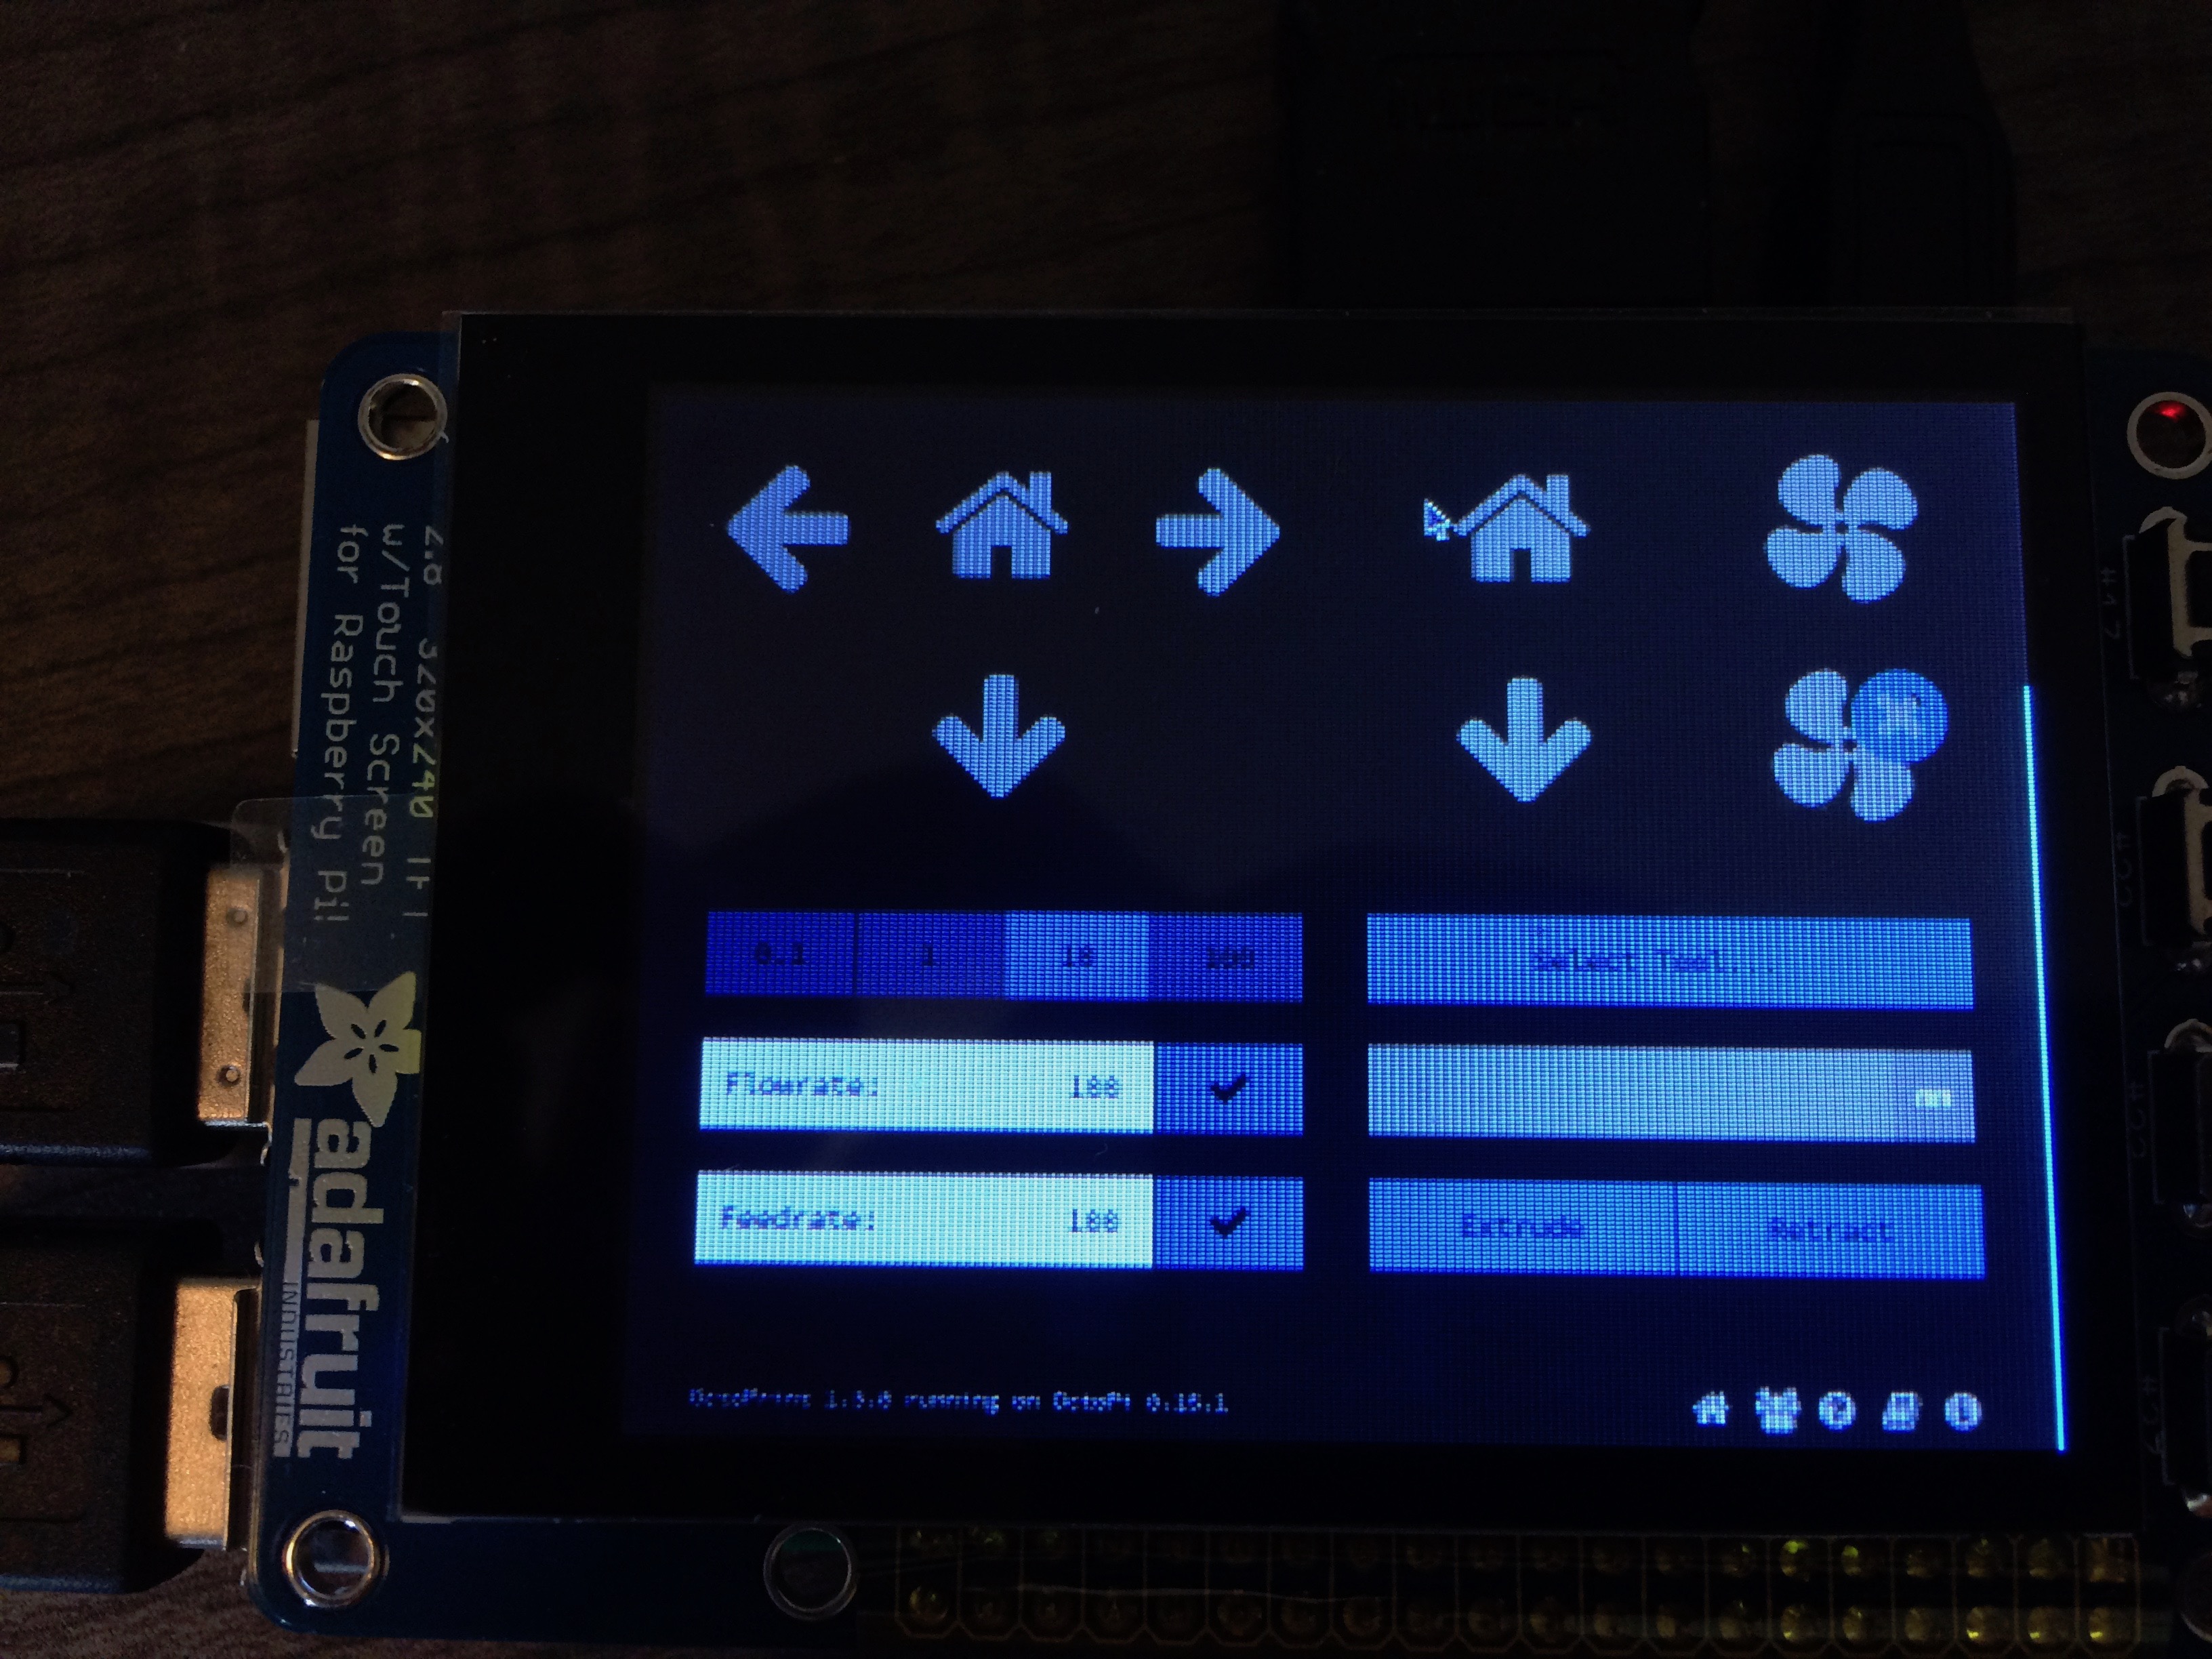
It feels like it was created for a 7" screen, perhaps. The fonts seem too small to me.
Although it might make sense to upload from your phone to OctoPrint, the interface here locally makes no sense: why would you want the OctoPrint server to upload a file to itself?
With scrolling screens, you need a little whitespace to allow the user to feel like they're not going to accidentally press a button. This feels a little too close for comfort when scrolling.
Watching the terminal from another workstation, the controls appear to be working, sending commands to the controller board.
When accepting input using the keyboard, it would be better to use the type argument to some <input> tag so that the correct keyboard will be displayed. In this way, the user doesn't have to then switch to the appropriate number-entering keyboard.
It's better than nothing, of course.
I'm guessing that a leaner interface with the bare bones feature set might allow for bigger/safer buttons and more confidence.
@OutsourcedGuru just as a heads-up, this looks like a while loop that will keep a CPU core completely busy while no button is pressed.
Something like this might work better (untested, just based on my understanding of the event detection functionality):
#!/usr/bin/env python

import RPi.GPIO as GPIO
import time

# mapping of button id to pin
buttons = dict(button1=27, button2=23, button3=22, button4=17)

# setup pins
GPIO.setmode(GPIO.BCM)
GPIO.setup(list(buttons.values()), GPIO.IN, pull_up_down=GPIO.PUD_UP)

# setup event detection
for pin in buttons.values():
    GPIO.add_event_detect(pin, GPIO.FALLING)

while True:
    for name, pin in buttons.items():
        if GPIO.event_detected(pin):
            print('{} pressed'.format(name))
    time.sleep(0.25)
So, you bumped the sleep up a level so that it happens every loop. (I was bouncing back and forth between two examples and one of them was badly-formatted.)
Just bumping it up might cause missing button presses if they happen during the sleep - to avoid this I also went for event detection instead of live querying via GPIO.input.
I'm currently looking at one of the Adafruit HDMI touch displays. How would I set it up as the display with only Octoprint? I'm hoping some type of touch plugin, or at least something I don't have to try to learn to code beforehand.(I'm a contractor, not a software engineer) Any help is greatly appreciated.
You'd install the OctoPi image (remembering to enable ssh before booting it), run a script in the ~/scripts/ folder to install the Desktop, run Adafruit's install for the display and then boot it one more time.
At this point, you probably have a local keyboard/mouse on the Raspi to see and control the Desktop that's being displayed.
From your workstation, I'd install the TouchUI plugin, for example and then locally on the Raspi's Desktop, bring up http://localhost from the installed browser. You can adjust things on the Raspberry Pi's Desktop so that it auto-hides the Taskbar at the top and maximize the browser window and it should look like the images I posted.
For the record, SSH should already be enabled out of the box. And if it isn't, that's a bug and needs to be reported on the OctoPi repository so it can be fixed It definitely is in anything up to 0.15.1 though (or I'd definitely have noticed in my past release testing).
No. We've turned it back on in OctoPi (by shipping with this file in place) since having it off on something that's supposed to run headless in 99% of cases simply doesn't make any sense at all.
@DARMAX_Popielski Note that this is just a review rather than a tutorial. But the Overview section at the first post indicates the steps which I used. If that doesn't make sense, then ask.

 It definitely is in anything up to 0.15.1 though (or I'd definitely have noticed in my past release testing).