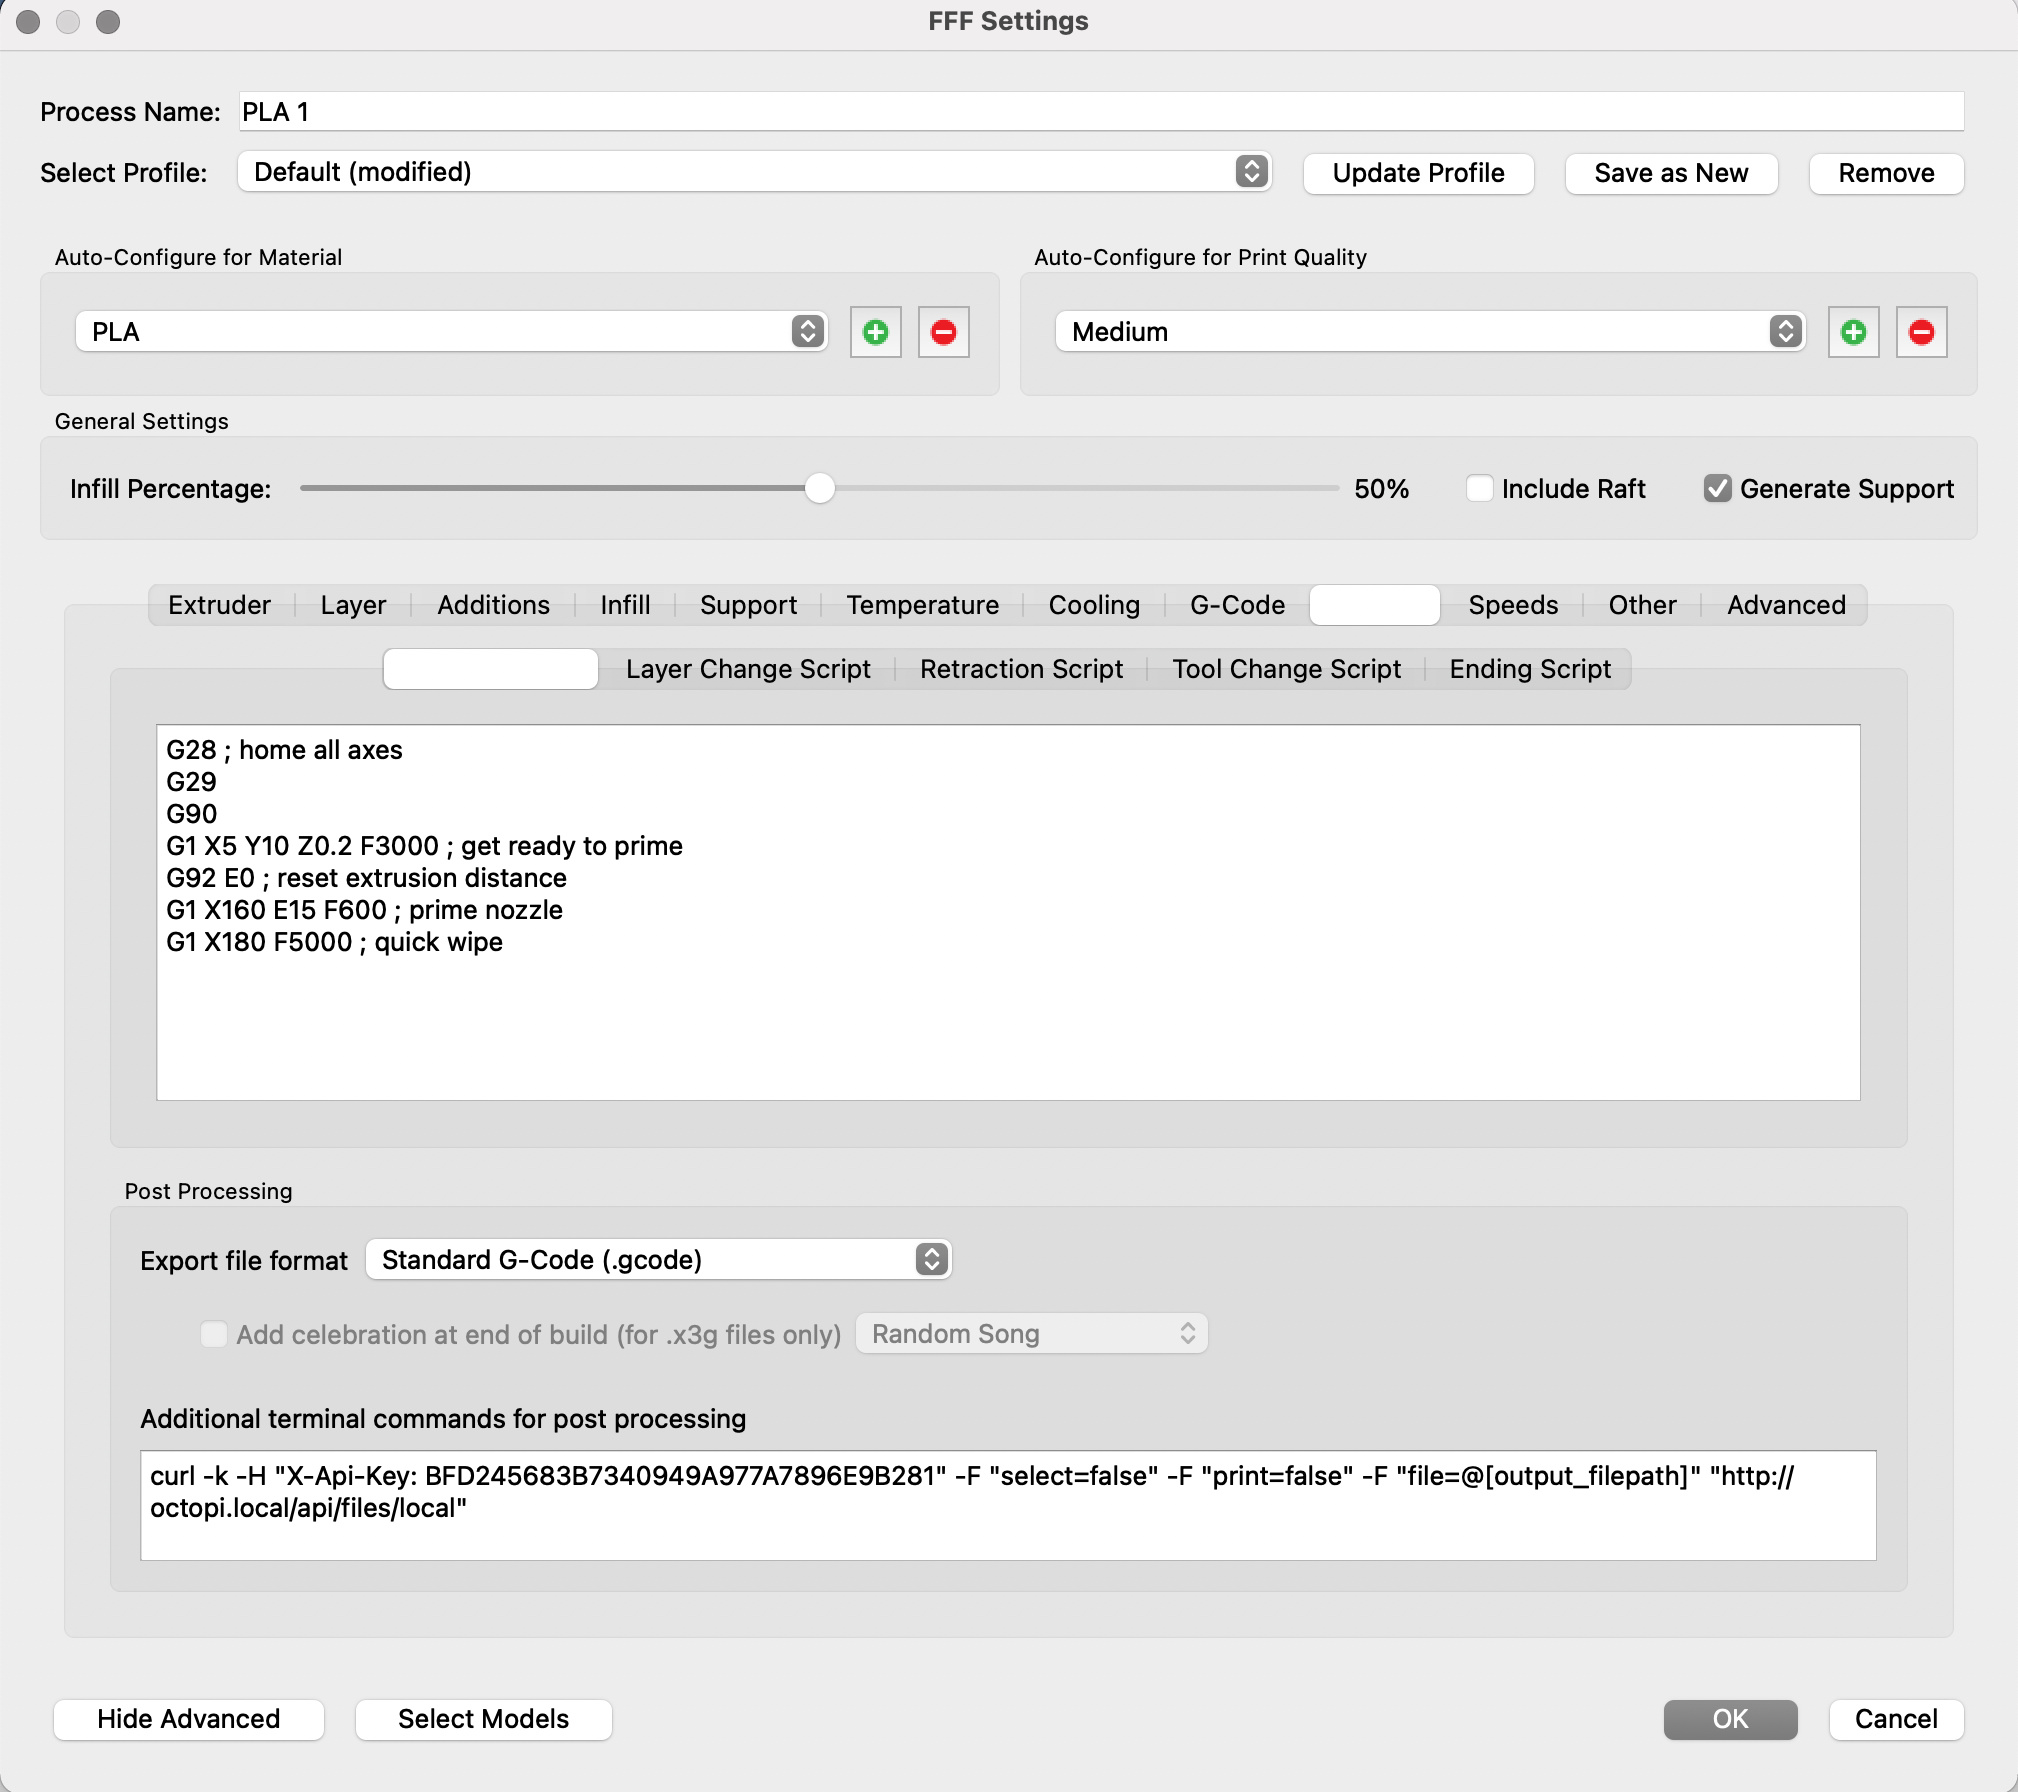
OctoPrint does not change commands it sends out, it does not modify your printer's z height. It streams to your printer whatever is in your files, line by line. It cannot make your prints end up 5mm too high, 12mm too far to the left or upside down on its own. That all needs to enter its send queue either through the gcode file from your slicer or the gcode scripts you configured or by commands entered by you or installed plugins.
Thats what I figured I am posting this as a last resort because none of my slicers have changed and none of my other settings. I just wanted to see if it was possible for OctoPrint to possible distort a gcode or if that isn't a possibility so I can keep troubleshooting. I am sorry if this is not the place to go but every other forum I have posted in has yielded no answers. Im getting print withdrawals haha. My OctoPrint.log is too big to upload because I think I have my settings messed up to where it doesn't segment the logs into individual prints but every print I have ever done. Should I still find a way to upload it or do I need to look outside OctoPrint for the issue?
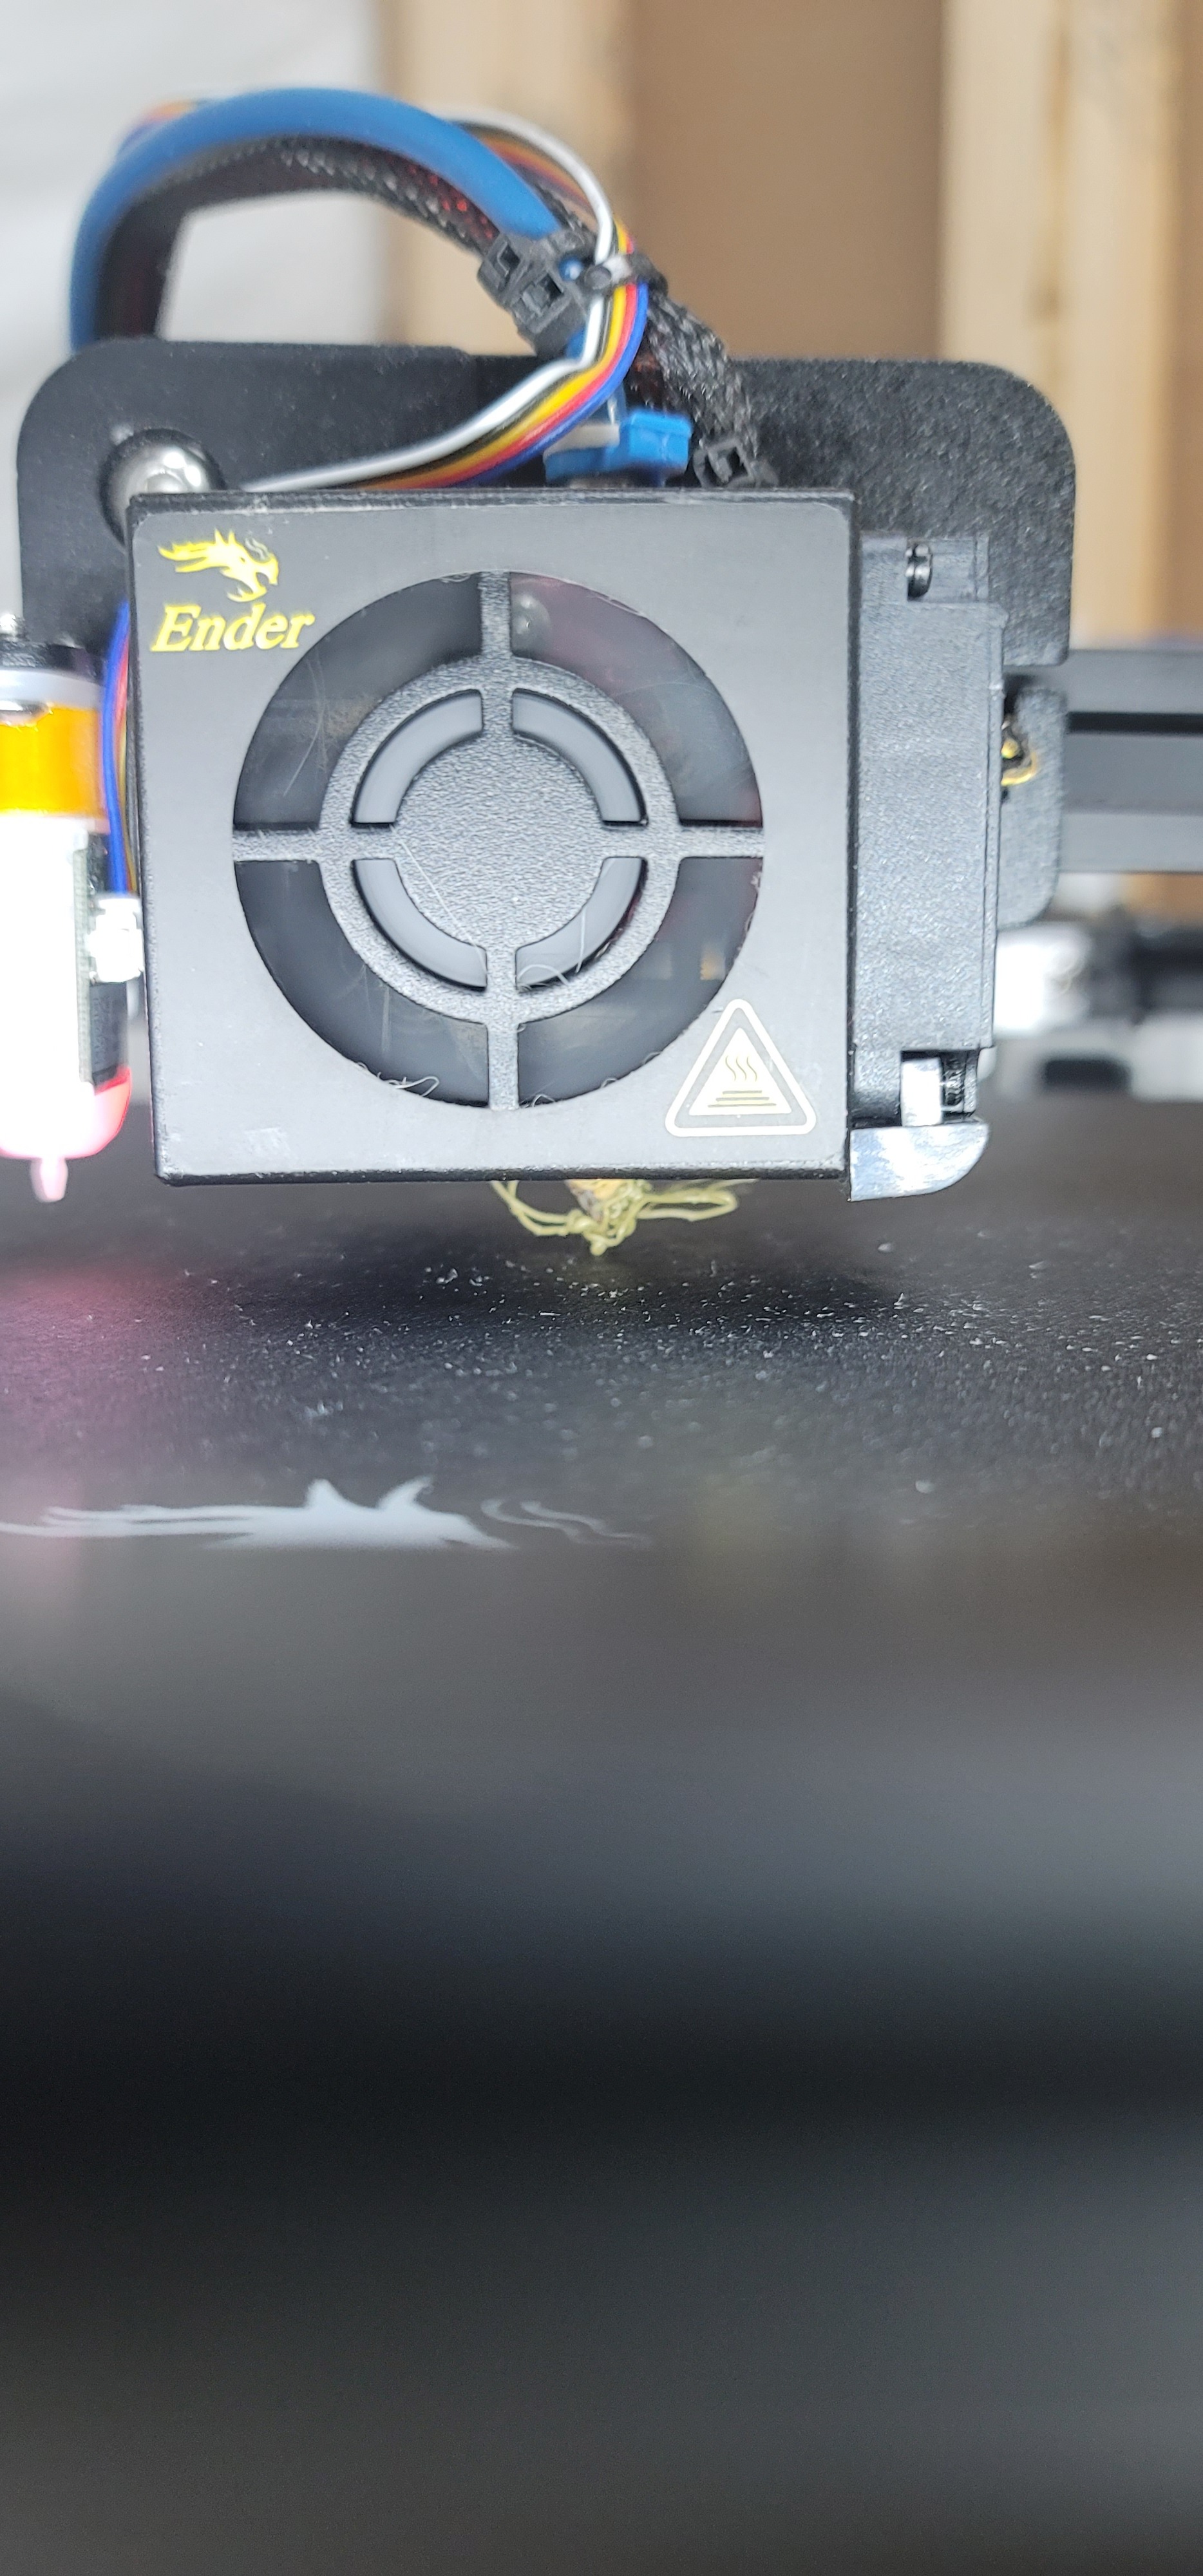
I did try it in safe mode with 3 different slicers that I had reset to default values. I am now wondering if my Z stop somehow got moved because looking at where the nozzle should be presses down the switch well past activation point. I don't know if my BLTouch moved when I wasn't looking but it is still in line with the standard mount and comes down about 6mm past the nozzle tip. I don't read GCODE very well and I know you wrote the BLTouch plugin so can I ask does it look to you like it is sending the proper code?
The only z value in your gcode is here: 0.2mm, which sounds like the first layer is correct. Definitely look at hardware issues, make sure nothing has come loose (like the endstop & BLtouch, and you might also want to look at your Z offset value (send M851 command).
Not exactly, there is one at the beginning too, moving to 9.93. So I'm curious if this a relative/absolute movement issue. I don't see an open ended G92 command, they are all specified with the E parameter. Curious @Trickflowdoes the first layer print at approximately 10mm in the air?
Correction G90, just realized that G92 is specific to extrusion, G90 is Absolute movement, G91 is relative movement. So what was happening is you were homing and then ending up at 9.93 and then when your gcode says to move to 0.2 it was just moving .2mm up, not going to the absolute position 0.2 from the bed.
Ok ill run a print and see what happens, thank you for taking the time time to help!
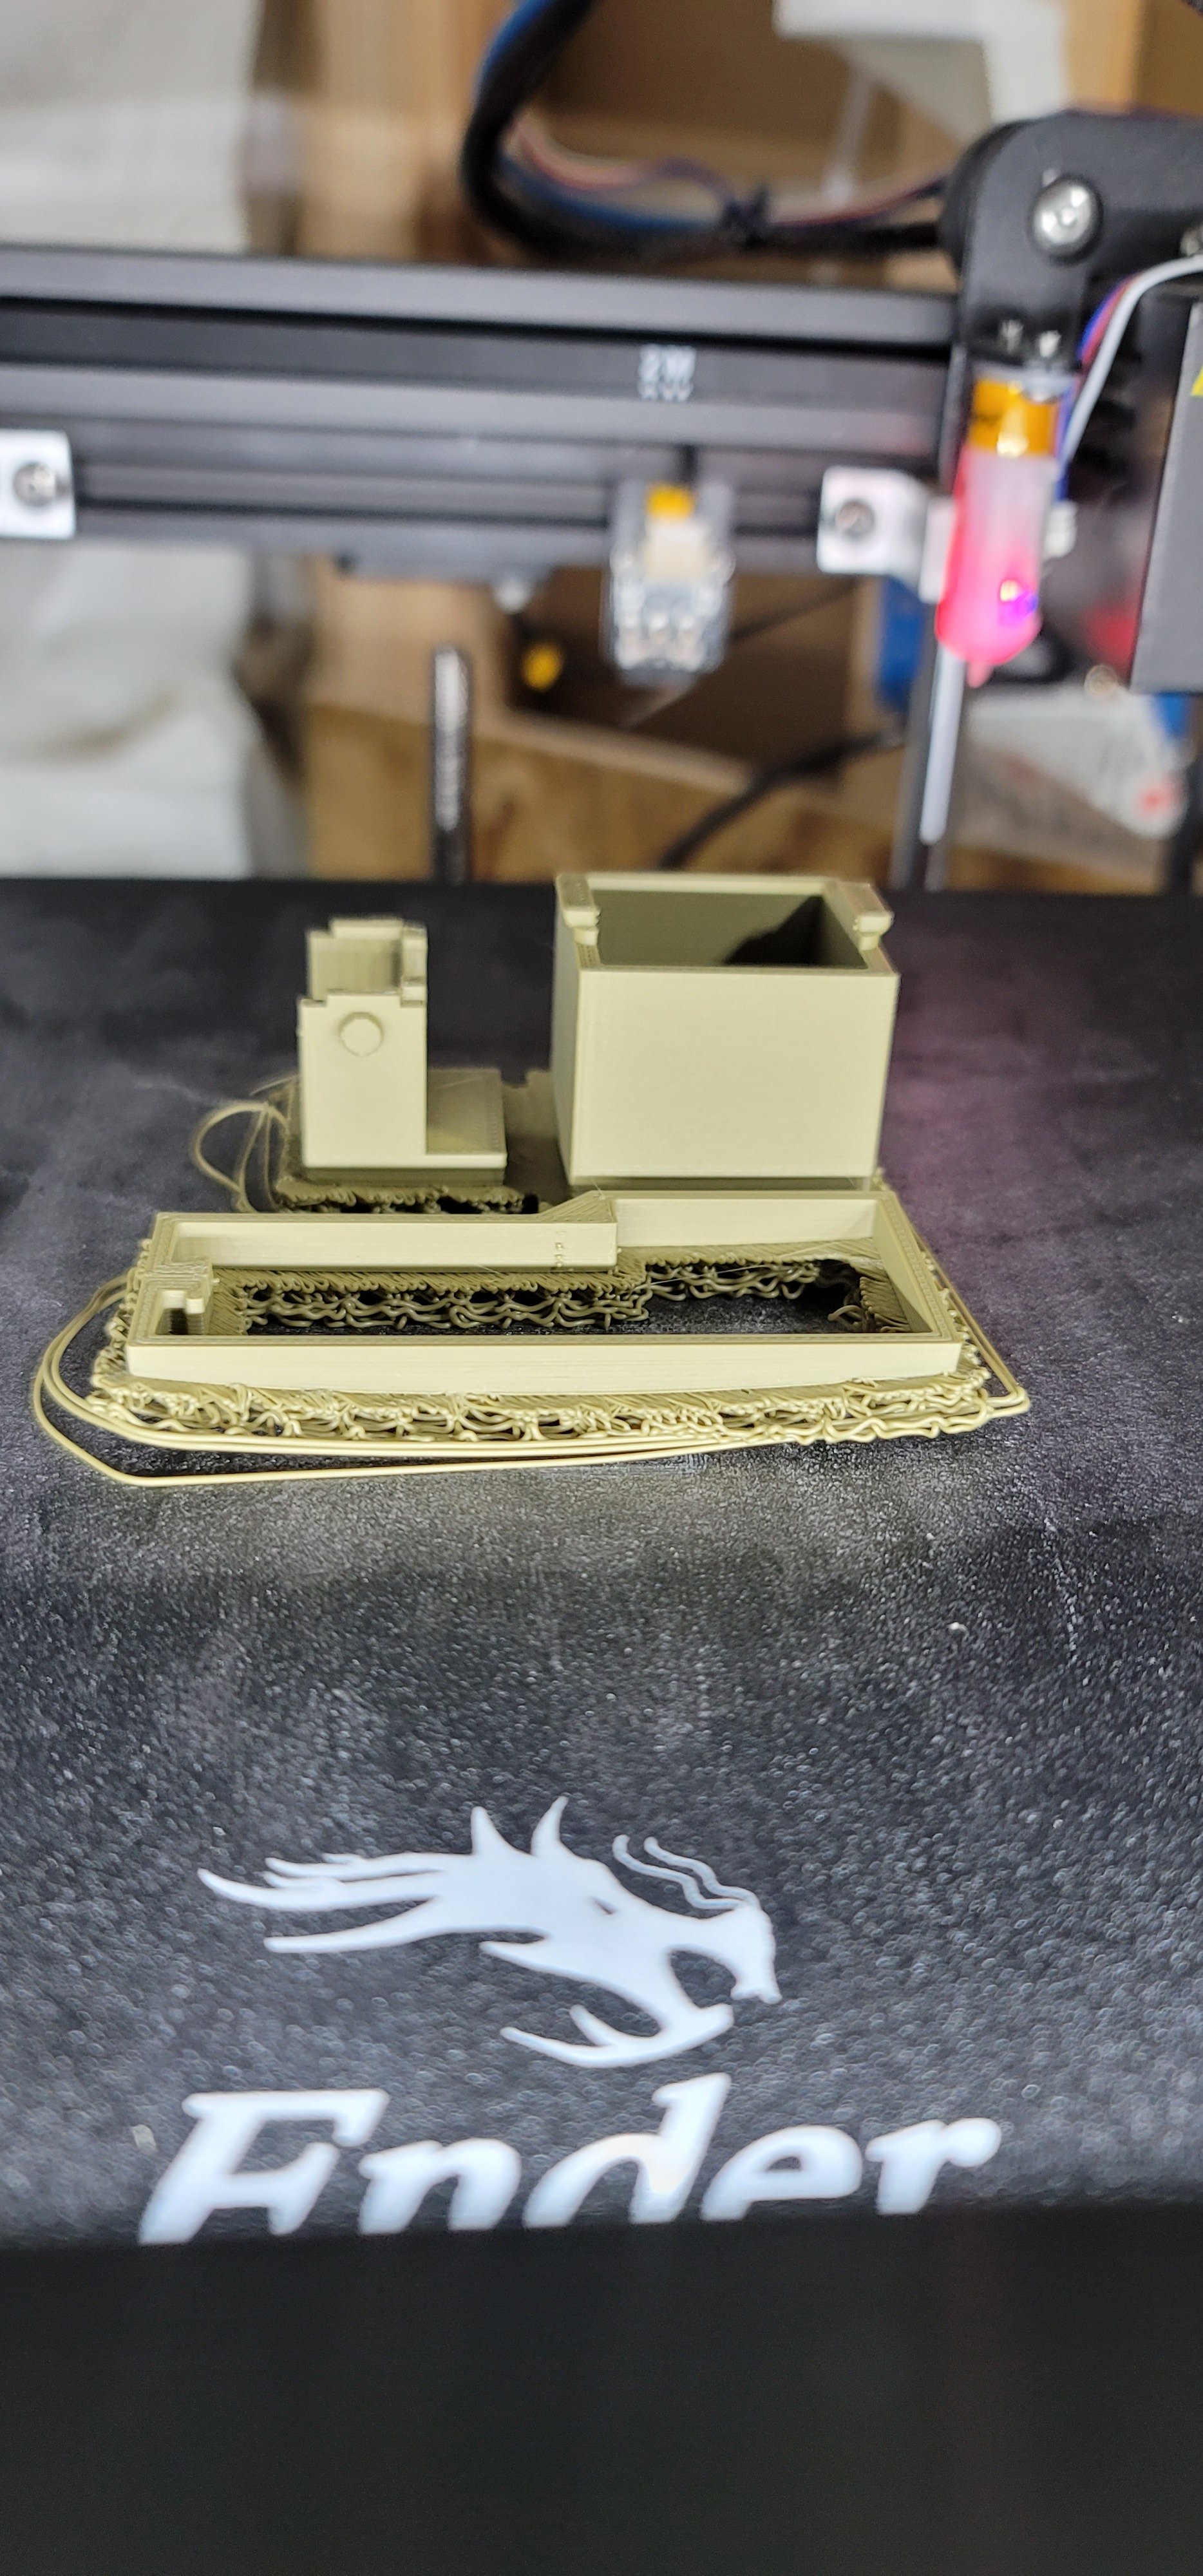
Edit: Ran a new print with G90 after G29 and this is about where the hot end is.
interesting, that almost sounds like the offset isn't loaded. what do you get if you send the command M851 to the printer before & after homing & leveling.
Yep, so you haven't set your offset for the z. You need to set that. Do G28 followed by G29 and then once it's done and lifts up, use the control panel to move down. Keep incrementing it down until you can do the paper drag test thing under the nozzle (don't move the screws just the nozzle). Once you get to the correct feel with the paper run the following command.
M114
you should get back something like this where the Z will be negative. You will use that in the next command.
Recv: ok X:0.0 Y:0.0 Z:0.0 E:0.0 Count: A:0 B:0 C:0
Run the following command based on what you see as the z (no brackets)
M851 Z<distance offset> ;set the z offset
M500 ; save settings to EEPROM
Then in theory I think you can run M114 again and it will return a Z of 0 (not 100% sure on this).
 ?
?