Disclaimer: First and foremost, I am not an internet security expert and I have no real idea if this procedure helps with securing your OctoPrint instance, but from what I can tell it doen't hurt. I do not take any responsibility for the security of your network and by following this procedure you release me of any liability associated with such. This process assumes that you are using an OctoPi image and only forwarding port 443 from your router to port 443 of your pi.
SSH to your pi and create a working folder and change into it.
mkdir ssl
cd ssl
Create Root Certification Authority
Create your root certificate authority for signing other certificate requests for both the server and users. Follow the prompts to enter passphrase and verify passphrase. This passphrase will be used any time you sign a new certificate request so don't forget it.
openssl genrsa -aes-128-cbc -out OctoPrintCA.key 4096
openssl req -x509 -new -nodes -key OctoPrintCA.key -sha256 -days 1825 -out OctoPrintCA.crt
Fill in whatever you want for the requested information, but for the Common Name you want to use something that you'll be able to recognize as the certificate authority. In this example I used OctoPrint CA for the common name and "blanked" everything else out using a "." for each prompt.
Country Name (2 letter code) [AU]:.
State or Province Name (full name) [Some-State]:.
Locality Name (eg, city) []:.
Organization Name (eg, company) [Internet Widgits Pty Ltd]:.
Organizational Unit Name (eg, section) []:.
Common Name (e.g. server FQDN or YOUR name) []:OctoPrint CA
Email Address []:.
Create Server Certificate
Now we'll create a server certificate that is signed by our newly created root CA. Ideally you'd have a registered domain name pointing to your router's public ip address. This can be a freely available dynamic dns domain name, and is what I actually use. If you don't have a registered domain name then you will have to contend with name mismatch errors in your browser. If you are just using a static public ip address you can also just enter that for common name as well.
openssl genrsa -out mydomain.com.key 2048
openssl req -new -key mydomain.com.key -out mydomain.com.csr
Because Chrome requires a SAN extension in the certificate,
we need to create a config file with the settings for this
extension. Run nano octopi.cnf to create a file octopi.cnf and add the following
content using your domain name in DNS.1, you can use multiple names by adding additions DNS.# fields, which may be useful for internal names like octopi.local.
[ v3_req ]
basicConstraints       = CA:false
extendedKeyUsage       = serverAuth
subjectAltName         = @alt_names

[ alt_names ]
DNS.1 = mydomain.com
Press ctrl+x to exit and answer Y to save the file and enter to keep the same file name.
Now we're ready to sign the certificate with our CA.
openssl x509 -req -in octopi.csr -CA OctoPrintCA.crt -CAkey OctoPrintCA.key -CAcreateserial -out octopi.crt -days 1825 -sha256 -extensions v3_req -extfile octopi.cnf
cat mydomain.com.crt mydomain.com.key > mydomain.com.pem
Create User Certificate
Create an individual user's certificate that will be used to "authorize" a device to connect to haproxy once we lock that down. It will be signed by our new CA we created above, and the process is the same as creating the server certificate. The important part here is to enter the Common Name as the user you want to identify as. When exporting the p12 format file make sure to remember the password as that will be needed any time you import the file into a device that will be used to connect.
openssl genrsa -out username1.key 2048
openssl req -new -key username1.key -out username1.csr
openssl x509 -req -in username1.csr -CA OctoPrintCA.crt -CAkey OctoPrintCA.key -CAcreateserial -out username1.crt -days 499 -sha256
openssl pkcs12 -export -in username1.crt -inkey username1.key -out username1.p12
Haproxy Configuration Changes
Now we'll update the haproxy config to bind port 443 to our new server cert after creating a backup of the original file.
cd /etc/haproxy
sudo cp haproxy.cfg haproxy.cfg.bak
sudo nano haproxy.cfg
Your specific configuration in haproxy.cfg may be different but the changes you will be making are in the global and frontend public sections. For the global section we just need to add a line that tell haproxy to use a higher bit length for the ssl connection. At the end of the global section just add the line tune.ssl.default-dh-param 2048.
Now in the frontend public section find the line like this bind :::443 v4v6 ssl crt /etc/ssl/snakeoil.pem and change it to bind :::443 v4v6 ssl crt /home/pi/ssl/mydomain.com.pem ca-file /home/pi/ssl/OctoPrintCA.crt verify required. This next change is optional but recommended; instruct haproxy to redirect standard http port 80 to use https port 443. Find the line option forwardfor except 127.0.0.1 and just below it enter redirect scheme https code 301 if !{ ssl_fc }.
Your final haproxy.cfg file should look something like the one below. This one started as the default config that came with OctoPi 0.15.1 with the above modifications completed.
global
maxconn 4096
user haproxy
group haproxy
log 127.0.0.1 local1 debug
tune.ssl.default-dh-param 2048
defaults
log global
mode http
option httplog
option dontlognull
retries 3
option redispatch
option http-server-close
option forwardfor
maxconn 2000
timeout connect 5s
timeout client 15min
timeout server 15min
frontend public
bind :::80 v4v6
bind :::443 v4v6 ssl crt /home/pi/ssl/mydomain.com.pem ca-file /home/pi/ssl/OctoPrintCA.crt verify required
option forwardfor except 127.0.0.1
redirect scheme https code 301 if !{ ssl_fc }
use_backend webcam if { path_beg /webcam/ }
use_backend gstreamer if { path_beg /gstreamer/ }
default_backend octoprint
backend octoprint
acl needs_scheme req.hdr_cnt(X-Scheme) eq 0
reqrep ^([^\ :]*)\ /(.*) \1\ /\2
reqadd X-Scheme:\ https if needs_scheme { ssl_fc }
reqadd X-Scheme:\ http if needs_scheme !{ ssl_fc }
option forwardfor
server octoprint1 127.0.0.1:5000
errorfile 503 /etc/haproxy/errors/503-no-octoprint.http
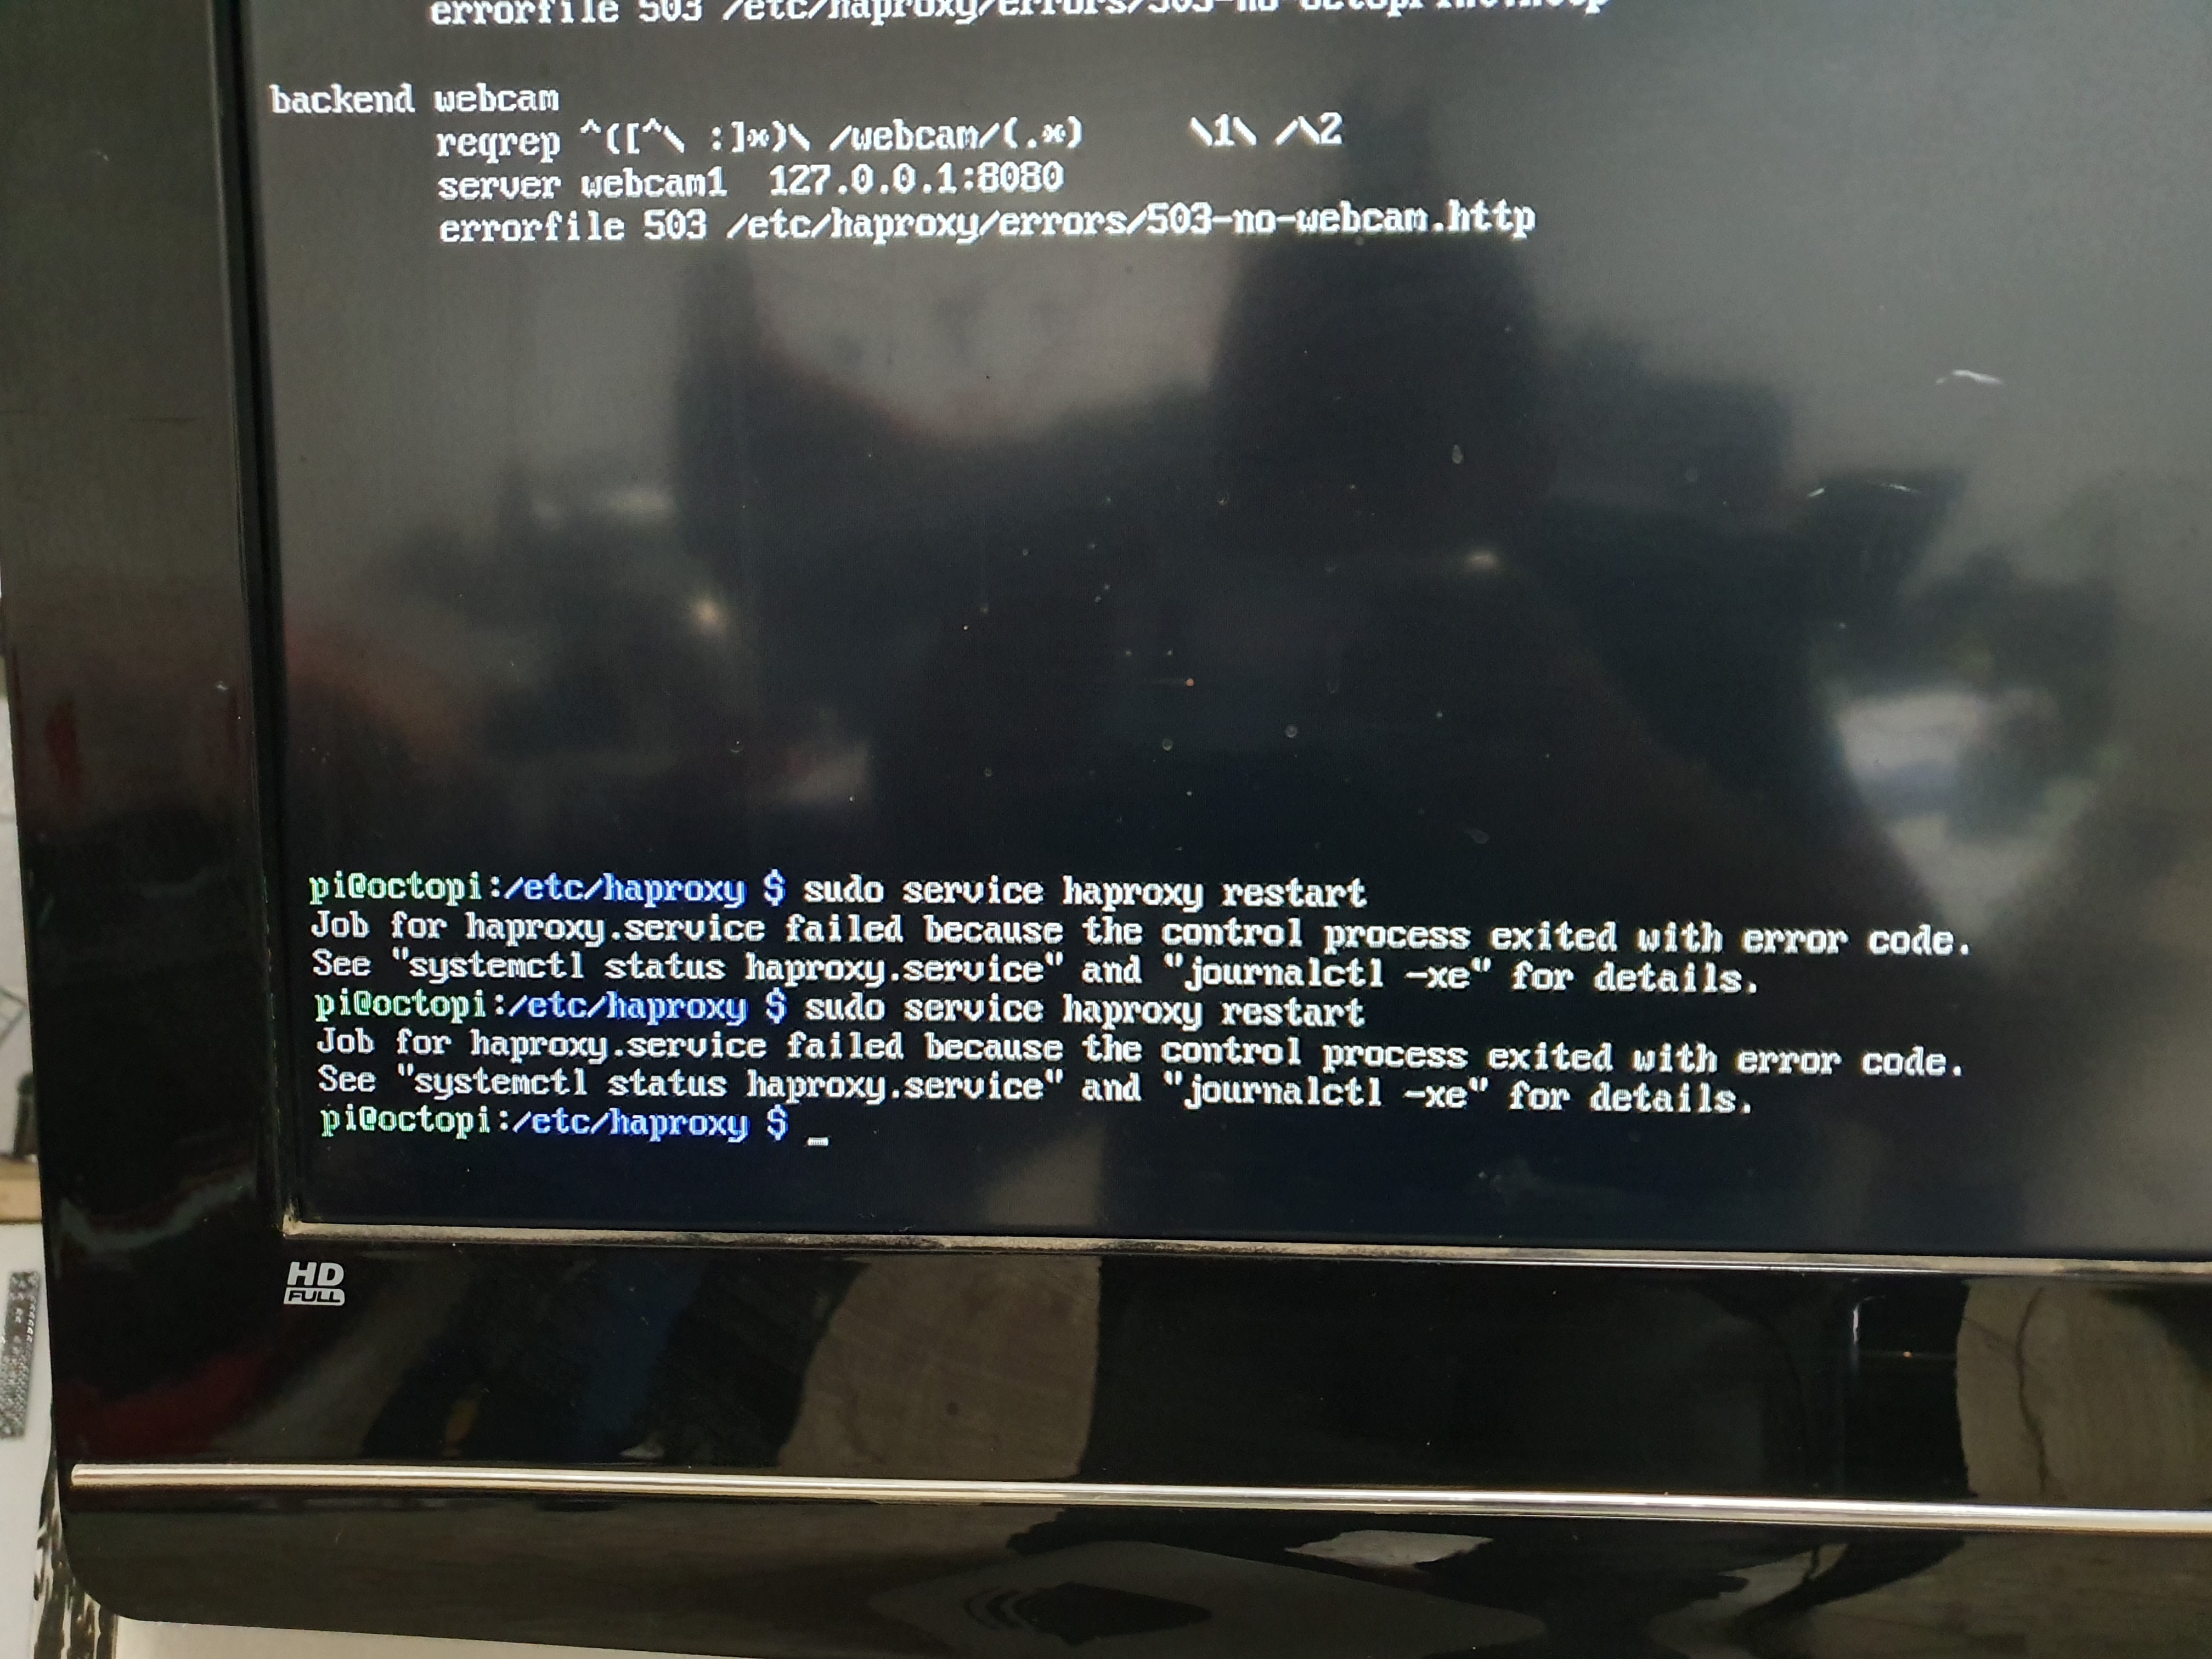
backend webcam
reqrep ^([^\ :]*)\ /webcam/(.*) \1\ /\2
server webcam1 127.0.0.1:8080
errorfile 503 /etc/haproxy/errors/503-no-webcam.http
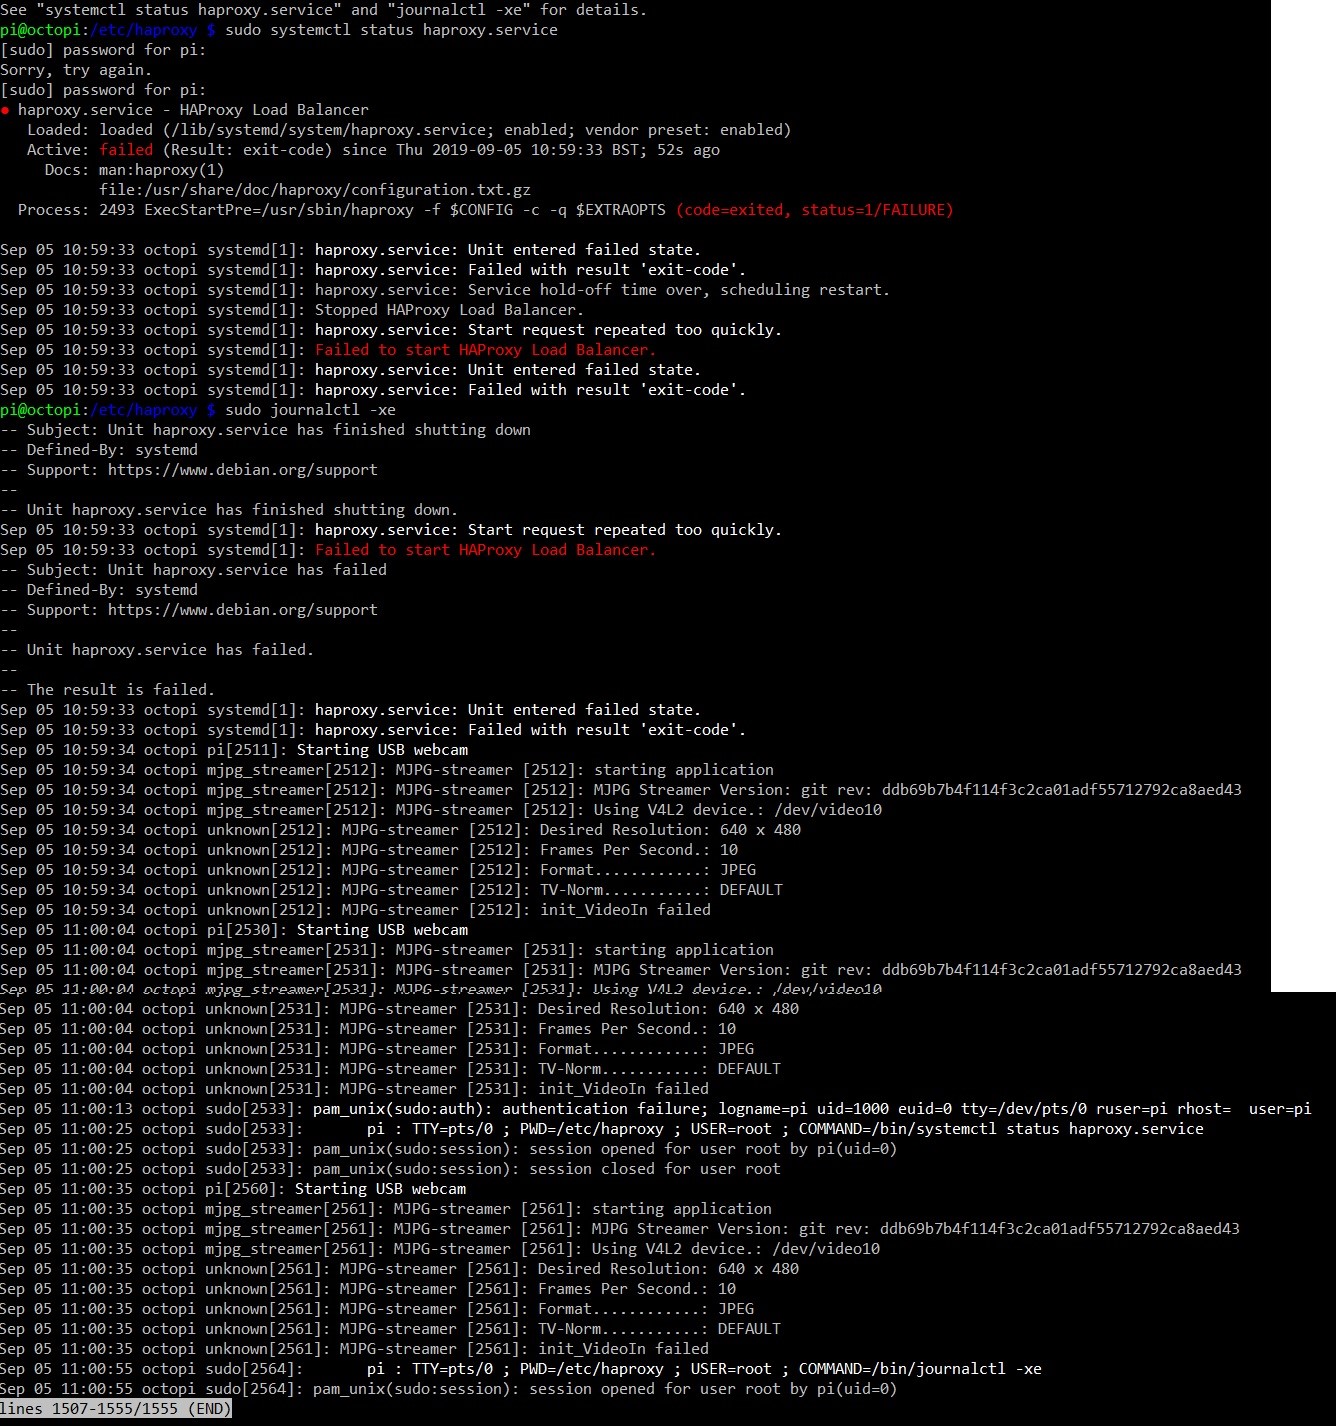
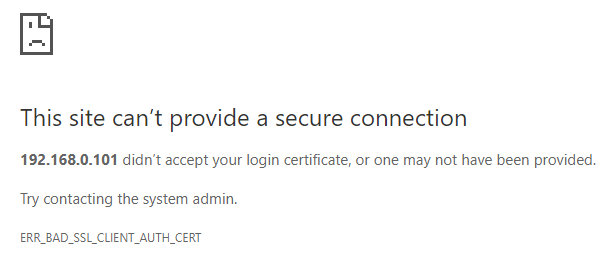
At this point save the file by pressing ctrl+x followed by y for yes and enter to overwrite the previous file. Restart haproxy sudo service haproxy restart and if we attempt to go to our octoprint https address you will get the below error. This is good news, because this is what we want. If you don't have a user certificate signed by our Certificate Authority it will not allow the connection.
You will now need to transfer the username1.p12 file from the pi to any device that you want to grant access to OctoPrint. This process varies from device to device, but for windows you just double-click the file and run through the certificate import wizard selecting all the default options and entering the password used when exporting the p12 file previously. If you want to avoid getting a trusted root certificate authority error you will also need to import the file OctoPrintCA.crt, but during the import wizard choose the option to add it to a specific store, press browse and choose the Trusted Root Certification Authorities.

If all goes well now when you attempt to go to the https address of your OctoPi you'll get right in to the standard web interface and be able to login, etc.
You may get certificate errors where you can click the Advanced link (in chrome) and choose the option to proceed to the site. This typically will happen because of a common name/url mismatch or an untrusted root certificate authority. This doesn't necessarily mean the connection isn't secure, but means the browser is not seeing what it expects to see related to the connection and the certificate(s) used to establish the connection.
Some common fixes for these errors are importing the CA certificate as mentioned previously, update your hosts file to point the common name used to generate the server certificate to your internal ip address (if you used a dns name for this) and access by the name instead of ip.
Optional Auto Login to OctoPrint
If you'd like for OctoPrint to automatically log you in with the client certificate you need to set the CN of the client certificate to the same as the username in OctoPrint when creating it. Then make the following changes to config.yaml in OctoPrint's base folder (/home/pi/.octoprint/config.yaml).
accessControl:
  trustRemoteUser: true
and the following line to /etc/haproxy/haproxy.cfg in the frontend section just before use_backend webcam line
http-request set-header REMOTE_USER %{+Q}[ssl_c_s_dn(cn)]