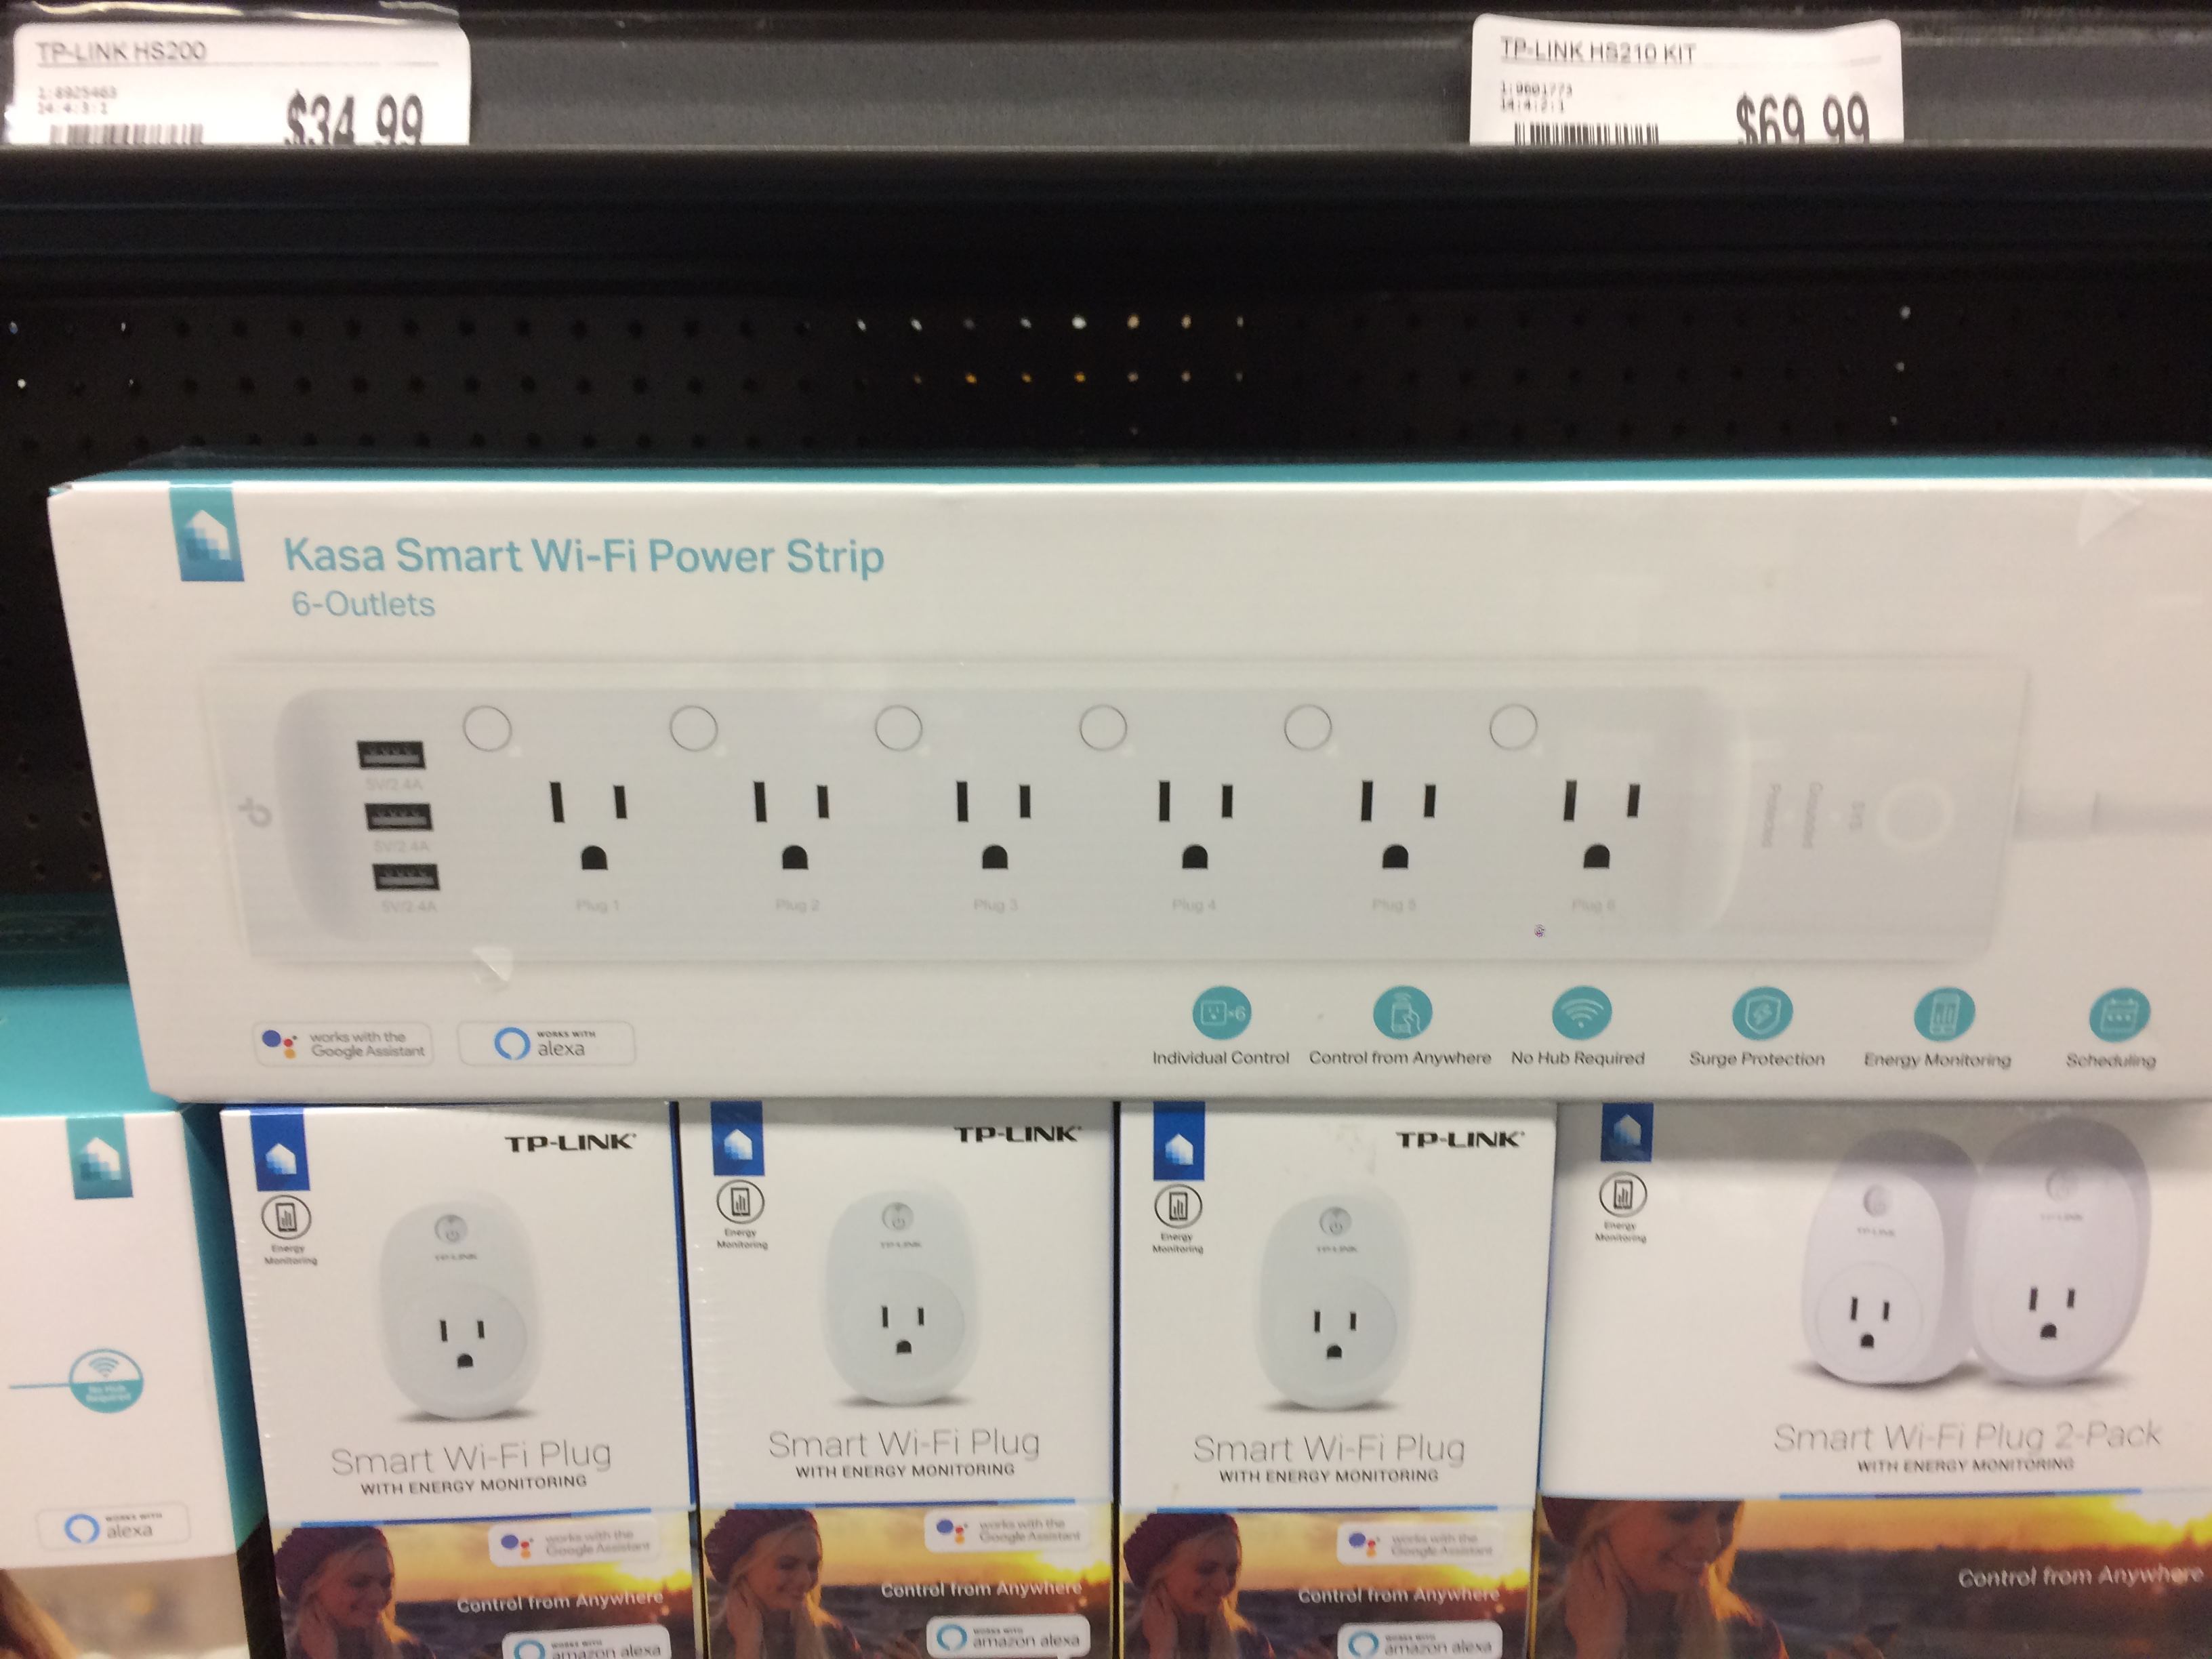
Looks like Fry's Electronics now has a cool now product offering from TP-Link. Each of the six individual outlets has its own toggle button as well as full programmatic control via its API, the Kasa app, Alexa's and Google's Home APIs. I think it was $79 which is a better deal than several of the HS-variety of these smartplugs.
This could be an excellent way of individually controlling the Raspberry Pi, the printer, any exclosure-related things, LED strips, external heaters, dedicated webcam and camera lightning.
My colleague in work literally tried that yesterday. While alexa worked, the plugin in octoprint that he wanted to use to control it, does not.
I'm assuming that's my plugin he is referring to. I think there is an issue posted on the repo to expand support for that device, I just haven't had the time to do anything about it, and definitely haven't seen anybody send me coin to buy one for development/debugging.
1 Like
@jneilliii, How does one send you the coin to allow you to have the time do upgrade the plugin?
I put a "PayPal" link at the bottom of all my plugins. I don't foresee this change being too difficult to integrate, it's just a lot easier to develop when you have the specific device. That's one of the reasons I've made headway into the energy monitoring stuff, because someone donated the funds to purchase one. With this type of device though it makes me think of other options like workflows, or chained power toggling so you could power off a printer first, and then lights, and then the pi, etc. That type of change would take some time, but controlling the different plugs I think I could do pretty quick.
1 Like
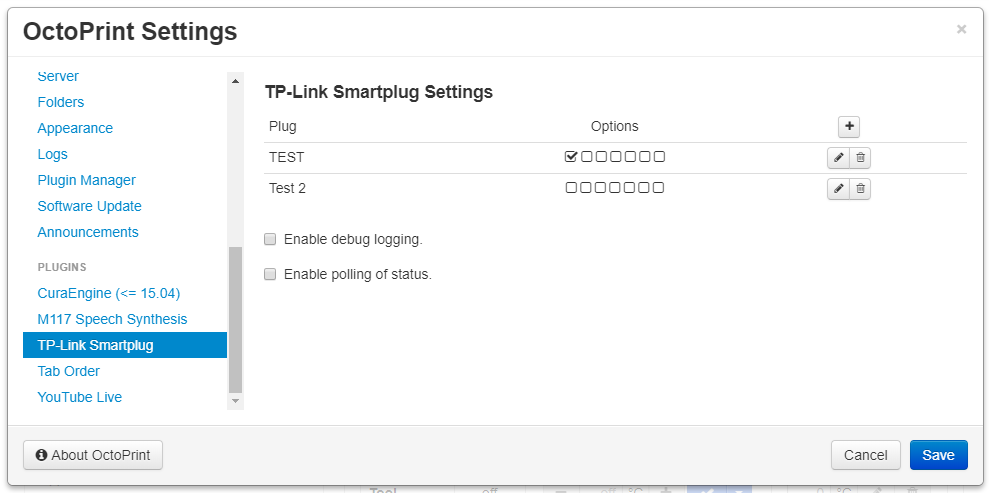
Thanks to the wonderful assistance and debugging from @ridencww I just released a new version of TPLinkSmartplug that supports the strip. For the ip address enter in the ip of the strip connected to wifi followed by a slash and the 0 based index of the socket itself on the strip. For example 192.168.0.2/0 would be the first socket in the strip, 192.168.0.2/1 would be the second, etc. This release also extends on energy data and incorporates logging and graphing of the data on the new tab.
1 Like
Anyone happen to know what the format is for a SYSTEM COMMAND to turn off another plug on the TP-Link Power Strip?
Turning off the plug that the printer is on I got, but I'd like it to turn off and on another plug on the strip as well.
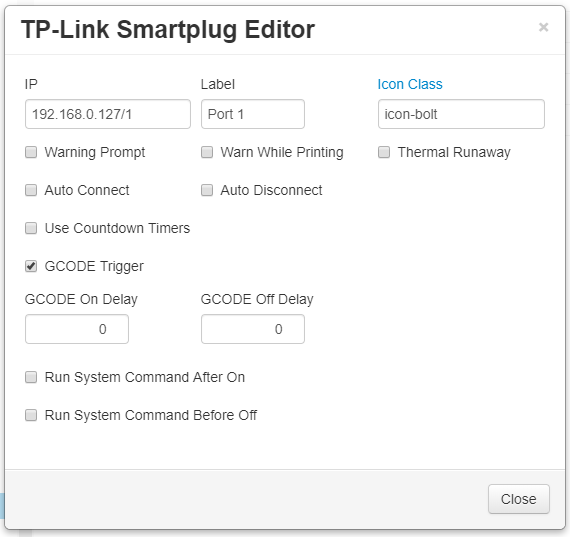
You have to include a context, which is the device's id with a number added for which port. If you use my plugin, that's automatically figured out on the backend for you, you just have to put the <ip>/<plug number> in the plug's setting.
So for the text box under Run System Command After On
Do I simply enter 192.168.x.x/0 to have it turn on the first plug in the strip ?
Or is it somthing like ./tplink_smartplug.py -t 192.168.x.x/0 -c on
Note, this is running on an RPI3
Doesn't look like you're using my plugin... if you were, you just do this.
I am using your plugin and I can turn off the printer just fine.
But I want to turn on/off another plug in the strip as well, using the Run System Command After On/Off
Or are you saying I need to define a new Plug (on the strip) for the other device from this screen?
Correct, you add it as it's own individually addressable plug and manage it separately.
1 Like
OK, then how do I get it to turn off and on with the start and stop of a print job once it's defined as a Plug?
I tried adding M80 192.168.x.x/0 to Before print Job starts section of GCODE Scripts after creating the addressable plug but it didn't work
That in theory should work, but you might want to switch the command to @TPLINKON 192.168.x.x/0 and @TPLINKOFF 192.168.x.x/0. Also make sure the gcode option is enabled on the plug itself and I would uncheck the Warn While Printing option, or set a delay higher than 0 on the GCODE Off Delay, otherwise the off command will never get processed because it detects the printer as still printing.
2 Likes
Thanks @jneilliii ,
It was the GCODE Trigger checkbox I was missing
1 Like