Starting with version 1.11.0, OctoPrint comes with built-in health checks that regularly will check the health of the underlying runtime environment.
One of these checks is against the Python version that OctoPrint is running under: If it's already end-of-life or soon to be end-of-life, you'll get a health check warning.
We've seen plenty of instances that are running on now end-of-life Python versions, and as end-of-life Python versions also usually no longer are supported by third party dependencies of OctoPrint, having to support these outdated versions increases maintenance overhead severely. This is no longer sustainable and thus from now on OctoPrint will regularly update its minimum Python requirements in order to stay more within the current Python ecosystem. This has the added advantage of being able to make use of performance improvements in Python itself, as well as new language features that speed up maintenance and development.
However, updating Python is not something that OctoPrint can do itself, as it would basically have to rip the floor out beneath its own feet. Thus, this is something that you as the user need to do. In this FAQ item we provide some options to do this below.
Python version requirements in OctoPrint
| OctoPrint Version | Status | Supported Python Versions | Matches Python available on what versions of OctoPi? |
|---|---|---|---|
| 1.11.x | released as of 2025-04-22, getting bugfix updates | 3.7 - 3.13 | 0.18.x, 1.0.x, 1.1.x |
| 1.12.x | in active development, release planned for early 2026 | 3.9 - 3.14 (upper limit subject to change) | 1.0.x, 1.1.x |
| 1.13.x | in planning, release probably late 2026 to early 2027 | 3.10 - 3.15 (upper limit subject to change) | 1.1.x |
Upgrade options
A warning about compiling Python yourself if you are on a Pi!
Instead of reflashing or running a dist-upgrade, you might be tempted to upgrade your Python installation by compiling Python yourself. On anything but a Raspberry Pi, that is fine. On a Pi, it can work. But in that case you really should disable the piwheels package index. Otherwise chances are high you'll pull in binary packages compiled for a different system than your's from there, especially if you are still on an older OctoPi version (e.g. 1.0.0 or even older). To disable piwheels on your Pi, you'll need to comment out the
extra-index-urlin your/etc/pip.conf:sudo sed -i 's!extra-index-url=!#extra-index-url=!' /etc/pip.confNote that this will mean your Raspberry Pi will have to compile any python dependency that isn't already provided as a native wheel on the official Python packaging index itself, meaning that updates and also plugin installs will in all likelihood take significantly longer.
We therefore do not recommend this approach unless you really know what you are doing.
1) The easiest way for OctoPi & Raspberry Pi OS in general: Backup, flash a new image, restore
If you are running OctoPi or stock Raspberry Pi OS, the easiest way is probably to use OctoPrint's built-in backup tool to create a backup of all your data, plugins and configuration. Download it to your computer. Then download the latest version of OctoPi (or the OS image of your choice), flash it to a fresh SD card (you really want to do this from time to time as SD cards wear out, so this is a good timing for that!), fire up OctoPrint and restore from your backup.
Heads-up: OctoPrint might appear offline after successful restore due to a bug
Current stable versions of OctoPrint have a bug that causes it to look like the server stays offline after a successful restore - the "offline" overlay will stay no matter how long you wait or how often you click the "Reconnect" button.
When OctoPrint tells you it finished restoring and will now restart the server, wait until the "reload" overlay pops up, then give it ~30s and then manually reload the tab in your browser. This should succeed.
This bug will be fixed in OctoPrint 1.11.4.
2) The hard way for OctoPi & Raspberry Pis in general: Perform a dist-upgrade and migrate the virtual environment
Instead of reflashing, Raspberry Pi OS (and thus also OctoPi) can in theory be updated in place to a newer Raspberry Pi OS version and thus also available Python version. However, that takes a long time and several steps, and things can go spectacularly wrong. This upgrade path is also not endorsed by the Raspberry Pi Foundation.
IF you indeed want to rather tackled this approach instead of opting for the faster backup/reflash/restore way, we urge you to make a backup regardless.
Then follow one of the tutorials available online (we are not linking one here, but recommend to do a web search for "raspberry pi dist-upgrade").
Once the OS has been upgraded and you have confirmed that a new Python version is now available, follow the "generic way for manual installs" below from step 2 onward.
3) The generic way for manual installs not on a Pi: Install a new Python version and migrate the virtual environment
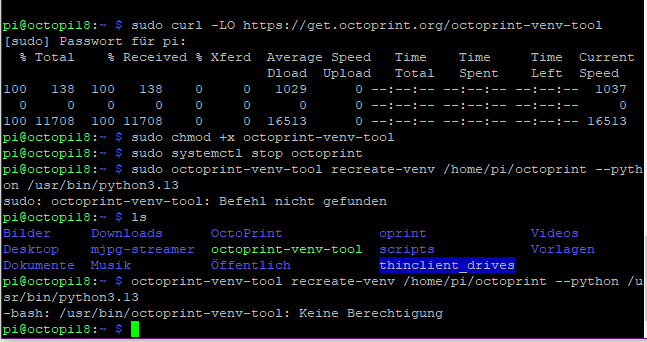
In general, the recommended approach to migrating OctoPrint to a newer Python version that doesn't involve a full OS reinstall is to first make sure a newer Python version is available on the system (e.g. by installing it from the OS package manager, or by downloading it from python.org), and then using OctoPrint's venv-tool to migrate the virtual environment to this new version.
The steps are:
-
Install a new Python version
-
Install OctoPrint's
venv-tool:-
Linux/POSIX:
curl -LO https://get.octoprint.org/octoprint-venv-tool && chmod +x octoprint-venv-tool -
Windows:
curl -LO https://get.octoprint.org/octoprint-venv-tool
-
-
Stop OctoPrint.
-
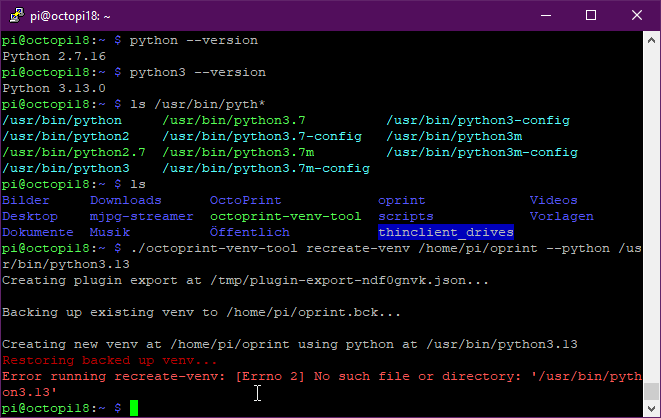
Recreate the virtual environment. Assuming OctoPrint's virtual environment is located at
/path/to/your/venvand your new Python version's binary is at/path/to/python.-
Linux/POSIX:
octoprint-venv-tool recreate-venv /path/to/your/venv --python /path/to/python -
Windows
python octoprint-venv-tool recreate-venv /path/to/your/venv --python /path/to/python
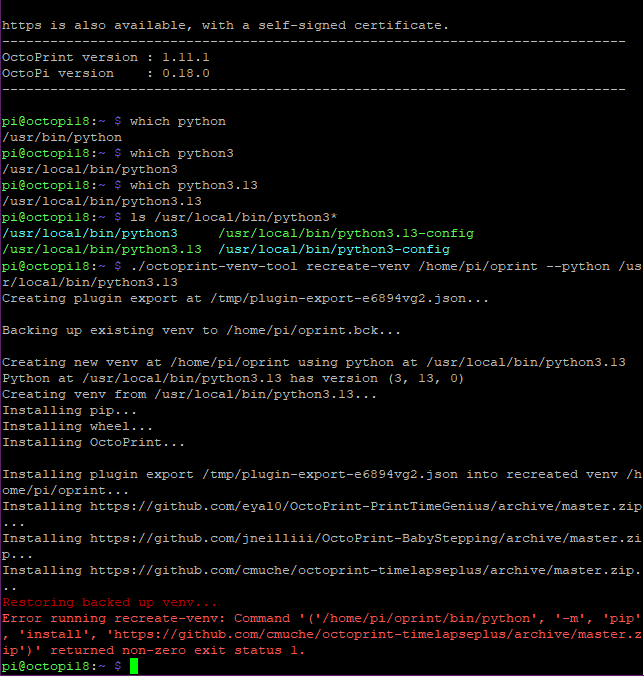
If any of your currently installed plugins will cause an error while attempting to install them into the new virtual environment, recreation will be aborted and the initial backup of your original venv rolled back.
If that happens you can ignore errors caused by plugins and reattempt the recreation by adding the
--ignore-plugin-errorsparameter to the command, e.g.-
Linux/POSIX:
octoprint-venv-tool recreate-venv /path/to/your/venv --python /path/to/python --ignore-plugin-errors -
Windows:
python octoprint-venv-tool recreate-venv /path/to/your/venv --python /path/to/python --ignore-plugin-errors
OctoPrint's
venv-toolwill also do its best to reinstall all plugins that you had installed as python packages into your existing virtual environment. Your data is not in the virtual environment and won't be touched by the migration. -
-
Restart OctoPrint. It should now be running under the new Python version, which you can confirm by looking at the lower left corner of the web interface.


