This is a wiki node that every user of this forum at trust level 1 or higher can edit. Find problems, typos, or incorrect information? Please contribute.
Heads-up
If you want to get OctoPrint up and running as fast as possible, it is highly recommended to take a look at OctoPi, which is an SD card image based on Raspbian already prepared with OctoPrint, webcam support, HAProxy and SSL. Just download it, flash it to an SD card and you are good to go -- you can follow this excellent video guide by Thomas Sanladerer who explains all needed steps in detail.
If on the other hand you want to run the latest versions of Raspbian, install OctoPrint and all the other packages, and get a sense of how it all fits together, do follow the instructions below (warning: not for the faint of heart).
Important: This guide expects you to have a more than basic grasp of the Linux command line. In order to follow it you'll need to know:
- how to issue commands on the shell,
- how to edit a text file from the command line,
- what the difference is between your user account (e.g.
pi) and the superuser accountroot, - how to SSH into your Pi (so you don't need to also attach keyboard and monitor),
- how to use Git and
- how to use the Internet to help you if you run into problems.
This is not a "Linux for Beginners guide", those can be found for example here and here. For some Git basics please take a look here.
Basic Installation
For the basic package you'll need Python 3.9, 3.10, 3.10, 3.11, 3.12 or 3.13 (one of these is probably installed by default) and pip.
Make sure you are using the correct version - it might be installed as python3, not python. To check:
python --version
and if that doesn't look fine
python3 --version
Installing OctoPrint should be done within a virtual environment, rather than an OS wide install, to help prevent dependency conflicts. To setup Python, dependencies and the virtual environment, run:
cd ~
sudo apt update
sudo apt install python3 python3-pip python3-dev python3-setuptools python3-venv git libyaml-dev build-essential libffi-dev libssl-dev
mkdir OctoPrint && cd OctoPrint
python3 -m venv venv
source venv/bin/activate
OctoPrint and it's Python dependencies can then be installed using pip:
pip install --upgrade pip wheel
pip install octoprint
Note
If this installs an old version of OctoPrint,
pipprobably still has something cached. In that case add--no-cache-dirto the install command, e.g.pip install --no-cache-dir octoprintTo make this permanent, clean
pip's cache:rm -r ~/.cache/pip
You may need to add the pi user to the dialout group and tty so that the user can access the serial ports, before starting OctoPrint:
sudo usermod -a -G tty pi
sudo usermod -a -G dialout pi
You may have to log out and back in again for these changes to become effective.
Starting the server for the first time
You should then be able to start the OctoPrint server using the octoprint serve command:
pi@raspberrypi:~ $ ~/OctoPrint/venv/bin/octoprint serve
2020-11-03 17:39:17,979 - octoprint.startup - INFO - ***************************
2020-11-03 17:39:17,980 - octoprint.startup - INFO - Starting OctoPrint 1.4.2
2020-11-03 17:39:17,980 - octoprint.startup - INFO - ***************************
Try it out! Access the server by heading to http://<pi's IP>:5000 and you should be greeted with the OctoPrint UI.
Automatic start up
Create a file /etc/systemd/system/octoprint.service and put this into it:
[Unit]
Description=The snappy web interface for your 3D printer
After=network-online.target
Wants=network-online.target

[Service]
Environment="LC_ALL=C.UTF-8"
Environment="LANG=C.UTF-8"
Type=exec
User=pi
ExecStart=/home/pi/OctoPrint/venv/bin/octoprint serve

[Install]
WantedBy=multi-user.target
Adjust the paths to your octoprint binary as needed. If you set it up in a virtualenv as described above make sure your /etc/systemd/system/octoprint.service looks like this:
ExecStart=/home/pi/OctoPrint/venv/bin/octoprint
Then add the script to autostart using sudo systemctl enable octoprint.service.
This will also allow you to start/stop/restart the OctoPrint daemon via
sudo service octoprint {start|stop|restart}
Make everything accessible on port 80
If you want to have nicer URLs or simply need OctoPrint to run on port 80 (http's default port) due to some network restrictions, I recommend using HAProxy as a reverse proxy instead of configuring OctoPrint to run on port 80. This has the following advantages:
- OctoPrint does not need to run with root privileges, which it would need to to be able to bind to port 80 thanks to Linux privileged port restrictions
- You can make
mjpg-streameraccessible on port 80 as well - You can add authentication to OctoPrint
- Depending on the HAProxy version you can also use SSL to access OctoPrint
Setup on Raspbian is as follows:
pi@raspberrypi ~ $ sudo apt install haproxy
I'm using the following configuration in /etc/haproxy/haproxy.cfg, for further examples take a look at the post here:
Make sure you use the correct configuration for your version of Haproxy. Shown below is the configuration for Raspberry Pi OS Bullseye, which uses Haproxy 2.x and is the most up to date RPi OS. If you are using a Buster based OS with Haproxy 1.x, expand the section further down for a relevant configuration file.
Haproxy 2.x (Debian 11, Bullseye etc.)
global
        maxconn 4096
        user haproxy
        group haproxy
        daemon
        log 127.0.0.1 local0 debug

defaults
        log     global
        mode    http
        option  httplog
        option  dontlognull
        retries 3
        option redispatch
        option http-server-close
        option forwardfor
        maxconn 2000
        timeout connect 5s
        timeout client  15min
        timeout server  15min

frontend public
        bind :::80 v4v6
        use_backend webcam if { path_beg /webcam/ }
        default_backend octoprint

backend octoprint
        option forwardfor
        server octoprint1 127.0.0.1:5000

backend webcam
        http-request replace-path /webcam/(.*)   /\1
        server webcam1  127.0.0.1:8080
Haproxy 1.x (Debian 10, Buster, etc)
Haproxy 1.x configuration
global
        maxconn 4096
        user haproxy
        group haproxy
        daemon
        log 127.0.0.1 local0 debug

defaults
        log     global
        mode    http
        option  httplog
        option  dontlognull
        retries 3
        option redispatch
        option http-server-close
        option forwardfor
        maxconn 2000
        timeout connect 5s
        timeout client  15min
        timeout server  15min

frontend public
        bind :::80 v4v6
        use_backend webcam if { path_beg /webcam/ }
        default_backend octoprint

backend octoprint
        reqrep ^([^\ :]*)\ /(.*)     \1\ /\2
        option forwardfor
        server octoprint1 127.0.0.1:5000

backend webcam
        reqrep ^([^\ :]*)\ /webcam/(.*)     \1\ /\2
        server webcam1  127.0.0.1:8080
This will make OctoPrint accessible under http://<your Raspi's IP>/ and make mjpg-streamer accessible under http://<your Raspi's IP>/webcam/. You'll also need to modify /etc/default/haproxy and enable HAProxy by setting ENABLED to 1. After that you can start HAProxy by issuing the following command
sudo service haproxy start
Pointing your browser to http://<your Raspi's IP> should greet you with OctoPrint's UI. Now open the settings and switch to the webcam tab or alternatively open ~/.octoprint/config.yaml. Set the webcam's stream URL from http://<your Raspi's IP>:8080/?action=stream to /webcam/?action=stream (leave the snapshotUrl at http://127.0.0.1:8080/?action=snapshot!) and reload the page.
If everything works you can add the following lines to ~/.octoprint/config.yaml (just create it if it doesn't exist yet) to make the server bind only to the loopback interface:
server:
    host: 127.0.0.1
Restart the server. OctoPrint should still be available on port 80, including the webcam feed (if enabled).
Updating & changing release channels & rolling back
OctoPrint should offer to update itself automatically and also allow you to switch to other Release Channels out of the box.
If for whatever reason you want or need to perform any of this manually however, perform the following commands to install <version> of OctoPrint:
source ~/OctoPrint/venv/bin/activate
pip install octoprint==<version>
e.g.
source ~/OctoPrint/venv/bin/activate
pip install octoprint==1.4.0
Support restart/shutdown through OctoPrint's system menu
In the UI, under Settings > Commands, configure the following commands:
- Restart OctoPrint:
sudo service octoprint restart - Restart system:
sudo shutdown -r now - Shutdown system:
sudo shutdown -h now
If you disabled Raspbian's default behaviour of allowing the
piuser passwordless sudo for every command, you'll need to explicitly allow thepiuser passwordless sudo access to the/sbin/shutdownprogram for the above to work. You'll have to add two sudoers rules:
- Create a file
/etc/sudoers.d/octoprint-shutdown(as root) with the following contents:
pi ALL=NOPASSWD: /sbin/shutdown- Create another file
/etc/sudoers.d/octoprint-service(as root) with the following contents:
pi ALL=NOPASSWD: /usr/sbin/service
Optional: Webcam
If you also want webcam and timelapse support, you'll need to download and compile MJPG-Streamer:
cd ~
sudo apt install subversion libjpeg62-turbo-dev imagemagick ffmpeg libv4l-dev cmake
git clone https://github.com/jacksonliam/mjpg-streamer.git
cd mjpg-streamer/mjpg-streamer-experimental
export LD_LIBRARY_PATH=.
make
The required packages depend on the underlying version of Debian! The above is what should work on the current Debian Stretch or Buster based images of Raspbian.
For Jessie use:
sudo apt install subversion libjpeg62-turbo-dev imagemagick libav-tools libv4l-dev cmakeFor Wheezy or older (you should update...) use:
sudo apt install subversion libjpeg8-dev imagemagick libav-tools libv4l-dev cmake
This should hopefully run through without any compilation errors. You should then be able to start the webcam server using:
./mjpg_streamer -i "./input_uvc.so" -o "./output_http.so"
This should give the following output:
MJPG Streamer Version: svn rev:
 i: Using V4L2 device.: /dev/video0
 i: Desired Resolution: 640 x 480
 i: Frames Per Second.: 5
 i: Format............: MJPEG
[...]
 o: www-folder-path...: disabled
 o: HTTP TCP port.....: 8080
 o: username:password.: disabled
 o: commands..........: enabled
For some webcams (including the PS3 Eye) you'll need to force the YUV mode by using the following start command:
./mjpg_streamer -i "./input_uvc.so -y" -o "./output_http.so"
Please be aware that YUV mode will put additional strain on your Raspi's CPU which will then lower its performance, possibly up to the point of causing printing issues. If your camera requires the -y parameter to function, consider replacing it with one that doesn't.
If your webcam requires switching to YUV mode in order to work at all, it is strongly recommended to instead use a webcam that natively supports MJPG. For YUV cameras mjpg_streamer will need to transcode all data from the camera to MJPG on your Raspberry Pi, which will put a lot of strain on its CPU (YUV mode at around 30-40% vs MJPG mode at around 1-2%). This MIGHT negatively influence print quality, so better get yourself a cheap MJPG compatible webcam. See this wiki page for a compatibility list and steer clear of cams that require
-yto work.
If you want to use the official RaspberryPi Camera Module you need to run
./mjpg_streamer -i "./input_raspicam.so -fps 5" -o "./output_http.so"
If you now point your browser to http://<your Raspi's IP>:8080/?action=stream, you should see a moving picture at 5fps. (If you get an error message about missing files or directories calling the output plugin with -o "./output_http.so -w ./www" should help.)
To configure the stream in OctoPrint, open the settings dialog and modify the following entries under Webcam & Timelapse:
- Stream URL:
/webcam/?action=stream - Snapshot URL:
http://127.0.0.1:8080/?action=snapshot - Path to FFMPEG:
/usr/bin/ffmpeg
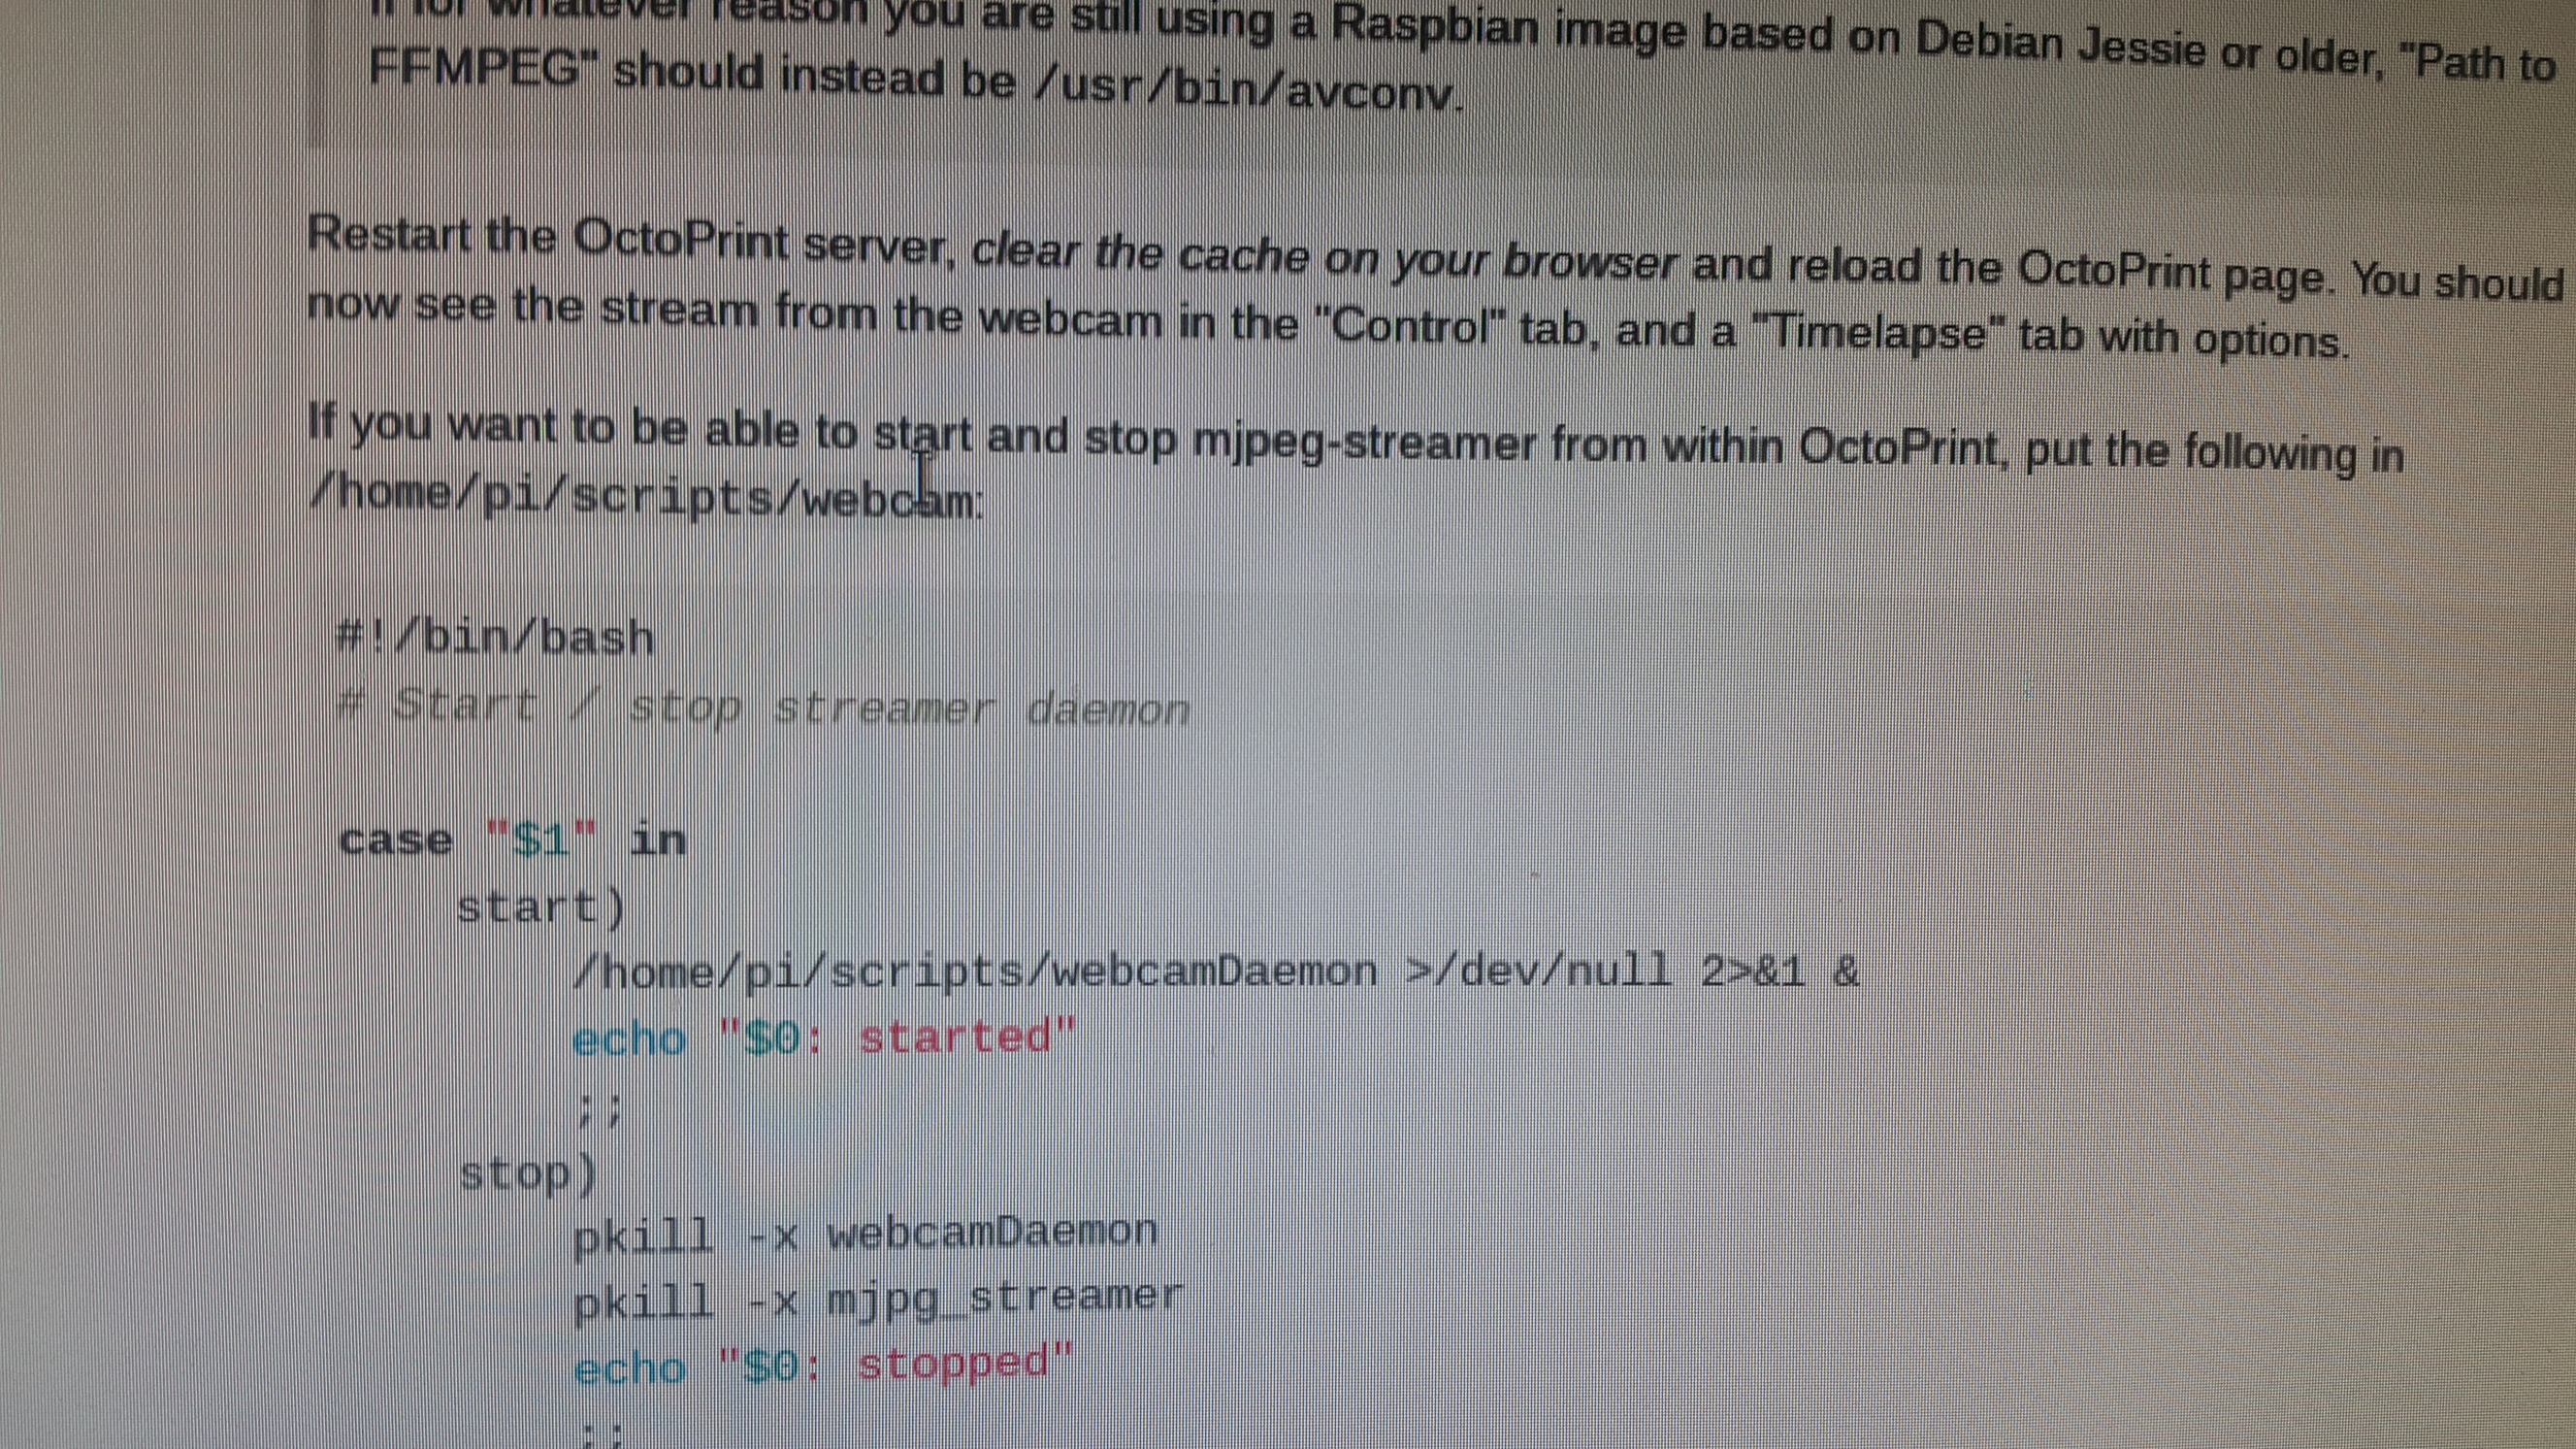
If for whatever reason you are still using a Raspbian image based on Debian Jessie or older, "Path to FFMPEG" should instead be
/usr/bin/avconv.If you did not follow the steps further up in this documentation to redirect OctoPrint and the webcam through HAProxy, the relative stream URL to "
/webcam/?action=stream" will not work. In this case, the stream URL will have to be set tohttp://<your Raspi's IP>:8080/?action=stream
Restart the OctoPrint server, clear the cache on your browser and reload the OctoPrint page. You should now see the stream from the webcam in the "Control" tab, and a "Timelapse" tab with options.
Optional: Webcam Automatic Startup
If you want mjpg-streamer to automatically startup on boot:
Create a new file at /home/pi/scripts/webcamDaemon (ie. run nano /home/pi/scripts/webcamDaemon), with the following content:
#!/bin/bash

MJPGSTREAMER_HOME=/home/pi/mjpg-streamer/mjpg-streamer-experimental
MJPGSTREAMER_INPUT_USB="input_uvc.so"
MJPGSTREAMER_INPUT_RASPICAM="input_raspicam.so"

# init configuration
camera="auto"
camera_usb_options="-r 640x480 -f 10"
camera_raspi_options="-fps 10"

if [ -e "/boot/octopi.txt" ]; then
    source "/boot/octopi.txt"
fi

# runs MJPG Streamer, using the provided input plugin + configuration
function runMjpgStreamer {
    input=$1
    pushd $MJPGSTREAMER_HOME
    echo Running ./mjpg_streamer -o "output_http.so -w ./www" -i "$input"
    LD_LIBRARY_PATH=. ./mjpg_streamer -o "output_http.so -w ./www" -i "$input"
    popd
}

# starts up the RasPiCam
function startRaspi {
    logger "Starting Raspberry Pi camera"
    runMjpgStreamer "$MJPGSTREAMER_INPUT_RASPICAM $camera_raspi_options"
}

# starts up the USB webcam
function startUsb {
    logger "Starting USB webcam"
    runMjpgStreamer "$MJPGSTREAMER_INPUT_USB $camera_usb_options"
}

# we need this to prevent the later calls to vcgencmd from blocking
# I have no idea why, but that's how it is...
vcgencmd version

# echo configuration
echo camera: $camera
echo usb options: $camera_usb_options
echo raspi options: $camera_raspi_options

# keep mjpg streamer running if some camera is attached
while true; do
    if [ -e "/dev/video0" ] && { [ "$camera" = "auto" ] || [ "$camera" = "usb" ] ; }; then
        startUsb
    elif [ "`vcgencmd get_camera`" = "supported=1 detected=1" ] && { [ "$camera" = "auto" ] || [ "$camera" = "raspi" ] ; }; then
        startRaspi
    fi

    sleep 120
done
If you want different camera options put them in /boot/octopi.txt or modify the script accordingly.
Make sure the file is executable:
chmod +x /home/pi/scripts/webcamDaemon
And then create another new file at /etc/systemd/system/webcamd.service (sudo nano /etc/systemd/system/webcamd.service), with these lines:
[Unit]
Description=Camera streamer for OctoPrint
After=network-online.target OctoPrint.service
Wants=network-online.target

[Service]
Type=simple
User=pi
ExecStart=/home/pi/scripts/webcamDaemon

[Install]
WantedBy=multi-user.target
Tell the system to read the new file:
sudo systemctl daemon-reload
And finally enable the service:
sudo systemctl enable webcamd
The webcam should automatically start on boot, but it can also be started manually:
sudo systemctl start webcamd
If you want to be able to start and stop the webcam server through OctoPrint's system menu, add the following to .octoprint/config.yaml:
system:
  actions:
   - action: streamon
     command: sudo systemctl start webcamd
     confirm: false
     name: Start video stream
   - action: streamoff
     command: sudo systemctl stop webcamd
     confirm: false
     name: Stop video stream
If you want to view the stream directly on your Pi, please be aware that Midori will not allow you to see the webcam picture. Chromium works although it is a bit slow, but it still might be useful for testing or aiming the camera:
sudo apt install chromium-browserIn any case this is only recommended for debugging purposes during setup, running a graphical user interface on the Pi will put a lot of unnecessary load on the CPU which might negatively influence print results.
mjpegstreamer does not allow to bind to a specific interface to limit the accessibility to localhost only. If you want your octoprint instance to be reachable from the internet you need to block access to port 8080 from all sources except localhost if you don't want the whole world to see your webcam image.
To do this simply add iptables rules like this:
sudo /sbin/iptables -A INPUT -p tcp -i wlan0 ! -s 127.0.0.1 --dport 8080 -j DROP    # for ipv4
sudo /sbin/ip6tables -A INPUT -p tcp -i wlan0 ! -s ::1 --dport 8080 -j DROP         # for ipv6
Replace the interface with eth0, if you happen to use ethernet.
To make them persistent, they need to be saved. In order to be restored at boot time, the easiest way is to install iptables-persist:
sudo apt install iptables-persistentThe only thing left to do now, is save the rules you have added:
sudo /sbin/ip6tables-save > /etc/iptables/rules.v6
sudo /sbin/iptables-save > /etc/iptables/rules.v4
Optional: Touch UI
Touch UI has been abandoned. Check here for potential updates.
Touch UI is a plugin that provides an interface for touch screens, e.g. mobile phones or the small 3,5 inch LCDs you can connect to the pi's GPIO pins.
Install the plugin using the plugin manager in the OctoPrint settings. If you want to use this for a local LCD, you need to setup epiphany to start automatically. To do so, first install xautomation to send the keypress for fullscreen later and the epiphany browser if it is not already installed:
sudo apt install epiphany-browser xautomation
Next, create a file startTouchUI.sh in ~/ and add:
#!/bin/bash

function check_octoprint {
    pgrep -n octoprint > /dev/null
    return $?
}

until check_octoprint
do
    sleep 5
done

sleep 5s
epiphany-browser http://127.0.0.1:5000 --display=:0 &
sleep 10s;
xte "key F11" -x:0
Make it executable: chmod +x startTouchUI.sh and add the following to ~/.config/lxsession/LXDE-pi/autostart
@/home/pi/startTouchUI.sh
This will launch the mobile webinterface on startup and put it into fullscreen mode.
Optional: Additional user authentication
In order to protect OctoPrint from unauthorized access, you have two options. For OctoPrint's built-in access control, please see this guide.
For additional security through authentication directly on haproxy before OctoPrint, take a look here.
Optional: Reach your printer by typing its name in address bar of your browser - Avahi/zeroconf/bonjour-based
If you want to reach your printer by typing its name (the hostname of the RasPi running OctoPrint) instead of its IP into your browser's address bar, then you can use the Raspberry Pi Avahi setup (See only section "The flexible way: set up avahi / zeroconf"). Note: "Avahi" is called "Zeroconf", "Rendezvous" or "Bonjour", too.
Installation is simple, on your RasPi just type:
sudo apt update && sudo apt install avahi-daemon
For a network of Linux computers you are done here with the avahi setup. Jump to the paragraph relating the change of the hostname. If you want to enable Avahi support on Windows computers too you'll have to install Bonjour, allow traffic on UDP port 5353 within your firewall and grant internet access to the mDNSresponder.exe on these machines. Have a look here (search for "Get Bonjour for Windows") for a detailed description of the Windows setup.
The next step is to change the hostname of your RasPi into something more printer specific (e.g. <yourprinter>) via editing the files etc/hostname and the etc/hosts on your RasPi. Change the default name into <yourprinter> in the hostname-file via
sudo nano /etc/hostname
and do the same (here change the name behind the 127.0.1.1 into <yourprinter>) in the hosts-file via
sudo nano /etc/hosts
Now restart your RasPi via
sudo reboot.
You can now reach your RasPi running OctoPrint within your network by pointing your browser to
<yourprinter>.local .
Note you can use this too, when you want to ssh into your RasPi:
ssh <username>@<yourprinter>.local.
Additional Resources: